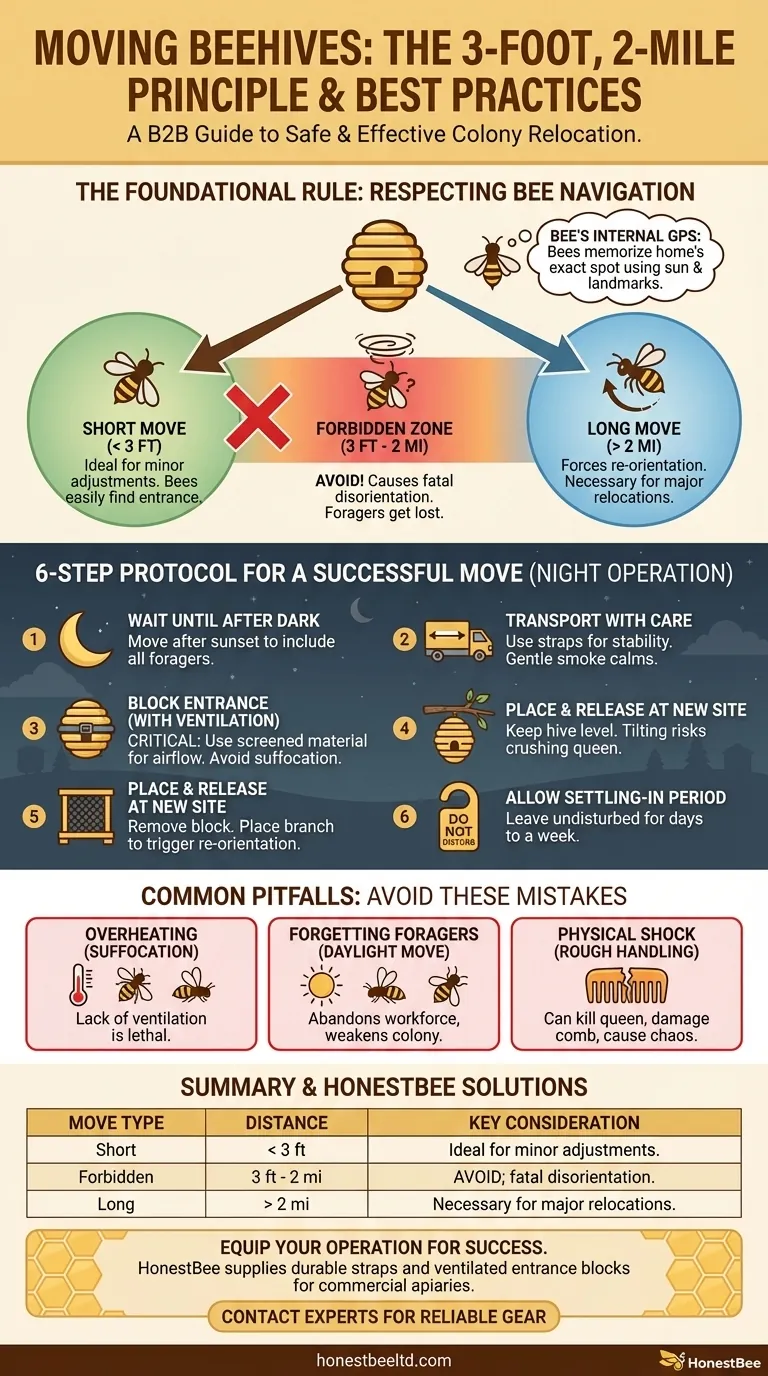
To successfully move a beehive, the foundational rule is the "3-foot, 2-mile" principle. You must move the hive either less than three feet or more than two miles from its original location. This strategy is critical for respecting the bees' powerful navigational instincts and ensuring the colony's survival during and after the relocation.
The success of moving a beehive does not depend on physical strength, but on understanding a bee's biology. The entire process is designed to prevent foragers from becoming fatally disoriented by either forcing an immediate re-orientation or by moving the hive such a small distance they can easily find the new entrance.
Understanding Bee Navigation: The "Why" Behind the Rule
To move bees without causing catastrophic loss, you first need to understand how they see the world. Their survival depends on an incredibly precise internal navigation system.
The Bee's Internal GPS
Honey bee foragers memorize the exact location of their hive when they first emerge. They use the sun's position and surrounding landmarks to create a mental map, allowing them to return to that precise spot after foraging trips up to several miles away.
The "Forbidden Zone": 3 Feet to 2 Miles
Moving a hive a moderate distance—for example, 50 feet across your yard—is disastrous. Returning foragers will fly to the exact spot where the hive used to be. Unable to find their home and too close to the old location to trigger a full re-orientation, they will become confused, exhausted, and will ultimately die, depleting the colony's workforce.
The Safe Zones: Short and Long Moves
- Less than 3 feet: A move this small keeps the entrance within the bees' immediate field of view. Returning foragers will easily notice the slight shift and find their way inside without confusion. This is ideal for minor adjustments.
- More than 2 miles: A move this significant places the hive in a completely new environment. When the bees emerge the next morning, they will recognize that their old map is useless. This forces them to perform new re-orientation flights to map their new location, preventing them from trying to return to the old site.
A Step-by-Step Protocol for a Successful Move
Follow these steps precisely to minimize stress on both the bees and the beekeeper. The entire operation should happen at night.
Step 1: Wait Until After Dark
Move the hive well after sunset. By this time, all the foraging bees will have returned from the fields and will be inside the hive for the night. Moving during the day will leave thousands of foragers stranded at the old location.
Step 2: Prepare and Secure the Hive
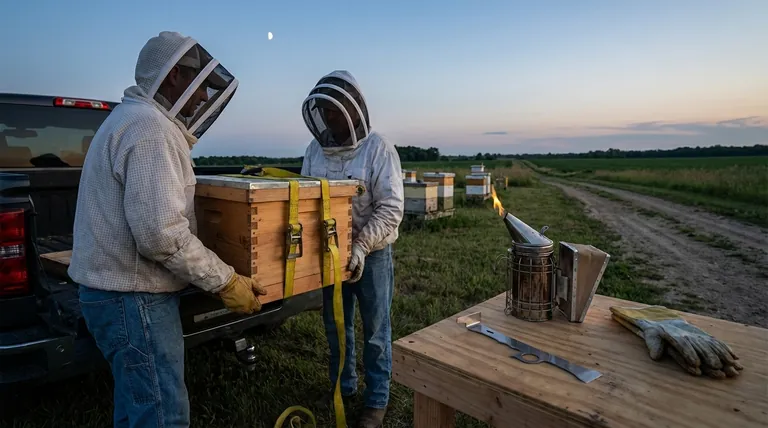
Use straps to hold the hive bodies, bottom board, and lid together securely. This prevents components from shifting or separating during transport. A few gentle puffs of smoke at the entrance before you begin can help calm the colony.
Step 3: Block the Entrance (with Ventilation)
Seal the hive entrance to contain the bees. It is absolutely critical that you use a material that allows for airflow, such as a screened entrance block or a piece of #8 hardware cloth. A fully sealed hive can quickly overheat and suffocate the colony.
Step 4: Transport with Care
Keep the hive as level as possible during the move. Tilting it can cause the frames to shift, which can crush bees and, most critically, potentially kill the queen.
Step 5: Place and Release at the New Site
Once at the new destination, place the hive in its final position. You can then immediately remove the entrance block. Placing a leafy branch or a board leaning against the front of the hive can help force the bees to notice the change and re-orient when they emerge.
Step 6: Allow for a Settling-In Period
Leave the colony undisturbed for at least a few days, and preferably a week. The move is a stressful event, and they need time to settle, re-orient, and resume their normal routines. Avoid performing any inspections during this period.
Understanding the Common Pitfalls
Even a well-planned move has risks. Being aware of them is the best way to ensure success.
The Risk of Overheating
The single greatest risk during transport is suffocation. A large colony generates a significant amount of heat. Without proper ventilation, the internal temperature can rise to lethal levels in a very short time. Never use solid materials like foam or rags to block an entrance for a move.
Forgetting Foragers
The consequence of moving a hive during daylight hours cannot be overstated. You will effectively abandon the colony's primary workforce, leaving the hive severely weakened and vulnerable.
Physical Shock and Damage
Rough handling can be devastating. Besides the risk to the queen, jostling can break burr comb, spill nectar, and cause general chaos within the hive, adding immense stress to the colony.
Making the Right Choice for Your Goal
Your moving strategy depends entirely on your objective.
- If your primary focus is a minor yard adjustment: Move the hive less than three feet per day. This is perfect for shifting it away from a path or preparing a new stand right next to the old one.
- If your primary focus is relocation to a new property: You must move the hive more than two miles. This is the only way to ensure the colony successfully re-orients and does not try to return to its original location.
- If you must move a hive within the "forbidden zone": The only safe (but tedious) method is to move it incrementally—less than three feet every day—until it reaches its new destination. This allows the bees to adjust to the small daily change.
By respecting the bee's navigational biology, you can execute a move that is safe, effective, and minimally disruptive for the colony.
Summary Table:
| Move Type | Distance | Key Consideration |
|---|---|---|
| Short Move | Less than 3 feet | Ideal for minor adjustments; bees easily re-orient. |
| Forbidden Zone | 3 feet to 2 miles | AVOID; causes fatal disorientation of returning foragers. |
| Long Move | More than 2 miles | Necessary for major relocations; forces complete re-orientation. |
Ready to move your hives with confidence? Ensure your operation is a success with the right equipment. HONESTBEE supplies durable, secure beekeeping supplies and equipment—like hive straps and ventilated entrance blocks—to commercial apiaries and distributors. Our wholesale-focused operations ensure you get the reliable gear you need for safe transport. Contact our experts today to discuss your equipment needs and protect your valuable colonies.
Visual Guide
Related Products
- HONESTBEE Advanced Ergonomic Stainless Steel Hive Tool for Beekeeping
- Professional Dual-End Stainless Steel Hive Tool for Beekeeping
- Professional Galvanized Hive Strap with Secure Locking Buckle for Beekeeping
- Professional 3-Bar Frame Grip with Integrated Hive Tool
- Yellow Plastic Bucket Pail Perch for Beekeeping
People Also Ask
- Why Use Industrial Tools for Apiary Monitoring? Precision Gear for Data-Driven Beekeeping Success
- What are the characteristics of a skep hive? Iconic Design vs. Modern Beekeeping Reality
- How much honey can I get from one hive? Achieve a Sustainable Harvest with Healthy Hives
- How do beekeepers utilize the 'emergency response' for queen rearing? Master Controlled Queen Production
- What is the primary function of high-precision electronic scales in monitoring honey bee colony dynamics? Optimize Your Hive
- How do different types of beehive designs, such as the Dadant hive, influence overwintering success? Maximize Survival
- How does a conductivity meter assist in determining the botanical origin of honey? Rapid QC for Mineral Fingerprinting
- What are the primary advantages of Bluetooth serial modules in precision beekeeping? Streamline Data & Reduce Bee Stress

