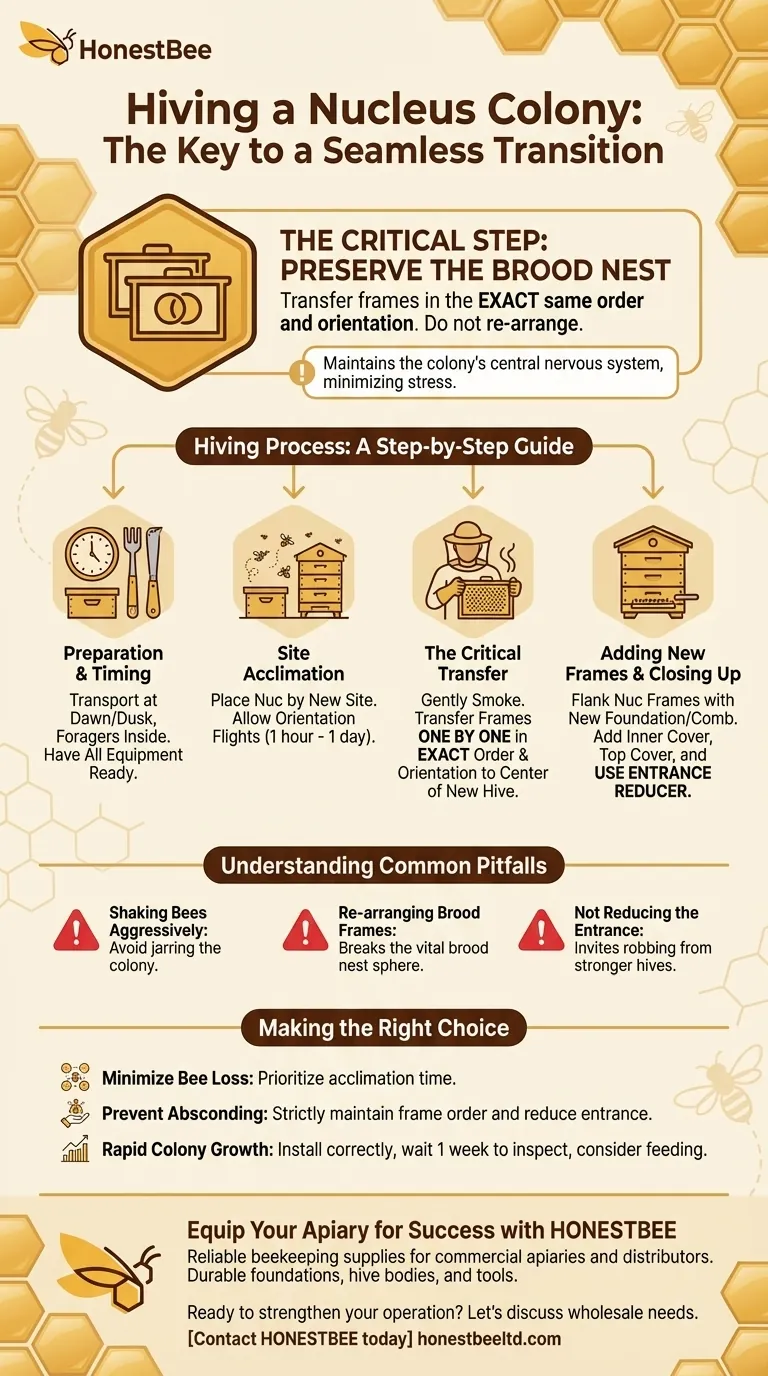
The single most critical step when hiving a nucleus colony is to transfer the frames into the new hive in the exact same order and orientation they were in the nuc box. This action preserves the delicate structure of the brood nest, which is the colony's nursery and central nervous system. Maintaining this integrity is the key to minimizing stress and ensuring the queen can continue her work without disruption.
A successful transfer is not about a single action, but a deliberate process designed to make the bees feel as if they simply woke up in a larger home. Your goal is to minimize stress at every stage, from transport to the final hive inspection.
The Goal: A Seamless Transition, Not Just a Transfer
Installing a nuc is one of the most important moments in a colony's life. A calm, orderly transfer sets the stage for a productive season, while a chaotic one can cause significant setbacks.
Why a Calm Transfer Matters
A stressed colony is more likely to be defensive, suffer from a disrupted brood cycle, or even abscond (abandon the hive entirely).
Your primary objective is to make the transition so smooth that the colony's core functions—egg-laying, foraging, and temperature regulation—are never compromised.
Understanding the Nuc's Structure
Think of the nuc as a miniature, fully functional hive. The frames are not arranged randomly.
The central frames typically contain the brood nest, with eggs, larvae, and capped pupae. This area is surrounded by frames of pollen and honey, which act as insulation and a pantry. Disrupting this logical layout forces the bees to expend massive energy reorganizing their home.
The Hiving Process: A Step-by-Step Guide
Follow these steps in order to ensure a low-stress and successful installation.
Step 1: Preparation and Timing
Transport your nucleus colony in the very early morning or late evening. During these times, all the forager bees will be inside the nuc box, ensuring you move the entire colony.
Have all your equipment ready before you begin: your new hive body, bottom board, lid, and additional frames. You should also have your hive tool, smoker, and protective gear on hand.
Step 2: Site Acclimation
Once at your apiary, place the nuc box directly beside or on top of the new hive's location.
Open the nuc's entrance and allow the bees to fly for at least an hour, or even a full day if possible. This allows the foragers to perform orientation flights and map their new location, drastically reducing the number of bees that get lost after the transfer.
Step 3: The Critical Transfer - Maintaining Frame Order
Gently smoke the entrance of the nuc and the new hive. This helps calm the bees and masks alarm pheromones.
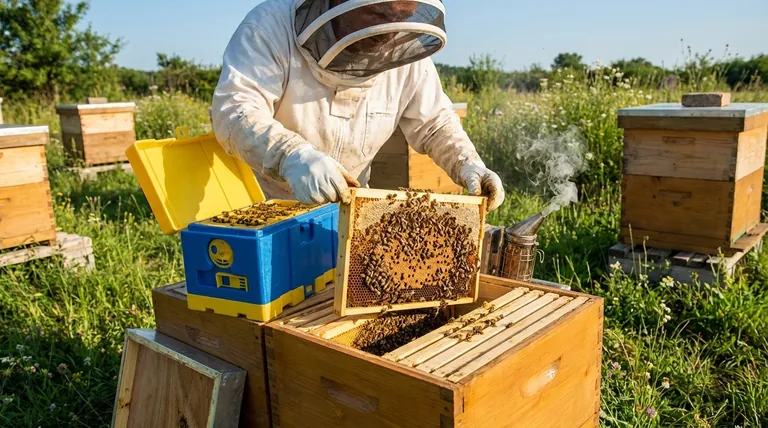
Open the nuc and carefully lift out the frames one by one. Place them in the center of the new hive body in the exact same order. If a frame faces a certain direction in the nuc, it should face the same direction in the new hive.
Step 4: Adding New Frames and Closing Up
Once the nuc frames are transferred, add new frames of foundation or drawn comb to fill the remaining space in the hive body. It is often best to "flank" the original nuc frames with the new ones.
If you have a 10-frame hive and a 5-frame nuc, you would place the 5 nuc frames in the center, and add 2-3 new frames on one side and 2-2 on the other.
Finally, place the inner cover and top cover on the hive. Consider using an entrance reducer for the first few weeks to make the smaller colony's entrance easier to defend against robbers.
Understanding Common Pitfalls
Avoiding common mistakes is just as important as following the correct steps. A successful installation is often defined by the problems you prevent.
Pitfall 1: Shaking Bees Aggressively
Some beekeepers shake the remaining bees from the nuc box into the new hive. This can be jarring and cause unnecessary stress.
It is better to simply place the open nuc box in front of the new hive's entrance. The remaining bees and the queen, if she was in the box, will move into the hive following the scent of the colony.
Pitfall 2: Re-arranging Brood Frames
The most common and damaging mistake is "inspecting" or re-arranging the brood frames during the transfer. This breaks the contiguous sphere of the brood nest, which the bees work hard to keep at a precise temperature. Resist the urge to "check on the queen" and trust the process.
Pitfall 3: Not Reducing the Entrance
A small nuc colony in a large 10-frame box has a huge entrance to defend. Failing to use an entrance reducer makes the colony highly vulnerable to robbing from stronger hives, which can decimate a new installation.
Making the Right Choice for Your Goal
Your specific actions can be tailored to prioritize different outcomes for the colony's health and your beekeeping goals.
- If your primary focus is minimizing bee loss: Transport the colony at dawn or dusk and allow ample time for orientation flights before the transfer.
- If your primary focus is preventing the colony from absconding: Absolutely maintain the original order and orientation of the brood frames and use an entrance reducer.
- If your primary focus is rapid colony growth: Install the nuc correctly, then wait one week before performing your first inspection and consider feeding with a 1:1 sugar syrup to stimulate comb building on the new frames.
By focusing on a calm and orderly process, you are giving your new colony the strongest possible foundation for success.
Summary Table:
| Key Step | Why It's Critical | Common Pitfall to Avoid |
|---|---|---|
| Transfer frames in the exact same order/orientation | Preserves the brood nest structure, allowing the queen to continue laying without disruption. | Re-arranging or inspecting brood frames during the transfer, which breaks the temperature-controlled brood sphere. |
| Allow for site acclimation & orientation flights | Reduces the number of lost forager bees after the colony is moved to its new location. | Transferring the colony immediately without giving bees time to map their new surroundings. |
| Use an entrance reducer after installation | Makes it easier for the smaller colony to defend its hive against robbing from stronger colonies. | Leaving a full-sized entrance on a 10-frame box housing a small nuc, inviting robbing behavior. |
Equip Your Apiary for Success with HONESTBEE
A smooth nuc installation is just the beginning. Equip your commercial operation or distribution business with the reliable, high-quality supplies needed for every stage of beekeeping.
HONESTBEE supplies beekeeping supplies and equipment to commercial apiaries and beekeeping equipment distributors through wholesale-focused operations. We provide the durable foundations, hive bodies, and essential tools that support healthy, productive colonies from day one.
Ready to strengthen your beekeeping operation? Let's discuss your wholesale needs.
Contact HONESTBEE today to learn more about our products and wholesale pricing.
Visual Guide
Related Products
- 4 Frame Plastic Nuc Boxes for Beekeeping Bee Nuc Box
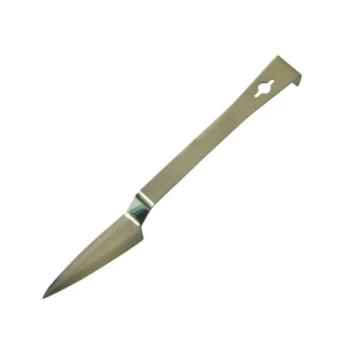
- HONESTBEE Professional Long Handled Hive Tool with Precision Cutting Blade
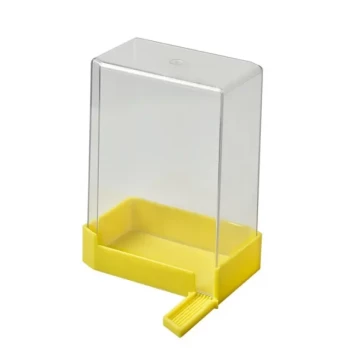
- Professional Hive Front Entrance Bee Feeder
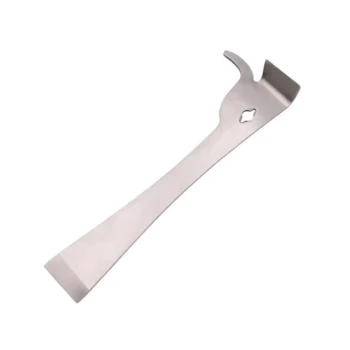
- Professional Multi-Function Stainless Steel Hive Tool
- Black Plastic Beetle Barn Hive Beetle Trap for Beehives
People Also Ask
- What is a nuc or nucleus in beekeeping? The Essential Guide to Starter Colonies
- Can a nuc box be used for swarm catching? An Effective and Manageable Solution for Beekeepers
- What is the procedure for moving bees from a 5-frame nuc to a 10-frame hive? 6 Steps for a Successful Colony Transfer
- How does a double nuc system reduce the need for specialized accessories? Streamline Your Apiary with Standard Equipment
- Why are four-frame nuclei utilized in queen rearing? Boost Acceptance & Quality in Your Apiary
- What are Nucleus Hives and what are they used for? Essential Tools for Apiary Growth & Management
- Why are wooden nuc boxes preferred by honey bees? Unlock the Natural Habitat Advantage
- What are the options for addressing queenlessness after splitting a colony? Optimize Your Apiary's Survival Rate

