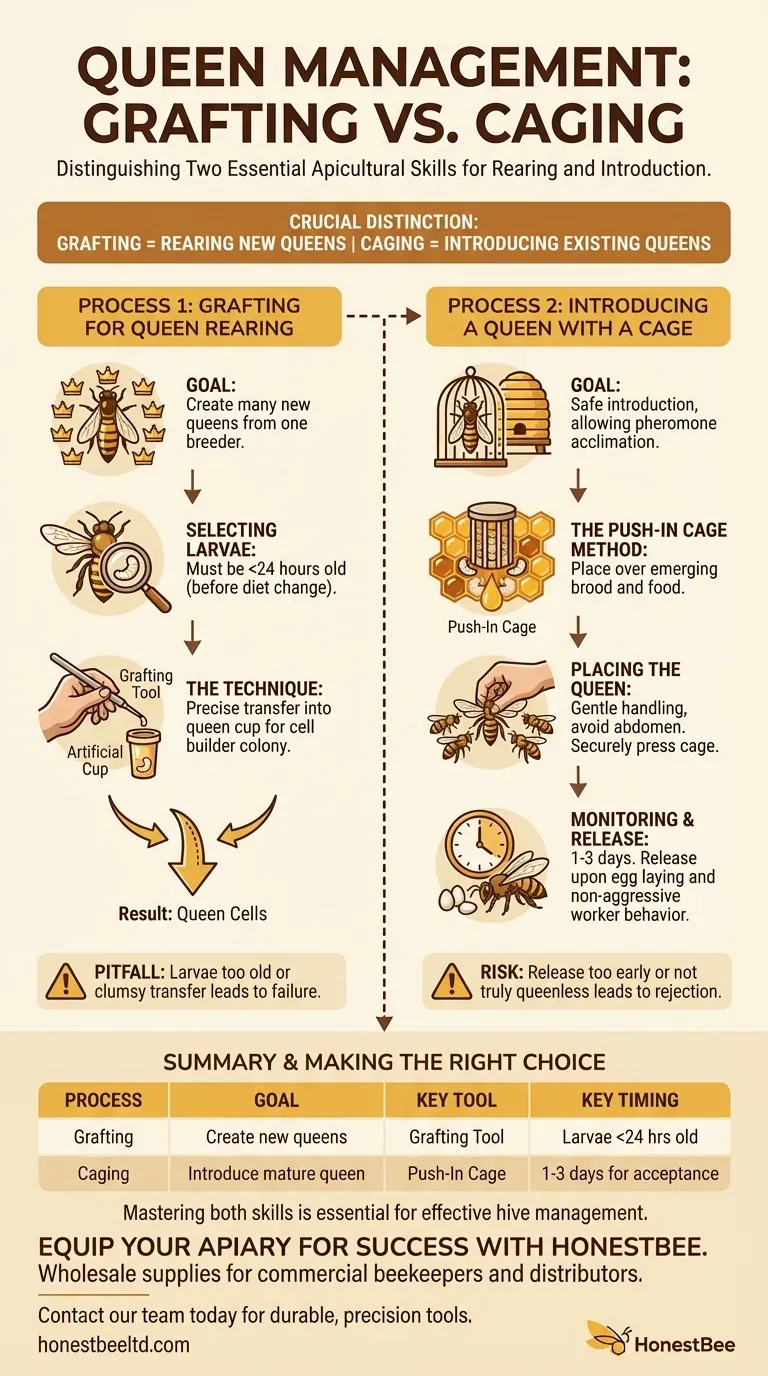
Crucially, the terms "grafting" and "caging a queen" refer to two distinct and separate processes in beekeeping. Grafting is the technique used to create new queens from larvae, while caging is a method used to safely introduce an existing, mature queen to a new colony. Your question combines these two separate but essential apicultural skills.
While often discussed together in the context of queen management, the core distinction is simple: grafting is for queen rearing, and caging is for queen introduction. Mistaking one for the other can lead to failed attempts at either raising or replacing a queen.
Process 1: Grafting for Queen Rearing
Grafting is a precise technique used to raise a large number of new queens from the genetic material of a single, desirable "breeder" queen. It is the foundation of selective bee breeding.
The Goal of Grafting
The objective is to trick a colony into raising dozens of queens instead of the one or two they might produce naturally during swarming. This allows a beekeeper to propagate the genetics of their strongest, gentlest, or most productive hives.
Selecting the Right Larvae
Success begins with selecting the correct raw material. You must find larvae that are less than 24 hours old, as this is the point before the worker bees have altered their diet from pure royal jelly.
These larvae should come from a hive with a healthy, productive queen whose traits you wish to replicate.
The Grafting Technique
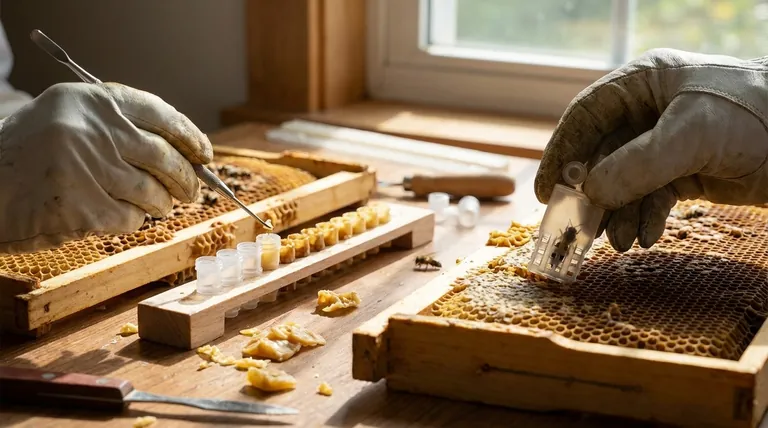
This is a delicate manual process. Using a specialized grafting tool, you carefully scoop a single, tiny larva from its worker cell.
You then transfer this larva and place it into the bottom of an artificial wax or plastic queen cup. This cup will be placed in a "cell builder" colony—a strong, queenless hive full of nurse bees eager to raise a new queen.
Process 2: Introducing a Queen with a Cage
Introducing a new queen is a high-stakes social challenge. The colony's worker bees will see a new queen as a foreign invader and kill her unless they are given time to acclimate to her unique scent, or pheromones.
The Goal of Caging
The purpose of a queen cage is to act as a protective barrier. It allows the new queen's pheromones to spread throughout the hive while keeping her physically safe from the workers until they accept her as their own.
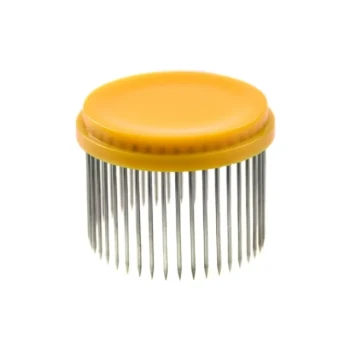
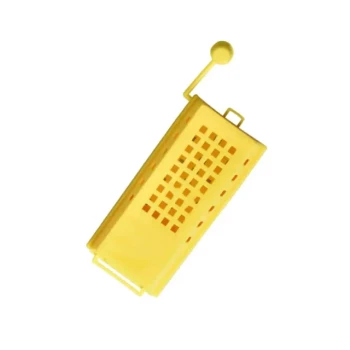
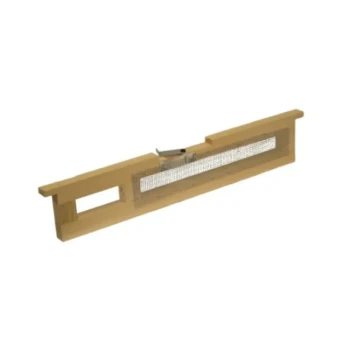
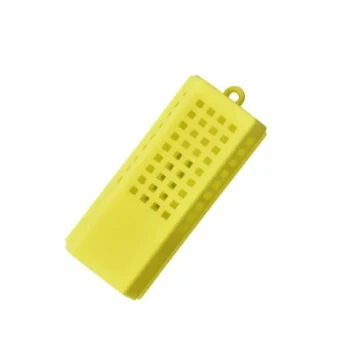
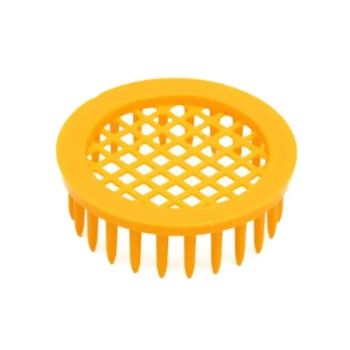
The Push-In Cage Method
A push-in cage is a highly effective introduction device. It is an open-bottomed cage that is pressed directly into a section of honeycomb.
The beekeeper strategically places the cage over an area of comb that contains emerging brood, nectar, and open cells. The newly hatched bees are more likely to immediately accept the new queen.
Placing the Queen
The new queen, along with a few of her attendant bees from her original hive, is placed under the cage. The cage is then pressed firmly into the comb, ensuring there are no gaps for bees to get in or out.
When handling the queen, it is critical to be gentle and avoid touching her abdomen, as this can cause injury and affect her ability to lay eggs.
Monitoring for Acceptance and Release
The queen remains caged for approximately one to three days. A key sign of acceptance is when she begins to lay eggs in the open cells available to her inside the cage.
Once you observe her laying and see that the worker bees outside the cage are not acting aggressively toward her, she can be released to lead the colony.
Understanding the Pitfalls
Both procedures require skill and an understanding of bee biology. Failure is common if key details are overlooked.
Pitfalls in Grafting
The primary challenge is the fragility of the larvae. Using larvae that are too old will result in failure. Likewise, a clumsy transfer can easily damage and kill the larva.
Furthermore, the "cell builder" colony must be exceptionally strong and hopelessly queenless to have the motivation and resources to feed and draw out the queen cells.
Risks in Queen Introduction
The greatest risk is queen rejection. If a queen is released too early, or if the hive is not truly queenless (e.g., they have a hidden virgin queen or laying workers), the colony will almost certainly kill the new queen you are trying to introduce.
Making the Right Choice for Your Goal
To manage your hives effectively, you must apply the correct technique based on your specific objective.
- If your primary focus is breeding queens from your best stock: You will need to master the delicate art of grafting larvae into queen cups for a cell-builder colony to raise.
- If your primary focus is replacing an old queen or saving a queenless hive: You will use a push-in cage to safely introduce a new, mated queen and ensure the colony accepts her before release.
Ultimately, mastering both of these distinct skills is what separates a good beekeeper from a great one.
Summary Table:
| Process | Goal | Key Tool | Key Timing |
|---|---|---|---|
| Grafting | Create new queens from larvae | Grafting Tool | Larvae <24 hours old |
| Caging | Safely introduce a mature queen | Push-In Cage | 1-3 days for acceptance |
Equip your apiary for success with HONESTBEE.
Whether you are a commercial beekeeper scaling your queen-rearing operation or a distributor stocking reliable equipment, having the right tools is fundamental to mastering these techniques. HONESTBEE supplies beekeeping supplies and equipment to commercial apiaries and beekeeping equipment distributors through wholesale-focused operations.
We provide the durable, precision tools you need, from grafting tools and queen cups to reliable push-in cages, helping you improve hive health and productivity.
Contact our team today to discuss your wholesale needs and get the right equipment for your beekeeping goals.
Visual Guide
Related Products
- Stainless Steel Queen Grafting Tool for Beekeeping and Bee Queen Grafting
- Stainless Steel Beekeeping Queen Grafting Tool for Honey Bee Rearing
- Plastic Chinese Queen Grafting Tool for Bee Queen Rearing
- Black 2 Pack Beekeeper Queen Grafting Tool for Bee Queen Larva Transferring Needle
- Retractable Chinese Queen Rearing Grafting Tools Equipment
People Also Ask
- What are the steps involved in using a queen grafting tool? A Guide to Successful Queen Rearing
- What is grafting in queen rearing? Take Control of Your Apiary's Genetics
- What is the recommended method for storing beekeeping tools? Expert Vertical Storage Solutions for Your Apiary
- What is the primary function of a beekeeping grafting tool in larvae collection? Precision Tips for Queen Rearing
- What is the primary function of a queen grafting tool? Master Precise Larval Transfer for High Queen Acceptance