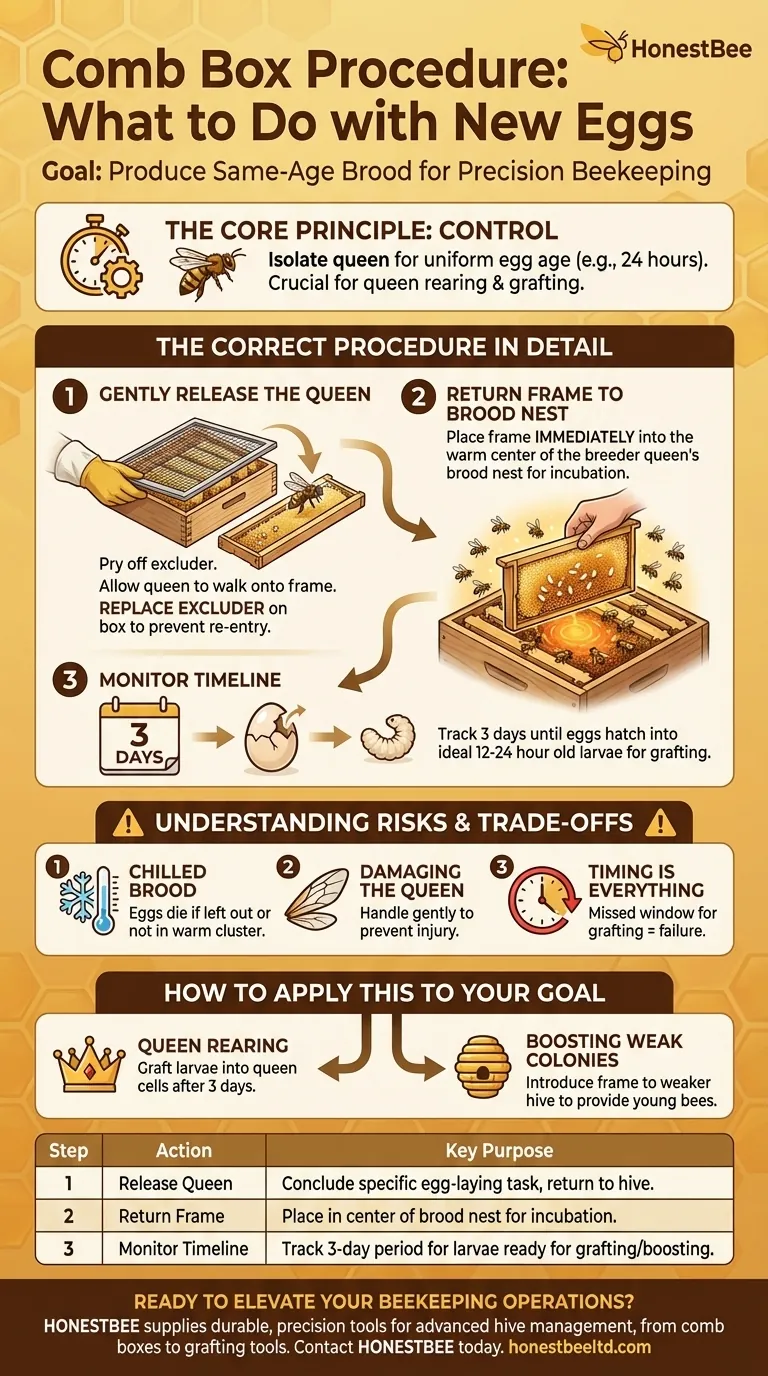
Once eggs are present in a comb box, your immediate task is to release the queen from the box and place the frame of new eggs back into the center of the main brood nest. This action concludes the queen's specific egg-laying assignment and begins the critical incubation period for the brood.
The core principle here is control. By isolating the queen to lay on a single frame, you have created a collection of eggs of a known and uniform age, which is a fundamental requirement for advanced beekeeping techniques like queen rearing.
The Goal: Producing Same-Age Brood
Isolating a queen in a comb box isn't a typical hive management practice. It is a specialized technique used with a clear purpose: to produce a frame where all eggs were laid within a very narrow time window.
Why Uniform Age Matters
In queen rearing, beekeepers graft larvae of a very specific age—typically those that are 12 to 24 hours old. Using a comb box allows you to place an empty frame with the queen, leave her for a set period (e.g., 24 hours), and know with certainty the age of every egg she lays.
The Queen's Role is Complete (For Now)
Once the frame contains the eggs you need, the queen's job in that comb box is finished. Releasing her allows her to return to her primary duty of laying eggs throughout the main brood chamber, ensuring the colony's overall health and population growth.
The Correct Procedure in Detail
Executing these next steps correctly is crucial for the survival of the eggs and the success of your breeding program. The environment must be managed carefully.
Step 1: Gently Release the Queen
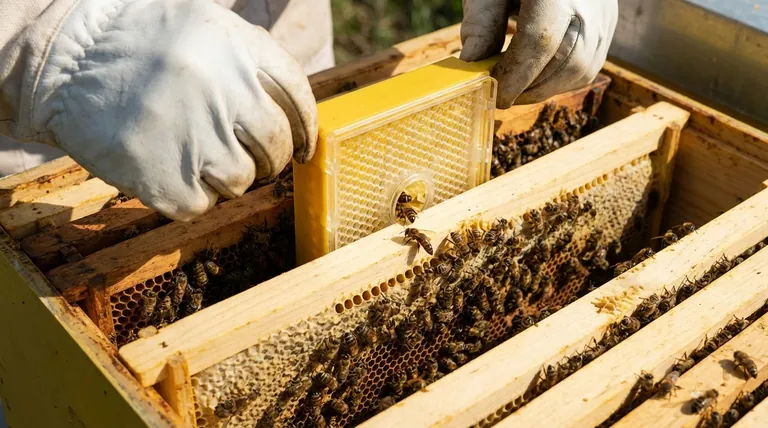
Your first action is to remove the queen from the comb box. Pry off the front queen excluder carefully and allow her to walk out onto an adjacent frame within the hive. Avoid shaking or dropping her, as this can cause injury or stress.
Once she is out, replace the excluder on the comb box. This prevents her from re-entering and laying more eggs, which would disrupt the uniform age of the brood you've just established.
Step 2: Return the Frame to the Brood Nest
The frame of fresh eggs is now extremely vulnerable. It must be kept at the consistent temperature and humidity of the brood nest to develop properly.
Immediately and carefully place the frame into the center of the breeder queen's brood nest. This position ensures it is surrounded by nurse bees who will provide the warmth and care necessary for the eggs to incubate and hatch into healthy larvae.
Understanding the Trade-offs and Risks
While this technique offers precision, it also introduces risks that must be managed. A misstep can easily lead to failure.
Chilled Brood
The most significant risk is chilling the eggs. If the frame is left out of the hive for too long or is not placed in the warm center of the brood cluster, the eggs will die. Work efficiently and with purpose.
Damaging the Queen
The process of confining and releasing the queen carries a small but real risk of harming her. Handle all equipment smoothly and gently to prevent injuring her legs, wings, or abdomen.
Timing is Everything
The value of this entire process hinges on timing. You have now started a clock. You must know when these eggs will hatch into larvae of the ideal age for your purpose (e.g., grafting). Incorrectly tracking this timeline means you will miss the critical window of opportunity.
How to Apply This to Your Goal
Your next actions depend entirely on your ultimate objective for creating this frame of same-aged brood.
- If your primary focus is queen rearing: Mark your calendar. In approximately three days, these eggs will hatch, and you will have a frame full of perfectly-aged larvae ready for grafting into queen cells.
- If your primary focus is boosting a weak colony: This frame can be given to a weaker hive (after ensuring it's queenless or the new brood is needed) to provide a targeted infusion of young bees.
By controlling the very first stage of brood development, you gain a remarkable degree of influence over the future of your colonies.
Summary Table:
| Step | Action | Key Purpose |
|---|---|---|
| 1 | Release the Queen | Conclude her specific egg-laying task and return her to the main hive. |
| 2 | Return Frame to Brood Nest | Place the frame in the center of the brood nest for proper incubation. |
| 3 | Monitor Timeline | Track the 3-day period until eggs hatch into larvae for grafting or boosting colonies. |
Ready to Elevate Your Beekeeping Operations?
Mastering techniques like using a comb box for queen rearing requires reliable, high-quality equipment. HONESTBEE supplies commercial apiaries and beekeeping equipment distributors with the durable, precision tools needed for advanced hive management. From sturdy comb boxes to essential grafting tools, our wholesale-focused operations ensure you have what you need for success.
Contact HONESTBEE today to discuss how our supplies can support your queen rearing programs and enhance your apiary's productivity.
Visual Guide
Related Products
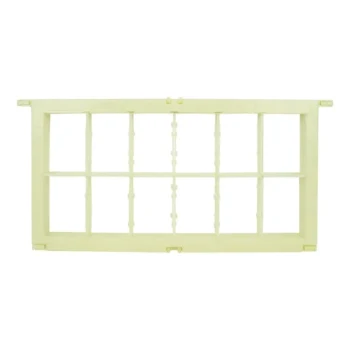
- Plastic Honey Comb Frames Cassette Box for Honey
- Professional Sectional Comb Honey Frame with 250g Cassette System for Beekeeping
- Heart-Shaped Comb Honey Frame and Honeycomb Cassette
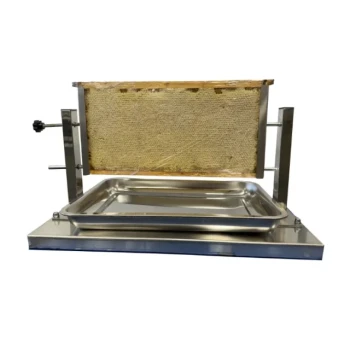
- Professional Adjustable Stainless Steel Honeycomb Display Stand
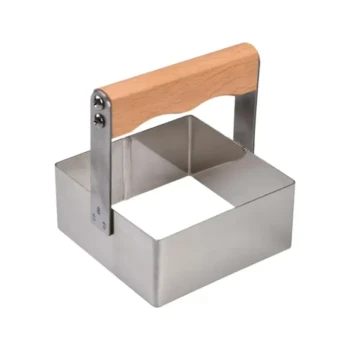
- Heavy Duty Stainless Steel Honeycomb Cutter
People Also Ask
- What is the technical purpose of exchanging honeycomb frames? Master Apiary Equalization for Growth
- How should honey frames be positioned in Langstroth and Warre hives for winter survival? Expert Hive Setup Tips
- How is the shaking method utilized to remove bees from honey frames? Master This Cost-Effective Clearing Technique
- What frame to use for honeycomb? Choose the Right System for Pure, Edible Comb
- How is the specialized honeycomb frame reset after honey extraction? Master Efficient Hive Management