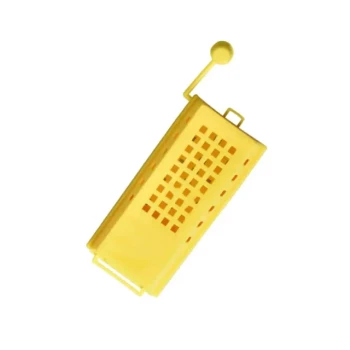
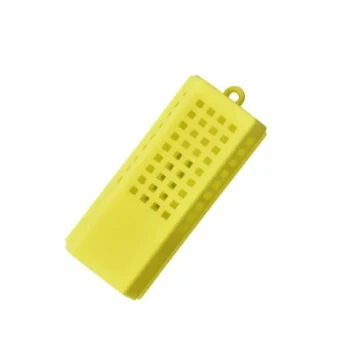
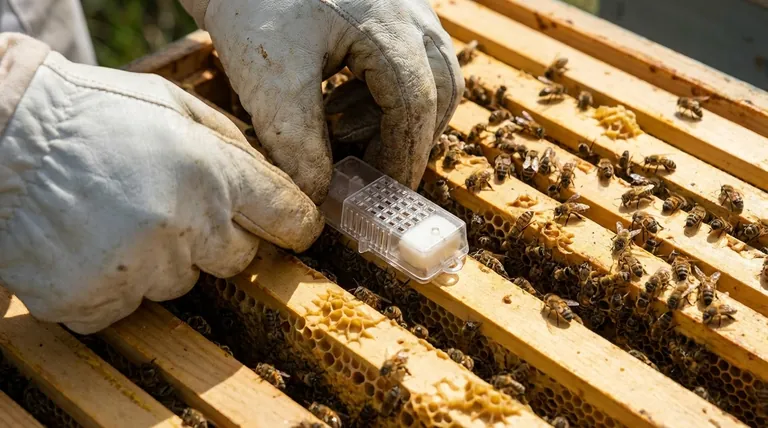
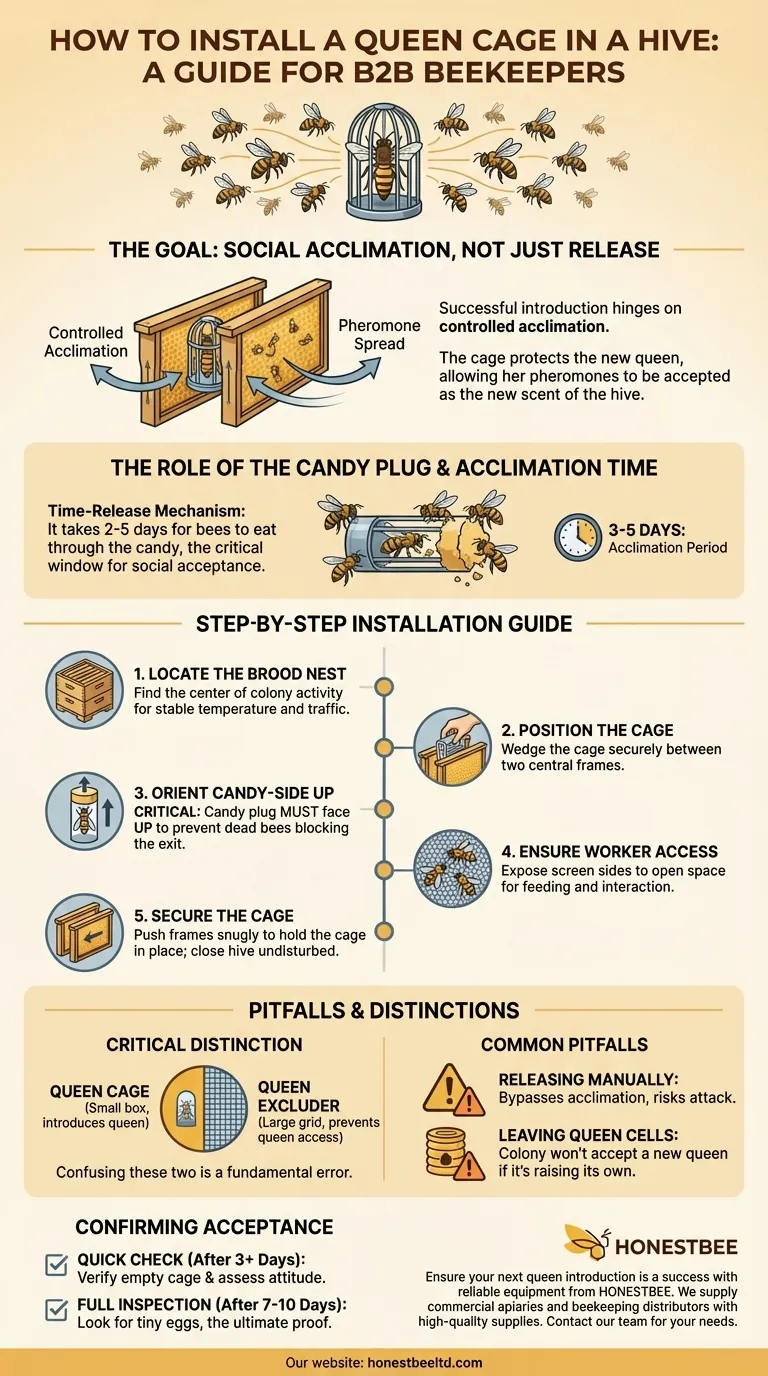
Installing a new queen is a process of social integration, not just physical placement. You must wedge the queen cage between two frames in the center of the brood chamber, ensuring the candy-filled exit hole is accessible to the worker bees and oriented upwards. This position allows the colony to acclimate to her scent before they chew through the candy to release her.
Successful queen introduction hinges on one principle: controlled acclimation. The cage is a tool to protect the new queen from the colony's initial defensive instincts, buying her the time needed for her pheromones to be accepted as the new scent of the hive.
The Goal: Acceptance, Not Just Release
Introducing a new queen is one of the most delicate operations in beekeeping. The colony's default behavior is to treat any unknown bee, especially a queen, as a threat and kill her immediately. The cage is her only protection.
Why a Slow Introduction is Critical
A colony identifies its queen by her unique pheromones, or scent. A new queen has a foreign scent.
The cage allows worker bees to touch, feed, and interact with the new queen through the screen. Over several days, her pheromones spread throughout the hive, and the colony's collective scent begins to change.
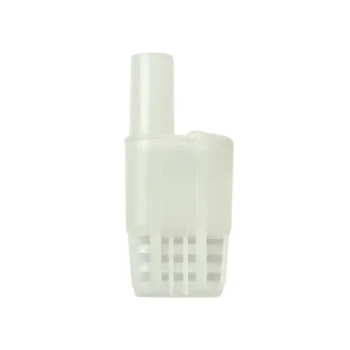
The Role of the Candy Plug
The candy plug in the cage is not just food; it is a time-release mechanism.
It typically takes the bees two to five days to eat through the candy. This period is the crucial window for social acclimation. By the time the candy is gone and the queen can walk out, the hive has largely accepted her as its own.
Step-by-Step Installation Guide
Proper execution is key to success. Before you begin, ensure your hive has been queenless for at least 24 hours and that you have removed any emergency queen cells the bees may have started building.
Step 1: Locate the Brood Nest
Open the hive and find the brood chamber, which is the box where the queen lays eggs and young bees are raised. Your goal is to place the new queen right in the center of this activity.
Step 2: Position the Cage
Gently separate two frames in the middle of the brood nest. Hang or wedge the queen cage between these two frames. The center of the hive has the most bee traffic and the most stable temperature, giving the queen the best chance of being cared for.
Step 3: Orient the Cage Correctly
The cage must be positioned with the candy-side up.
This is a critical detail. If the candy is facing down, any attendant bees that die inside the cage can fall and block the exit, trapping the queen even after the candy is gone.
Step 4: Ensure Worker Bee Access
Make sure the screen sides of the cage are exposed to the open space between the frames. Do not press the frames so tightly that the bees cannot get to the screen. They need to be able to touch and feed the queen through this mesh.
Step 5: Secure the Cage
Gently push the two frames back together to hold the cage securely in place. It should be snug enough that it won't fall to the bottom of the hive. Once secure, close the hive and leave it undisturbed.
Understanding the Trade-offs and Pitfalls
Many beginners make simple mistakes that lead to the rejection of a new queen. Understanding these common issues is as important as knowing the installation steps.
Queen Cage vs. Queen Excluder: A Critical Distinction
These two pieces of equipment serve entirely different purposes. A queen cage is a small box used to slowly introduce a new queen. A queen excluder is a large, flat grid placed between hive boxes to prevent a laying queen from accessing the honey supers. Confusing the two is a fundamental error.
Pitfall: Releasing the Queen Manually
Resist the temptation to open the hive after a day and release the queen yourself. This bypasses the critical acclimation period and dramatically increases the likelihood of the bees attacking her. Let the bees release her on their schedule.
Pitfall: Leaving Queen Cells in the Hive
If the colony has already started raising its own new queen in a "queen cell," it will never accept an introduced one. You must inspect every frame in the brood box and destroy all queen cells before installing the new caged queen.
Making the Right Choice for Your Goal
Your actions following the installation are guided by the goal of confirming acceptance.
- If your goal is a quick release check: Wait at least 3 days, then quickly open the hive, pull the cage, and confirm it's empty. If she's not released, assess the bees' attitude—if they are aggressive towards the cage, close the hive and wait another 2 days.
- If your goal is to confirm she is laying: Wait 7 to 10 days after installation before doing a full hive inspection. Look for tiny, rice-like eggs in the bottom of the cells. Seeing her eggs is the ultimate proof of a successful introduction.
By carefully managing this process, you are guiding the colony's natural behavior to ensure a stable and productive future.
Summary Table:
| Step | Key Action | Purpose |
|---|---|---|
| 1 | Locate the brood nest | Place the queen in the center of colony activity. |
| 2 | Position the cage | Wedge the cage securely between two frames. |
| 3 | Orient the cage | Ensure the candy plug is facing upwards. |
| 4 | Ensure bee access | Confirm worker bees can reach the cage screen. |
| 5 | Secure the cage | Gently push frames together to hold it in place. |
Ensure your next queen introduction is a success with reliable equipment from HONESTBEE. We supply commercial apiaries and beekeeping equipment distributors with the high-quality, durable supplies needed for critical hive management tasks. From queen cages to essential tools, our wholesale-focused operations support your business's growth and efficiency. Contact our team today to discuss your needs and get a quote for your next order.
Visual Guide
Related Products
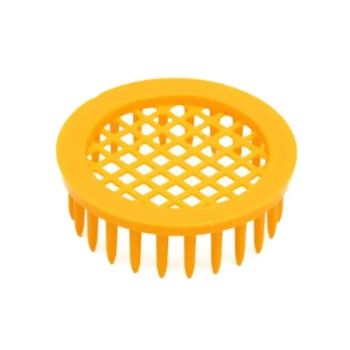
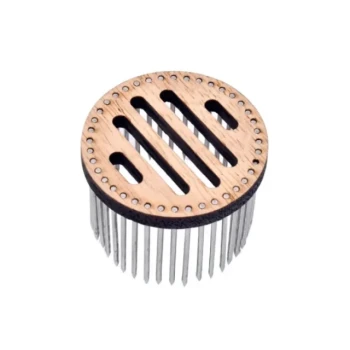
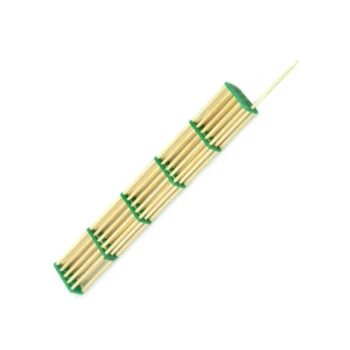
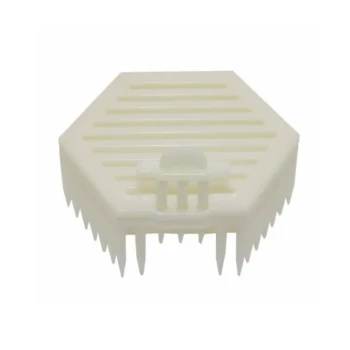
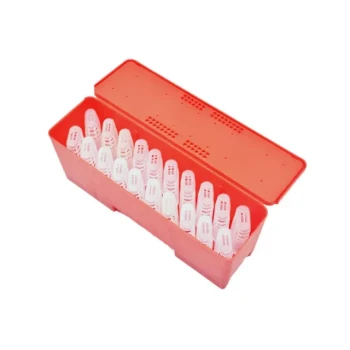
- Durable Galvanized Steel Spring Queen Bee Cage
- Classic Wooden and Mesh California Queen Cage
- Professional Queen Bee Introduction and Transport Cage
- Professional Queen Cage with Sliding Gate and Feeder Plug
- Professional Multi-Compartment Queen Cage with Sliding Lid
People Also Ask
- Why are specialized queen bee cages used for the banking of mated queen bees? Maximize Commercial Apiary Storage Efficiency
- What is the step-by-step process for installing a queen bee's cage onto a frame? Ensure Hive Acceptance Safely
- When and how should a beekeeper verify that the queen bee has been released? Ensure Colony Success
- What is the technical purpose of the dedicated feeding compartment and access channel in a queen bee cage? Pro Guide
- What is the mechanism of action for using temporary queen bee cages? Master Successful Queen Introduction