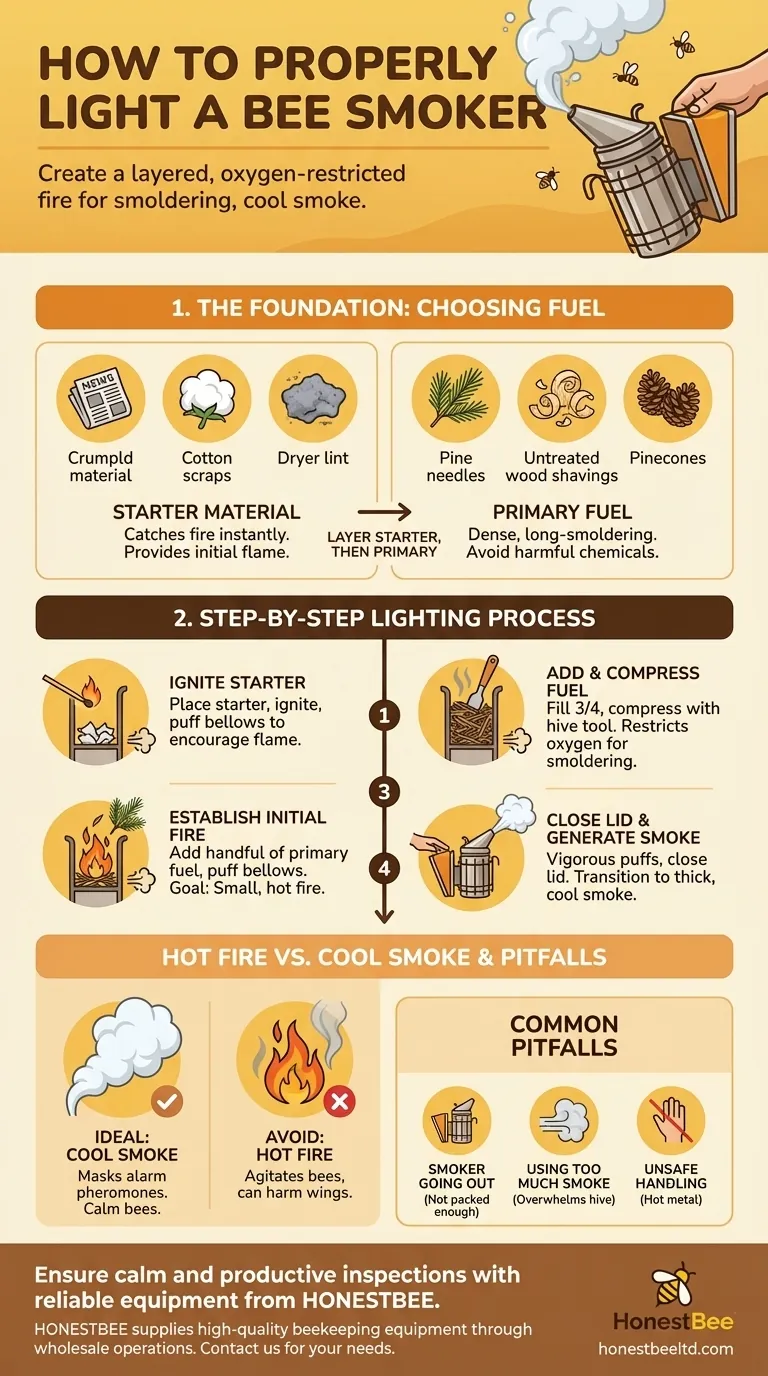
To properly light a bee smoker, you must create a layered, oxygen-restricted fire designed for smoldering, not open flames. The process involves igniting an easy-to-burn starter, establishing a small fire with kindling, and then compacting this base with a long-burning primary fuel. By managing airflow with the bellows and the lid, you convert this initial heat into the cool, white smoke necessary for calming bees.
The goal is not simply to start a fire, but to create a smoldering coal bed that consistently produces thick, cool smoke. The key is to establish a hot base and then restrict oxygen by adding and compacting fuel, forcing it to smolder rather than burn.
The Foundation: Choosing the Right Fuel
The success of your smoker depends entirely on the fuel you choose. A good setup uses two distinct types of material: a starter and a primary fuel.
The Starter Material
Your starter must be something that catches fire instantly. Its only job is to provide the initial flame needed to ignite the denser fuel on top of it.
Common starters include crumpled newspaper, cardboard, cotton scraps, or dryer lint.
The Primary Fuel
This is the most critical component. The primary fuel must be dense enough to smolder for a long time without producing excessive heat or harmful chemicals.
Excellent choices include pine needles, untreated wood shavings, pinecones, burlap, or specialized commercial smoker fuels.
The Step-by-Step Lighting Process
Follow this sequence to ensure your smoker lights correctly and stays lit throughout your inspection.
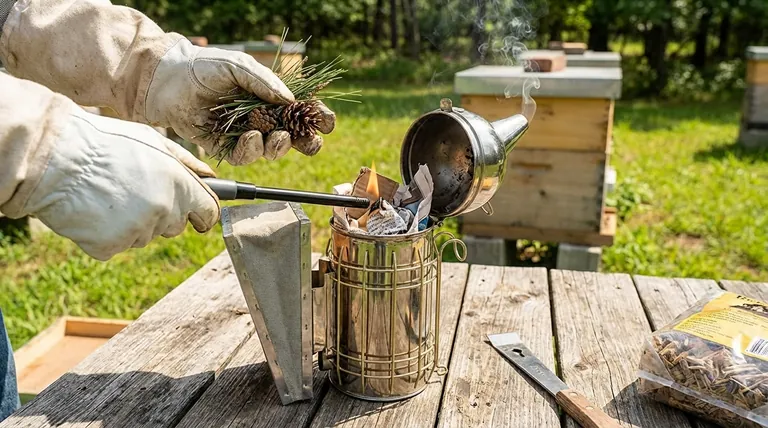
Step 1: Ignite Your Starter
Place a small amount of your starter material, like a crumpled piece of paper, at the bottom of the smoker's fire chamber. Use a lighter or match to ignite it.
Gently pump the bellows a few times to provide oxygen and encourage a steady flame.
Step 2: Establish the Initial Fire
Once the starter is burning well, add a handful of your primary fuel, such as pine needles or wood shavings. Continue puffing the bellows to help this new material catch fire.
You are looking for active, visible flames at this stage. The goal is to build a small, hot fire that will act as the coal bed for the rest of your fuel.
Step 3: Add and Compress Your Primary Fuel
When the flames are roaring, add more primary fuel until the chamber is about three-quarters full. Use your hive tool to gently compress the fuel down.
This step is crucial. Compressing the fuel reduces airflow, which forces the fire to smolder instead of burn with an open flame.
Step 4: Close the Lid and Generate Smoke
After compressing, give the bellows a few vigorous puffs. You should see a transition from flames to thick, white smoke pouring from the nozzle.
Close the lid securely. The smoker is now ready for use. A few puffs every five minutes will keep it smoldering.
Understanding the Trade-offs: Hot Fire vs. Cool Smoke
A common mistake is producing hot, thin smoke, which agitates bees and can harm them. Understanding the difference is key to effective beekeeping.
The Goal: Thick, White, and Cool Smoke
The ideal output is cool, white smoke. This smoke effectively masks the bees' alarm pheromones without burning their delicate wings or irritating them with excessive heat.
This is achieved through a smoldering fire, not an open flame.
The Problem with Flames and Hot Smoke
If you can see flames coming out of your smoker's nozzle, the fire is too hot and has too much oxygen. This produces thin, acrid smoke that is ineffective and can even make bees more defensive.
Always test the smoke's temperature on the back of your hand from a few inches away before applying it to the hive.
Common Pitfalls to Avoid
Even experienced beekeepers can make mistakes with their smoker. Being aware of these common issues will save you frustration during hive inspections.
Smoker Going Out Mid-Inspection
The most common problem is the smoker going out at a critical moment. This is almost always caused by not packing in enough primary fuel.
Ensure the fire chamber is well-packed and compressed to create a long-lasting coal bed that can smolder for the duration of your work.
Using Too Much Smoke
More is not better. The goal is to gently interrupt the bees' communication, not overwhelm the hive. A few gentle puffs at the entrance and under the lid are usually sufficient.
Only use more smoke if you are dealing with a particularly defensive or aggressive colony.
Unsafe Handling and Extinguishing
Remember that the smoker is a metal container with a fire inside—it becomes extremely hot. Always handle it by the bellows or the protective wire cage.
After use, safely extinguish the fuel by emptying it onto a non-flammable surface like concrete or dirt and dousing it with water.
Making the Right Choice for Your Hive Inspection
Use your smoker as a precise tool to facilitate a calm and productive partnership with your bees.
- If your primary focus is a routine, calm inspection: A few gentle puffs at the hive entrance before opening is all you need to signal your presence.
- If your primary focus is bee safety: Always test the smoke temperature and ensure you are at least 5-6 inches away from the bees to avoid burning their wings.
- If your primary focus is managing a defensive colony: Apply smoke more deliberately but still in moderation, waiting 30-60 seconds after the initial puffs for it to take effect.
Properly lighting and using your smoker is the first step toward becoming a calm and confident beekeeper.
Summary Table:
| Step | Key Action | Purpose |
|---|---|---|
| 1. Ignite Starter | Light crumpled paper at the bottom. | Create an initial flame to ignite the main fuel. |
| 2. Establish Fire | Add a handful of primary fuel (e.g., pine needles). | Build a small, hot fire to create a coal bed. |
| 3. Compress Fuel | Fill the chamber 3/4 full and pack it down with a hive tool. | Restrict oxygen to force smoldering, not flames. |
| 4. Generate Smoke | Close the lid and puff the bellows. | Produce the thick, white, cool smoke needed for bee calm. |
Ensure every hive inspection is calm and productive with reliable equipment from HONESTBEE.
Whether you manage a commercial apiary or are a beekeeping equipment distributor, a properly functioning smoker is essential for bee safety and beekeeper confidence. HONESTBEE supplies high-quality beekeeping supplies and equipment through our wholesale-focused operations, ensuring you have the durable tools needed for success.
Contact our team today to discuss your wholesale needs and discover how our equipment can support your beekeeping operations.
Visual Guide
Related Products
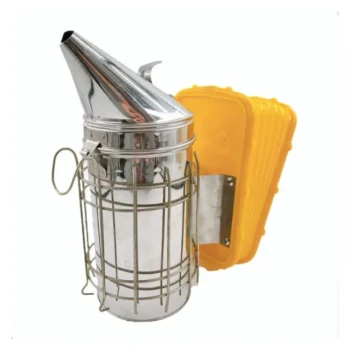
- Stainless Steel Honey Bee Smoker Hive and Honeycomb Smoker for Beekeeping
- Professional Bee Smoker with Elongated Spout and Durable Bellows for Beekeeping
- Premium Traditional Copper Bee Smoker with Bellows
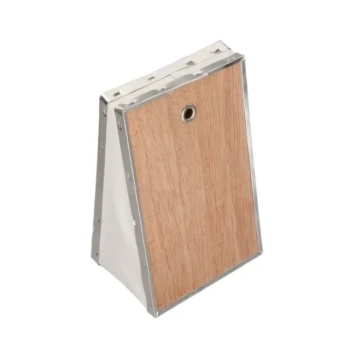
- Heavy Duty Manual Bee Smoker Blower for Beekeeping
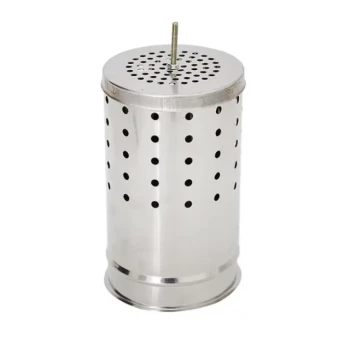
- European Stainless Steel Bee Smoker for Honey Bee Hive
People Also Ask
- What type of bee smoker is recommended for a beginner? Top Picks for Easy Hive Management
- Why is a specialized bee smoker considered a critical tool for apiary safety? Master Hive Control & Productivity
- How do bee smokers and colored light sources work together to assist in night-time honey harvesting? Expert Strategies
- Why is a stainless steel bee smoker considered indispensable? Master Hive Management with Cool Smoke Technology
- How should a beekeeper use a smoker when approaching a hive? A Guide to Calm, Safe Inspections