To secure a silicone candle mold, you must use strong rubber bands to hold the intentional split in the mold tightly closed. Most silicone molds for complex shapes are designed with this split to allow for easy removal of the finished candle, but they require proper binding before pouring wax to prevent leaks.
The split in your silicone mold is a critical design feature, not a flaw. The core task is to temporarily but firmly re-seal this split, ensuring hot wax cannot escape and the final candle maintains its intended, seamless form.
Why Your Silicone Mold is Split
Many candle makers are initially concerned when they find a large slit down the side of their new silicone mold. This is by design and is essential for creating complex, three-dimensional candles.
A Design Feature, Not a Defect
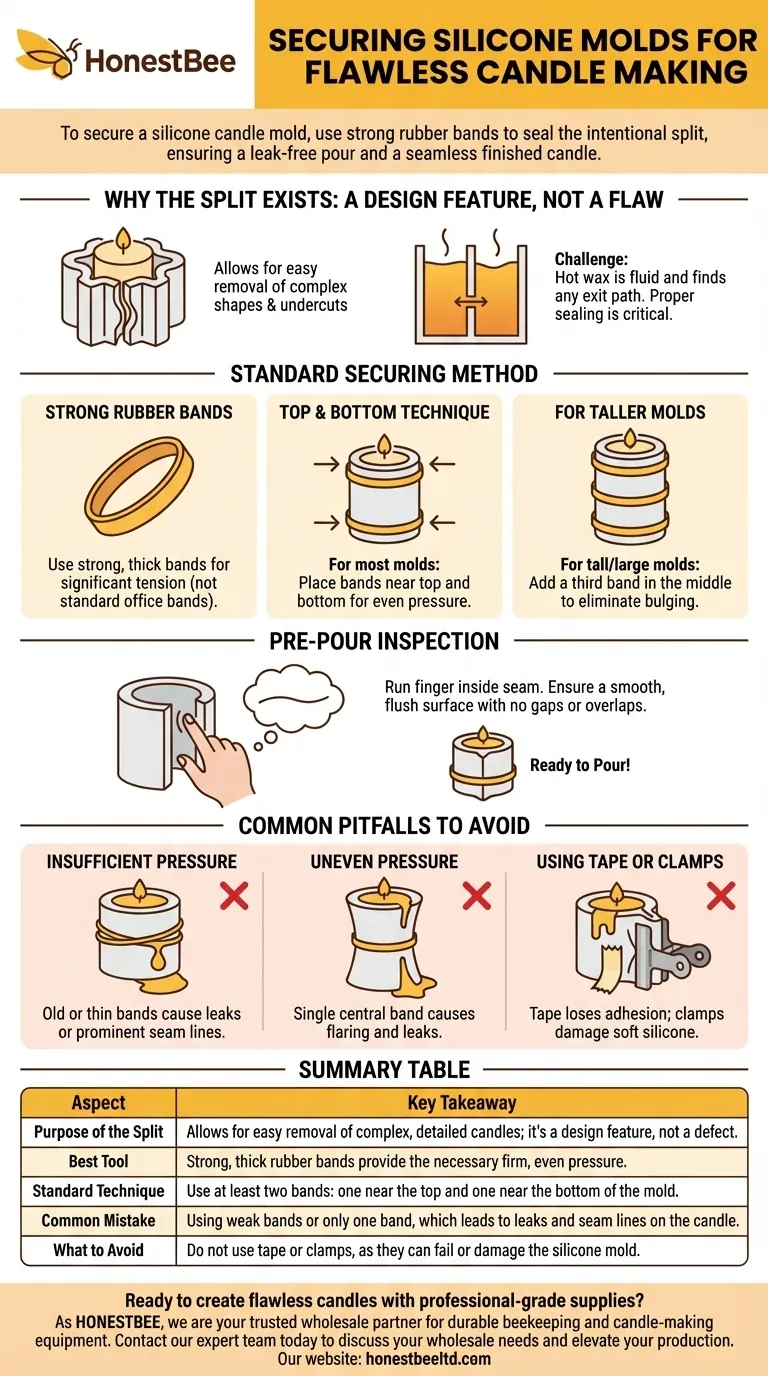
The split allows the flexible silicone to be peeled away from the hardened candle. Without it, removing a candle with intricate details or "undercuts" (where parts of the design overhang others) would be impossible without breaking the candle or the mold.
The Challenge of Liquid Wax
The benefit of easy demolding creates the challenge of containing liquid wax. Hot wax is fluid and will find any available exit path. The split, if not properly secured, becomes a major seam for leaks, resulting in wasted wax, a mess, and a malformed candle.
The Standard Method for Securing a Mold
The goal is to apply firm, even pressure along the entire length of the split. The industry-standard tool for this is simple but effective.
Use Strong Rubber Bands
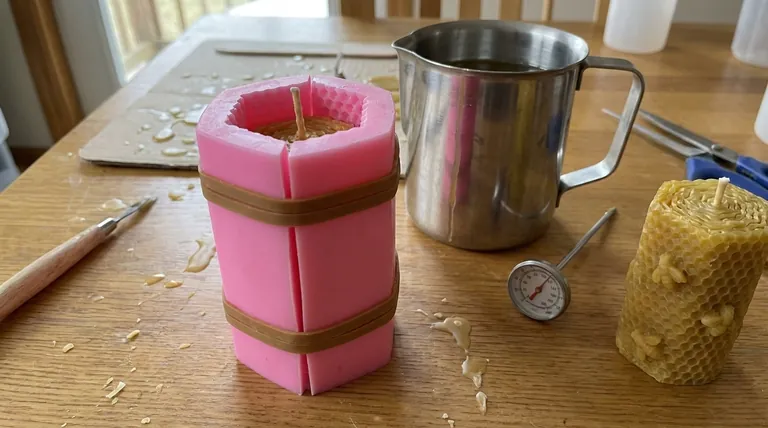
Standard office rubber bands are often too thin and weak. You need strong, thick rubber bands that can create significant tension. Many candle supply companies sell these specifically for this purpose.
The "Top and Bottom" Technique
For most molds, use at least two rubber bands. Place one band near the top of the mold and the other near the bottom. This ensures pressure is distributed evenly across the entire seam.
For Taller Molds
If you are working with a particularly tall or large mold, do not hesitate to add a third rubber band in the middle. The key is to eliminate any potential for the seam to bulge or gap.
Pre-Pour Inspection
Once the bands are in place, run your finger along the inside of the seam. You should feel a smooth, flush surface. If you can feel a gap or one side overlapping the other, adjust the mold before the bands are fully tightened.
Common Pitfalls to Avoid
Securing the mold seems simple, but small mistakes can compromise your final product. Understanding these common errors will help you achieve a professional result.
Pitfall: Insufficient Pressure
Using old, stretched-out, or thin rubber bands will not create a tight seal. This can lead to a slow leak or, at a minimum, a prominent seam line on your finished candle where a small amount of wax seeped into the gap.
Pitfall: Uneven Pressure
Using only one rubber band in the center of a tall mold is a common mistake. This can cause the top and bottom of the seam to flare out, creating a perfect channel for wax to escape once the mold is filled.
Pitfall: Using Tape or Clamps
While tempting, other binding methods have significant downsides. Most tapes will lose their adhesion when exposed to the heat of the wax or any minor wax drips. Metal clamps can apply too much focused pressure, potentially deforming or even damaging the soft silicone mold.
Making the Right Choice for Your Goal
Your approach to securing the mold ensures a clean process and a high-quality finished product. Adapt your technique based on your specific mold and desired outcome.
- If your primary focus is preventing leaks: Use at least two strong, wide rubber bands, ensuring one is near the top and one is near the bottom for even pressure.
- If your primary focus is minimizing seam lines: After securing the mold, carefully inspect the internal seam to ensure the two sides are perfectly flush before pouring your wax.
- If you are working with a very tall or complex mold: Use three or more rubber bands to guarantee consistent, even pressure along the entire length of the split.
Properly securing your mold is the foundational step to transforming liquid wax into a perfectly formed candle.
Summary Table:
| Aspect | Key Takeaway |
|---|---|
| Purpose of the Split | Allows for easy removal of complex, detailed candles; it's a design feature, not a defect. |
| Best Tool | Strong, thick rubber bands provide the necessary firm, even pressure. |
| Standard Technique | Use at least two bands: one near the top and one near the bottom of the mold. |
| Common Mistake | Using weak bands or only one band, which leads to leaks and seam lines on the candle. |
| What to Avoid | Do not use tape or clamps, as they can fail or damage the silicone mold. |
Ready to create flawless candles with professional-grade supplies?
As HONESTBEE, we are your trusted wholesale partner, supplying durable beekeeping and candle-making equipment to commercial apiaries and distributors. Ensure every pour is a success with our reliable tools.
Contact our expert team today to discuss your wholesale needs and elevate your production.
Visual Guide
Related Products
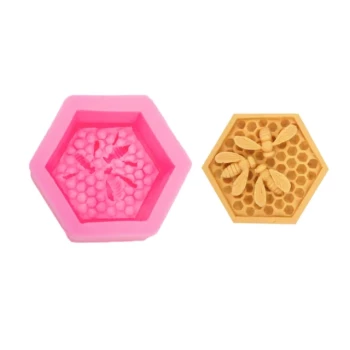
- Honeycomb Hexagonal Pillar Silicone Candle Mold for Candle Making
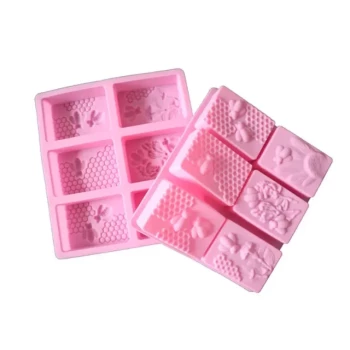
- 3D Square Honeycomb Pillar Silicone Candle Molds for Making Beeswax Candles
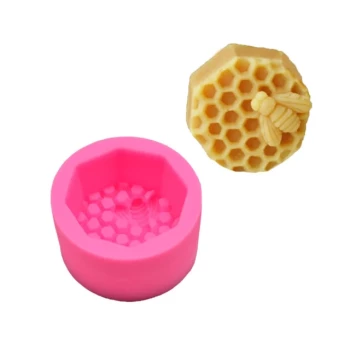
- 3D Beehive Silicone Skep Wax Candle Molds for Candles
- Round Honeycomb Pillar Silicone Candle Molds for Candles
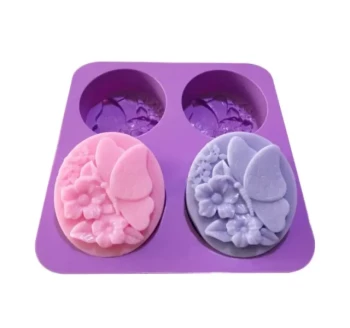
- Bee Floral Relief Silicone Mold for Artisan Soap Candle Making
People Also Ask
- How are the hollow cell plugs prepared for the queen to lay eggs? Mastering Wax Embedding for Queen Rearing
- What is the role of a sintered glass crucible in determining honey's insoluble matter? Precision Filtration Explained
- How should you prepare the mold for pouring hot wax? Achieve Professional Candles Every Time
- What are the technical benefits of using mold casting processes in candle manufacturing? Achieve Precision & Consistency
- How do you remove a finished candle from the mold? Master the Art of Flawless Demolding