The key to removing a finished candle is ensuring it has cooled completely, which causes the wax to shrink slightly away from the mold walls. Once fully solidified and at room temperature, you can gently separate the mold from the candle. Rushing this process is the primary cause of stuck or broken candles.
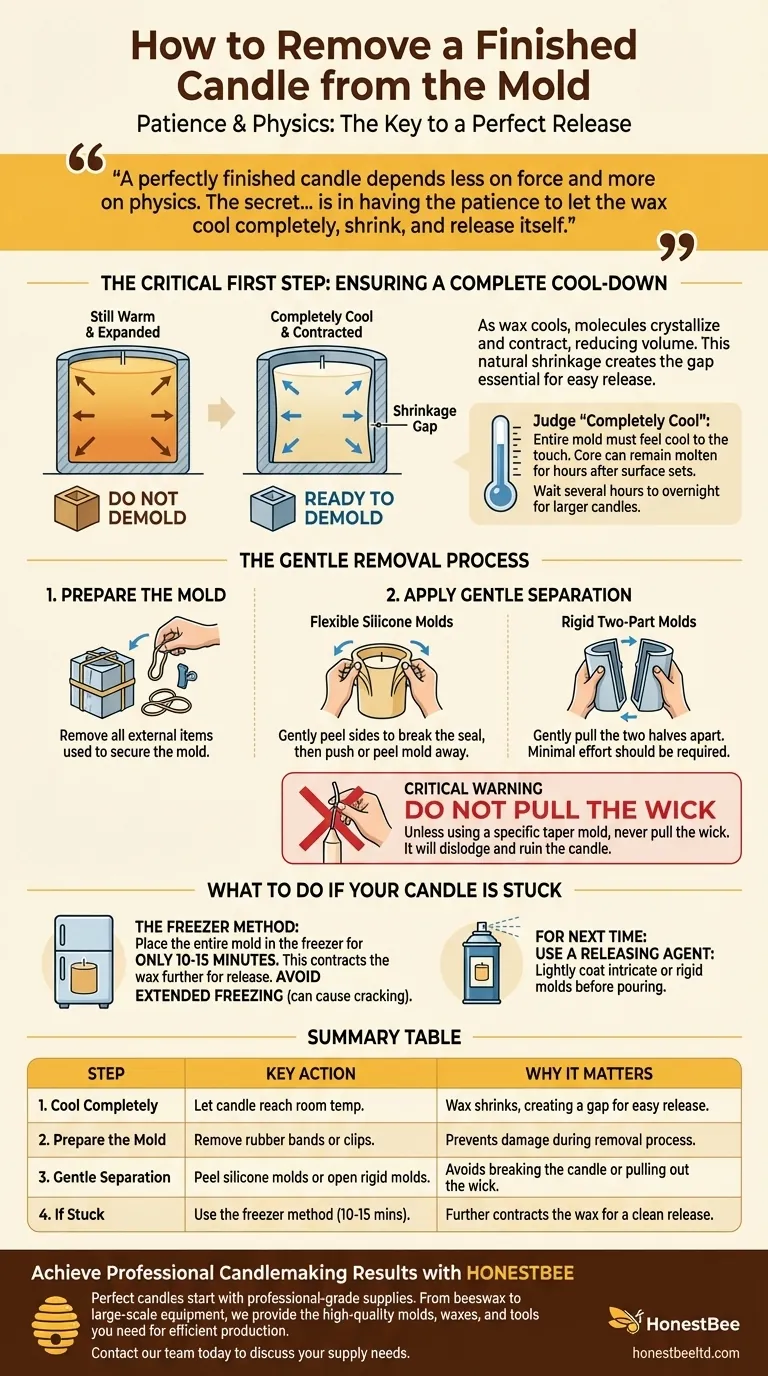
A perfectly finished candle depends less on force and more on physics. The secret isn't in how you pull the candle out, but in having the patience to let the wax cool completely, shrink, and release itself.
The Critical First Step: Ensuring a Complete Cool-Down
The most common mistake is attempting to demold a candle that is still warm in the center. Patience at this stage is non-negotiable for a clean release.
Why Cooling is a Chemical Necessity
As melted wax cools, its molecules arrange themselves into a more compact, crystalline structure. This process of solidification results in a slight but significant reduction in volume.
This natural shrinkage is what creates a microscopic gap between the candle and the mold, allowing it to slide out easily. If the candle is still warm, the wax has not fully contracted, and it will adhere to the mold's surface.
How to Judge "Completely Cool"
The top surface of the candle solidifying and changing color is a deceptive sign. The core of the candle can remain molten for hours after the surface appears set.
A reliable indicator is when the entire mold feels cool to the touch, having returned to ambient room temperature. As a general rule, you should let the candle rest for several hours, or even overnight for larger candles, before attempting removal.
The Gentle Removal Process
Once you've confirmed the candle is completely cool, the removal process should be methodical and require very little force.
Prepare the Mold
Begin by removing any external items used to secure the mold during pouring. This includes rubber bands, clips, or sealing putty.
Apply Gentle Separation
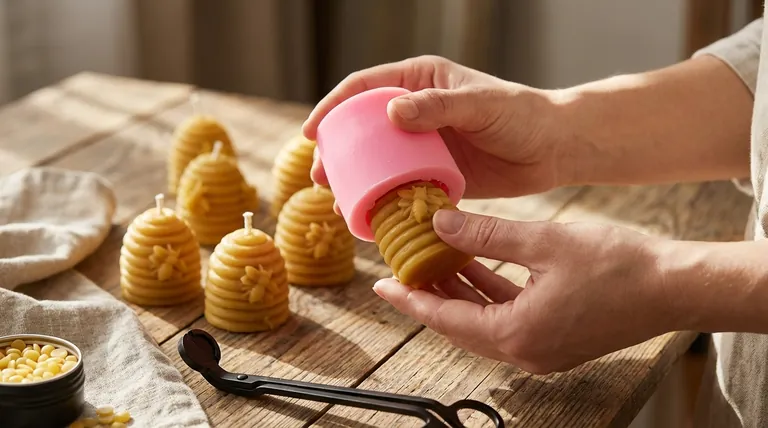
For flexible silicone molds, gently peel the sides of the mold away from the candle to break the initial seal. Then, carefully push the candle out from the bottom or peel the mold down and away.
For rigid two-part molds, gently pull the two halves apart. The candle should release with minimal effort.
A Critical Warning: Do Not Pull the Wick
Unless you are using a specific type of taper mold designed for it, never pull on the wick to remove the candle. The wick is only held in place by the wax and can easily be pulled out, ruining the candle.
What to Do If Your Candle Is Stuck
Even with perfect preparation, a candle can sometimes be stubborn. Forcing it will almost certainly cause damage, but a simple technique can solve the problem.
The Freezer Method
Place the entire mold into a freezer for no more than 10-15 minutes. This short blast of cold will cause the wax to contract further, often providing just enough clearance for it to release.
Do not leave it in the freezer for an extended period, as this can cause the wax to crack. After removing it from the freezer, the candle should slide out easily.
For Next Time: Use a Releasing Agent
If you consistently have issues with a particular mold, consider using a mold release spray. A very light coating on the inside of the mold before you pour the wax can prevent sticking, especially with intricate or rigid molds.
Adapting Your Technique for a Perfect Result
Your specific approach should be guided by your materials and your goal. A successful demolding process starts before you even pour the wax.
- If you are using a flexible silicone mold: Your primary technique is to gently peel the mold away from the candle, rather than pushing the candle out.
- If you are using a rigid metal or plastic mold: Your success depends almost entirely on allowing the candle to cool completely so the wax shrinks and releases on its own.
- If you are aiming for a flawless surface: Use a mold release agent and prioritize a slow, even cooling process away from drafts to prevent imperfections.
Ultimately, patience is the most valuable tool in candlemaking.
Summary Table:
| Step | Key Action | Why It Matters |
|---|---|---|
| 1. Cool Completely | Let candle reach room temperature. | Wax shrinks, creating a gap for easy release. |
| 2. Prepare the Mold | Remove rubber bands or clips. | Prevents damage during the removal process. |
| 3. Gentle Separation | Peel silicone molds or open rigid molds. | Avoids breaking the candle or pulling out the wick. |
| 4. If Stuck | Use the freezer method for 10-15 minutes. | Further contracts the wax for a clean release. |
Achieve Professional Candlemaking Results with HONESTBEE
Perfect candles start with professional-grade supplies. Whether you're a commercial apiary producing beeswax candles or a distributor sourcing reliable equipment, HONESTBEE provides the high-quality molds, waxes, and tools you need for efficient, large-scale production.
Let us help you streamline your operation with our wholesale-focused solutions. Contact our team today to discuss your supply needs and discover the HONESTBEE difference.
Visual Guide
Related Products
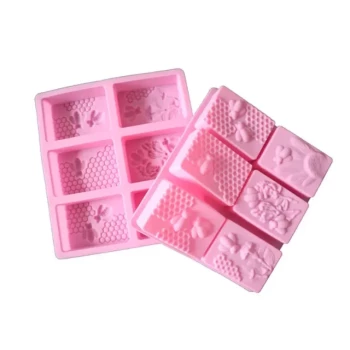
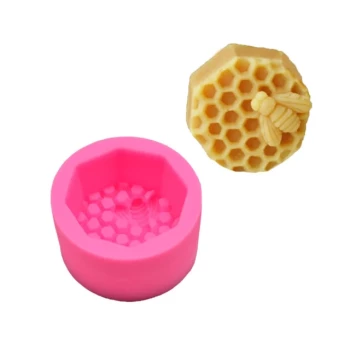
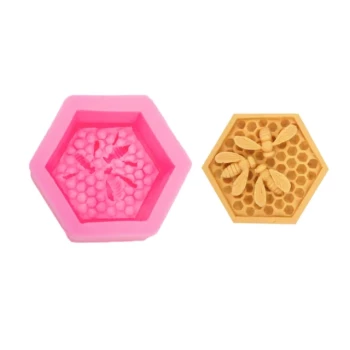
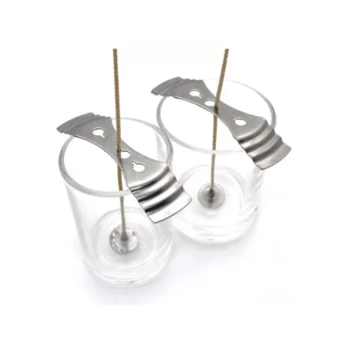
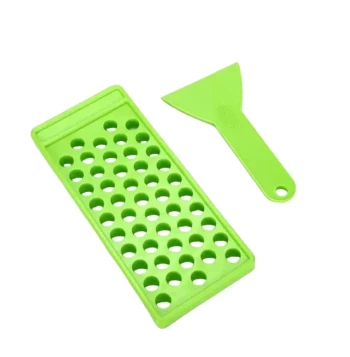
- Honeycomb Hexagonal Pillar Silicone Candle Mold for Candle Making
- 3D Square Honeycomb Pillar Silicone Candle Molds for Making Beeswax Candles
- Round Honeycomb Pillar Silicone Candle Molds for Candles
- 3D Beehive Silicone Skep Wax Candle Molds for Candles
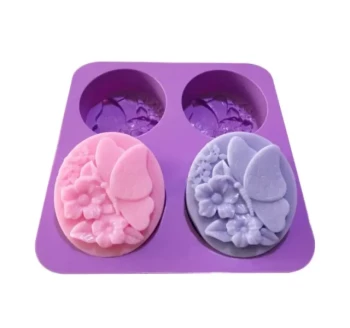
- Bee Floral Relief Silicone Mold for Artisan Soap Candle Making
People Also Ask
- What is the role of a sintered glass crucible in determining honey's insoluble matter? Precision Filtration Explained
- What are the technical benefits of using mold casting processes in candle manufacturing? Achieve Precision & Consistency
- What are the advantages of silicone molds for queen cell cups? Upgrade Your Queen Rearing Precision
- How should you prepare the mold for pouring hot wax? Achieve Professional Candles Every Time
- What are the advantages of using flexible molds for professional candle production? Enhance Efficiency & Detail