The definitive method for harvesting honey from a top-bar hive is the 'crush and strain' technique. Because the honeycomb is attached only to the top bar and lacks the four-sided frame used in other hives, it is too fragile for a standard centrifugal extractor. This process involves cutting the comb from the bar, crushing it, and straining the honey from the wax.
Unlike framed hives designed for mechanical extraction, top-bar hive harvesting is a more manual process. It requires sacrificing the wax comb but yields a unique, pollen-rich honey and requires no expensive equipment.

Why Top-Bar Harvesting is Different
The physical design of the top-bar hive dictates the entire harvesting process. Understanding this core difference is key to success.
The Defining Feature: Frameless Comb
In a top-bar hive, bees build their comb suspended freely from a single wooden bar. This creates a beautiful, natural teardrop-shaped comb.
However, this comb is only attached along its top edge. It lacks the structural support on the sides and bottom.
The Contrast with Framed Hives
Conventional hives, like the Langstroth, use four-sided frames. The bees build their comb within this rigid structure, attaching it on three or four sides.
This reinforcement makes the comb strong enough to withstand the powerful centrifugal force of a mechanical extractor, which spins the honey out while leaving the wax comb intact. A top-bar comb would simply disintegrate under such force.
The Primary Method: Crush and Strain
This is the most common and straightforward approach for top-bar beekeepers.
Step 1: Select the Right Comb
Only harvest combs that are full of capped honey. Leave any combs containing brood (bee larvae) or significant amounts of pollen for the bees.
It is critical to ensure the colony has more than enough honey stored to survive the winter before you take any surplus.
Step 2: Cut the Comb from the Bar
Using a sharp knife or hive tool, carefully slice the comb away from the top bar. Let the entire comb fall gently into a clean, food-grade bucket.
Step 3: Crush the Comb
Once you have collected all the honey-filled comb, break it up inside the bucket. You can use a large spoon, a potato masher, or your clean hands to crush the wax and release the honey.
Step 4: Strain the Honey
Pour the honey-and-wax slurry through a strainer system. A coarse strainer will remove large wax pieces, while a finer strainer or cheesecloth will remove smaller particles.
The honey drains through, leaving the beeswax behind. This method often results in a honey with a higher pollen content, as more of the comb's contents are mixed in.
Understanding the Trade-offs
The crush and strain method is effective, but it comes with distinct advantages and disadvantages.
Pro: Simplicity and Low Cost
This method is the definition of low-tech beekeeping. It requires no electricity and no expensive extractor, making it accessible and affordable for any hobbyist.
Pro: Premium, Pollen-Rich Honey
The process of crushing the entire comb incorporates more of the natural pollens and propolis into the final product, which many consumers value for its flavor and potential health benefits.
Con: Bees Must Rebuild the Comb
This is the single biggest drawback. Because you destroy the wax comb, the bees must expend significant energy and resources to build it all over again.
Producing wax is costly for bees. This rebuilding effort can set the colony back and potentially reduce the size of your next honey harvest, whereas beekeepers using extractors can return the empty, intact comb to the hive for immediate reuse.
Making the Right Choice for Your Goal
Your harvesting strategy should align with your beekeeping philosophy and goals.
- If your primary focus is simplicity and minimal investment: The crush and strain method is the most direct and cost-effective approach for top-bar hives.
- If your primary focus is a premium, natural product: Offer cut comb honey by simply cutting clean squares of capped honeycomb and packaging them directly, bypassing any processing.
- If your primary focus is colony health and productivity: Harvest conservatively, ensuring you only take true surplus honey to minimize the energy the bees must spend rebuilding comb.
Ultimately, harvesting from a top-bar hive embraces a natural, hands-on approach that directly reflects the fundamental cycle of the hive.
Summary Table:
| Step | Action | Key Consideration |
|---|---|---|
| 1 | Select Comb | Harvest only capped honeycombs; leave brood/pollen combs for the bees. |
| 2 | Cut Comb | Use a sharp knife to slice the fragile comb from the top bar. |
| 3 | Crush Comb | Break up the comb in a bucket to release the honey. |
| 4 | Strain Honey | Filter through strainers/cheesecloth to separate honey from wax. |
Ready to embrace natural beekeeping? As HONESTBEE, we supply the durable top-bar hives and essential beekeeping supplies that commercial apiaries and equipment distributors trust. Our wholesale-focused operations ensure you get the reliable equipment needed for successful crush and strain harvesting. Let's discuss how we can support your beekeeping goals — contact our experts today for wholesale inquiries!
Visual Guide

Related Products
- Top Bar Beehive for Beekeeping Wholesales Kenya Top Bar Hive
- Long Langstroth Style Horizontal Top Bar Hive for Wholesale
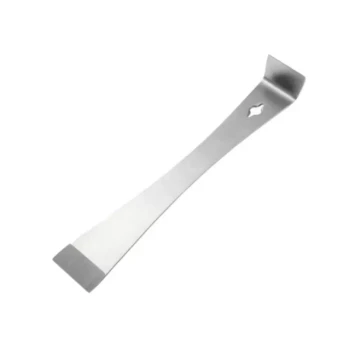
- Professional Stainless Steel Pry-Bar Hive Tool
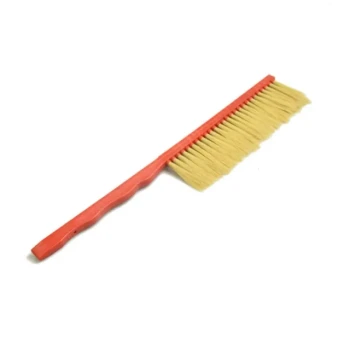
- Plastic Handle Single Row Artificial Fiber Bee Brush
- HONESTBEE Professional Hive Top Bee Feeder Feeding Solution
People Also Ask
- Why do top bar hives require beekeepers to detach comb? Master the Detach-then-Lift Technique for Comb Safety
- How does the design of a top bar hive minimize disturbance to the bees during inspection? Achieve a Calmer, More Natural Approach
- How does comb construction differ between a top bar hive and a Langstroth hive? Choose the Best Method for Your Apiary
- How is honey harvested from a top bar hive system? Master the Crush and Strain Method for Pure Honey and Beeswax
- What are the main differences between a top bar hive and a Langstroth hive? A Guide to Choosing Your Hive