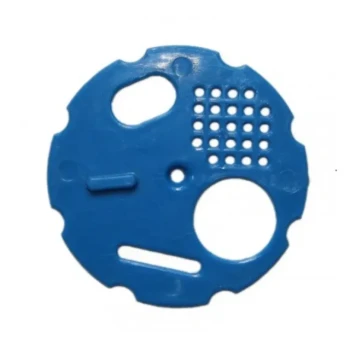
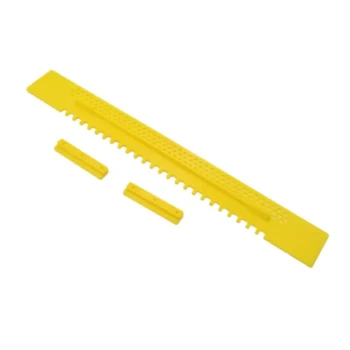
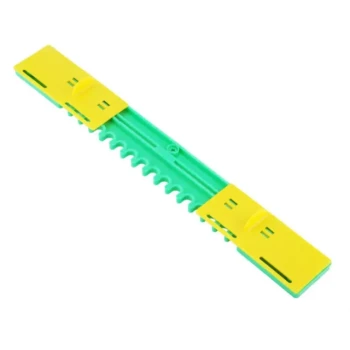
Configure the entrance reducer narrowly, with the opening facing upward, and tilt the hive slightly forward. For a new nucleus colony or package installation, the smallest practical entrance helps the limited bee population defend against robbing and reduces drifting. A slight forward tilt allows rainwater to drain away from the hive entrance and prevents moisture from accumulating on the floor.
The correct starting configuration is a small, upward-facing entrance opening and a modest forward hive tilt. Expand or remove the reducer as colony strength, weather, ventilation, and entrance traffic justify it rather than following a calendar alone.
Set Up the Entrance Reducer Correctly
Start With the Smallest Practical Opening
Use the reducer’s smallest opening during the initial installation period. The opening should be narrow enough that the new colony can defend it effectively, generally allowing only limited bee traffic at one time.
This is especially important for package bees and small nucleus colonies, whose populations may be too low to protect a wide entrance from stronger colonies, wasps, or other intruders.
Face the Opening Upward
Install the reducer at the bottom entrance with its notch or opening facing upward. This orientation allows live bees to climb over dead bees or debris that collect near the hive floor.
A downward-facing opening can become blocked more easily, restricting both bee movement and ventilation. The upward orientation is therefore a practical installation detail, not merely a product preference.
Keep the Initial Hive Compact
Newly installed colonies should generally begin in a manageable amount of hive space. Excess space can make temperature regulation and entrance defense more difficult for a small population.
For distributors and commercial operators, standardized reducers and compatible hive accessories reduce installation errors across multiple apiaries and make field procedures easier to repeat.
Configure the Hive Tilt
Tilt the Hive Slightly Forward
Shim the hive stand or base so the hive body slopes gently toward the entrance. The angle should be slight and stable, not steep enough to make boxes shift or the hive unsafe.
The purpose is drainage: rainwater that enters near the lid or front should move outward rather than run toward the rear and collect on the hive floor.
Keep the Base Stable
The hive must remain level from side to side. A sideways tilt can interfere with frame alignment, encourage uneven comb construction, and create instability during inspections or transport.
Check that the stand, base, and any shim remain secure after installation. A drainage improvement is not useful if it introduces movement or structural risk.
Adjust the Reducer as the Colony Develops
Inspect Colony Strength and Traffic
The reducer should be enlarged when the colony has clearly increased in population and bees begin crowding the entrance. Also consider rising temperatures and the colony’s ability to defend a larger opening.
The reference guidance gives approximate transition points of four to six weeks for moving to a larger opening and around eight weeks for complete removal in warm conditions. These are operating benchmarks, not universal deadlines.
Use the Larger Opening During Expansion
As the colony grows and weather warms, turn the reducer to its larger opening to improve airflow and allow greater movement of workers. A typical larger opening may be around four inches, depending on the reducer design.
Increase ventilation before the entrance becomes congested, particularly when the colony is strong and carrying significant nectar or pollen.
Remove the Reducer Only When Justified
A robust colony in warm weather may no longer need an entrance reducer. Removing it maximizes airflow and reduces congestion, but the colony should first be capable of defending the full entrance.
In cooler weather, during weak-colony periods, or where robbing pressure is high, retaining a reduced entrance may remain appropriate.
Understanding the Trade-offs
Defense Versus Ventilation
A small entrance improves defense and helps a weak colony regulate its internal environment. Its limitation is reduced airflow and limited capacity for entering and exiting bees.
A larger entrance improves ventilation and throughput but exposes a small colony to more intrusion and makes defense more difficult. The correct setting changes as colony strength and weather change.
Calendar Guidance Versus Colony Conditions
Fixed schedules are useful for logistics, especially when installing many colonies, but they cannot replace inspection. A package may develop at a different rate from a nucleus colony, and local temperature, nectar flow, robbing pressure, and queen performance all affect the appropriate adjustment.
Use the four-to-six-week range as a review point and the approximately eight-week point as a possible removal point only when the colony is strong and conditions are warm.
Avoiding Blockage
A very narrow opening can become obstructed by dead bees, wax, debris, or crowding. The upward-facing orientation reduces this risk, but the entrance should still be checked during early establishment.
If bees cannot enter or exit freely, clear the obstruction and reassess whether the opening is too small for the colony’s current traffic.
Avoiding Excessive Tilt
Forward drainage is beneficial, but excessive tilt can destabilize the hive and complicate inspections. The hive should be visibly, modestly forward-sloped while remaining secure and laterally level.
How to Apply This to Your Operation
Choose the configuration according to the immediate goal and then reassess the colony regularly:
- If your primary focus is protecting a newly installed colony: Use the smallest practical entrance with the notch facing upward, and keep the hive slightly tilted forward.
- If your primary focus is supporting colony expansion: Move to the larger opening around weeks four to six when population and traffic increase, while monitoring airflow and congestion.
- If your primary focus is warm-weather ventilation: Remove the reducer at roughly eight weeks only when the colony is strong enough to defend the full entrance.
- If your primary focus is consistent B2B fulfillment: Source standardized reducers, stable hive bases, and compatible accessories so installation teams can apply the same procedure reliably across locations.
A defensible starting entrance and modest forward drainage give new colonies the protection and environmental control they need while leaving room for condition-based adjustment.
Summary Table:
| Configuration | Recommended Setting | Purpose |
|---|---|---|
| Entrance reducer size | Smallest practical opening | Defense against robbing and drifting |
| Reducer orientation | Notch facing upward | Avoid blockage and maintain airflow |
| Hive tilt | Slight forward tilt | Drainage and moisture prevention |
| Adjustment timeline | Enlarge at 4-6 weeks, remove at ~8 weeks | Match colony strength and weather |
Equip your apiary with high-quality entrance reducers and hive stands from HONESTBEE. Our wholesale solutions ensure consistent installation across your operations. Contact us today for fast delivery and expert support.
Related Products
- Steel Round Disc Entrance Reducer for Flexzion Bee Hive Nuc Box Gate
- Beehive Entrance Reducer Guardian Metal Hive Entrance for Bees
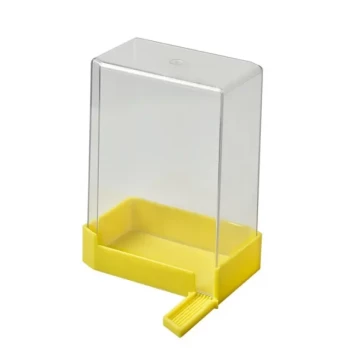
- Professional Hive Front Entrance Bee Feeder
- HONESTBEE Entrance Bee Feeder Professional Hive Nutrition Solution for Beekeeping
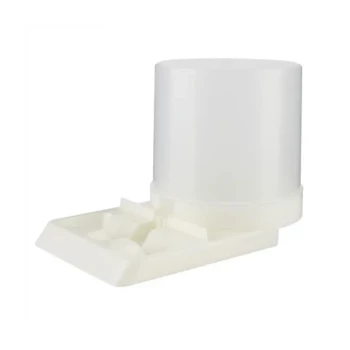
- White Plastic 0.5L Beekeeping Entrance Feeder for Bees
People Also Ask
- What is the purpose of an entrance reducer for a beehive? Strengthen Colony Defense and Prevent Robbery
- Why are entrance reducers used to counter hornet infestations? Protect Your Hive with Strategic Choke Points
- Why is it critical to maintain a smaller entrance for a newly established bee hive? Boost Colony Growth and Security
- Under what conditions should a beekeeper adjust the size of a beehive entrance? Seasonal & Defense Management Tips
- What is the function of an entrance reducer on a beehive? Strengthen Colony Defense and Climate Control