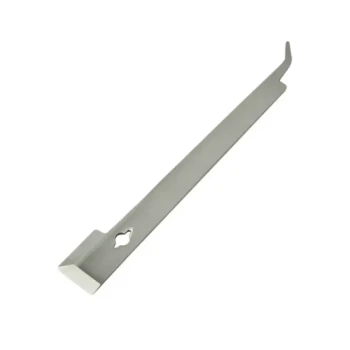
Reassembling frames without squashing bees is achieved by methodically closing the space between them, using your hive tool to gently clear a path. First, push the frames together into a block, leaving one final gap. If bees remain in this gap, insert your hive tool a few inches down between the frame end bars to encourage them to move, then slide the frames shut.
The core principle is not just to push frames together, but to actively manage the final, narrow gap. By using your hive tool to gently displace bees and temporarily block their return, you create a safe, bee-free zone to close the frames without harm.
The Challenge of a Crowded Space
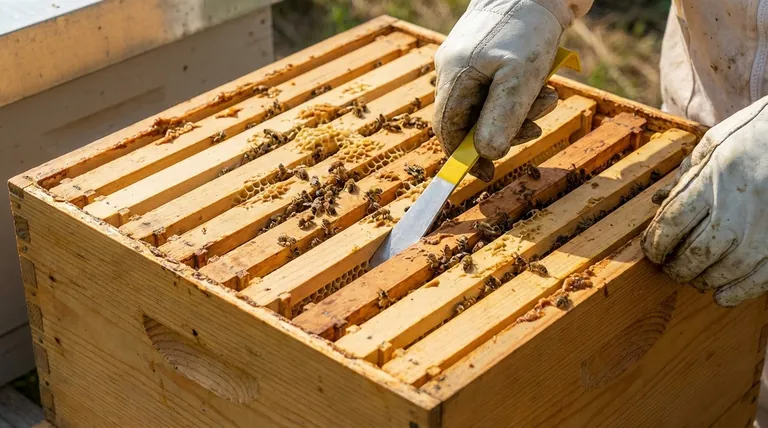
A bustling hive is a healthy hive, but it presents a challenge during inspections. Bees will naturally cover every surface, making it difficult to replace frames without causing casualties.
Understanding Bee Behavior
Bees are not intentionally getting in the way; they are simply moving about their home. The narrow crevices between frames are natural places for them to be, which is precisely why care is needed.
The High-Risk Zone
The most dangerous moment for the bees is when you slide the final frame into place or push a block of frames against the hive wall. This single closing action is where most bees are accidentally crushed.
A Step-by-Step Method for Safe Reassembly
This technique turns a potentially chaotic action into a controlled, gentle process. It works by giving the bees a chance to move and preventing them from re-entering the danger zone.
1. Position the Frames Loosely
After your inspection, place all the frames back into the hive box. Leave them loosely spaced for now, rather than trying to push each one in tightly.
2. Create a Single Gap
Slide all the frames (except the last one, if you're adding it) together as a single block to one side of the hive body. This consolidates the empty space into one manageable gap.
3. Use Your Hive Tool to Clear the Path
Look down into the gap you are about to close. If you see bees on the end bars, gently slide the flat blade of your hive tool about four inches down between the frames. This is usually enough to encourage them to move.
4. Close the Gap and Remove the Tool
While the tool is in place, push the frame firmly against it. Then, smoothly withdraw the hive tool. The resulting space is now too narrow for a bee to crawl back into, giving you a clear path to fully close the gap.
Common Pitfalls to Avoid
Adopting the right technique is as much about avoiding bad habits as it is about learning new ones. Success depends on a calm and deliberate approach.
Rushing the Process
The most common mistake is moving too quickly. Hasty movements can agitate the colony, causing more bees to fly up and get in the way. Slow, smooth actions are key.
Using Excessive Force
Your hive tool is a guide, not a pry bar. The goal is to gently nudge the bees aside. Never force frames together if you feel resistance; it likely means a bee is in the way.
Losing Track of the Queen
While it's important to protect all bees, crushing the queen can be a devastating setback for the colony. Always remain aware of her location throughout the inspection and reassembly process.
Making the Right Choice for Your Goal
Adopting this technique is a small change in behavior that has a significant impact on the well-being of your colony.
- If your primary focus is colony health: Make this gentle method a non-negotiable part of every inspection to minimize stress and bee loss.
- If your primary focus is efficiency: Mastering this technique will ultimately speed up your inspections because you won't have to pause as often to manually brush bees away.
- If your primary focus is building good habits as a new beekeeper: Practice this consistently from the start to establish a foundation of gentle and effective hive management.
This careful approach not only protects individual bees but fosters a calmer, healthier, and more productive colony.
Summary Table:
| Step | Key Action | Purpose |
|---|---|---|
| 1. Position Frames | Place frames loosely in the box. | Creates a manageable workspace. |
| 2. Create a Single Gap | Push frames together as a block, leaving one gap. | Consolidates the closing action into one safe zone. |
| 3. Clear the Path | Insert hive tool 4 inches down between frames. | Gently encourages bees to move out of the danger zone. |
| 4. Close the Gap | Push frame against the tool, then remove it. | Creates a bee-free space to slide the frame shut safely. |
Protect your investment and ensure a thriving colony with professional-grade equipment.
As a commercial beekeeper or distributor, your efficiency and the health of your bees are paramount. HONESTBEE supplies the durable, precision-crafted hive tools and equipment that make gentle, effective hive management a standard practice.
Let us help you build a more productive and sustainable operation. Contact HONESTBEE today to discuss your wholesale needs and discover how our beekeeping supplies can support your success.
Visual Guide

Related Products
- Wooden Bee Hive Frames for Beekeeping and Wholesale
- Plastic Bee Frame Beekeeping Hive Frames for Wholesale
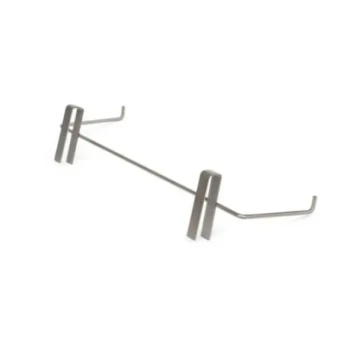
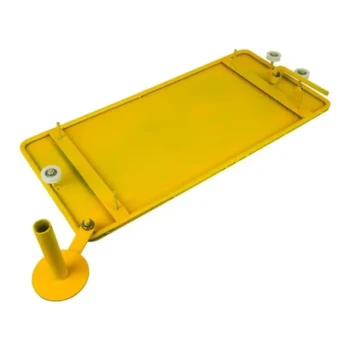
- Heavy-Duty Stainless Steel Clip-On Frame Perch
- Ergonomic High Visibility Plastic Frame Grip Handles
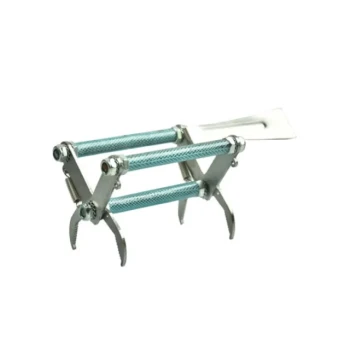
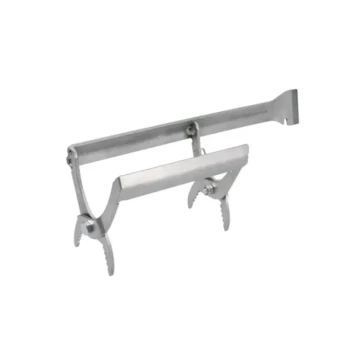
- Precision Stainless Steel Frame Cleaner for Hive Grooves and Corners
People Also Ask
- How do wooden and plastic hive frames compare in terms of durability? Wood vs. Plastic Longevity & Repairability
- Is it possible to use both wooden and plastic frames or switch? Unlock Flexible Beekeeping with Hybrid Hive Management
- Why are standardized beehives and hive frames essential for comb honey? Ensure Uniformity and Premium Quality
- What are the main considerations when choosing between wooden and plastic bee hive frames? Optimize Your Apiary's Efficiency
- What is the primary function of frames within a beehive system? Structural Foundation and Hive Management