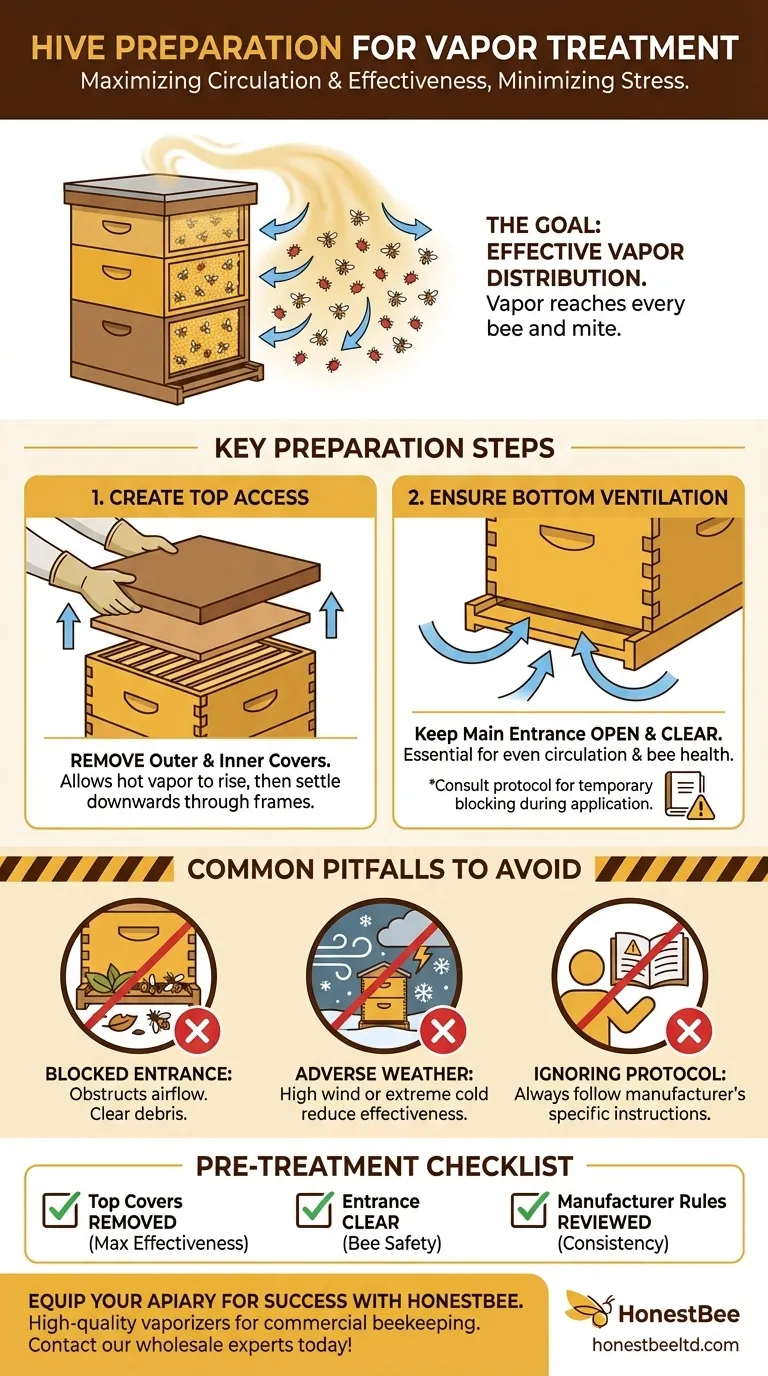
To prepare a hive for vapor treatment, you must create clear access to the colony and ensure the hive is properly ventilated. This involves removing the outer and inner covers from the top of the hive and confirming the main entrance at the bottom is open.
The core principle behind hive preparation is simple: maximize the vapor's ability to circulate and reach every bee and mite, while minimizing stress on the colony. Every step is designed to facilitate effective and safe treatment.
The Goal: Ensuring Effective Vapor Distribution
Successful vapor treatment depends entirely on the vapor reaching the varroa mites, which are typically attached to adult bees throughout the hive. Your preparation steps create the ideal conditions for this to happen.
Why Access from the Top is Critical
Removing the outer and inner covers is the first and most crucial step. This provides direct, unobstructed access to the top of the uppermost hive box.
Most vaporizing equipment is designed to be applied from the top. This allows the vapor, which is hot, to rise initially and then settle downwards through the frames as it cools, blanketing the entire colony.
The Role of the Hive Entrance
The references are clear that the hive entrance should be open before you begin. This allows for proper ventilation.
Ventilation ensures the vapor doesn't become overly concentrated in one area and can circulate evenly. It also provides an air exchange that is crucial for the colony's health during the treatment process.
It is critical, however, to consult the specific instructions for your vaporizer and treatment type. Some protocols, like those for oxalic acid, may require you to temporarily block the entrance during the application to contain the vapor for a set period. The "open entrance" rule applies to the state of the hive before you start the clock on the treatment itself.
Common Pitfalls to Avoid
Simple mistakes in preparation can lead to an ineffective treatment or put unnecessary stress on your bees. Awareness of these common errors is key.
Forgetting to Clear the Entrance
Before you even begin, check that the entrance is not just "open" but also clear. Remove any debris, grass, or piles of dead bees that might obstruct airflow. If you use an entrance reducer, ensure it is set to a sufficiently open position.
Ignoring Weather Conditions
Applying vapor treatment in high winds is a common mistake. Wind can cause the vapor to dissipate from the hive too quickly, drastically reducing its effectiveness. Choose a calm day for the application.
Extreme cold can also be a factor. In very low temperatures, bees will be in a tight cluster, which can make it harder for the vapor to penetrate and reach all the mites.
Overlooking the Manufacturer's Protocol
The steps outlined here represent best practices, but they are not a substitute for the manufacturer's instructions. Different vaporizers have unique designs and may require slight variations in preparation. Always read and follow the specific protocol for your equipment.
Your Pre-Treatment Checklist
Before you apply the vapor, run through this final checklist to ensure a safe and effective outcome for your colony.
- If your primary focus is maximum effectiveness: Ensure all top covers are fully removed to provide a clear, direct path for the vapor to enter and descend through the hive.
- If your primary focus is bee safety: Double-check that the hive entrance is clear of all obstructions to guarantee proper ventilation before you start the treatment timer.
- If your primary focus is consistency: Always review the specific instructions for your vaporizer and treatment chemical, as timing and sealing requirements can vary.
Proper preparation is the foundation of a successful and low-stress mite treatment for your colony.
Summary Table:
| Preparation Step | Purpose | Key Consideration |
|---|---|---|
| Remove Outer & Inner Covers | Creates direct access for vapor application from the top. | Allows vapor to rise and settle downward through the frames. |
| Ensure Hive Entrance is Open & Clear | Provides essential ventilation for vapor circulation and bee safety. | Remove debris; check manufacturer's protocol for temporary blocking during application. |
| Check Weather Conditions | Prevents vapor from dissipating too quickly or failing to penetrate the cluster. | Apply on a calm day; avoid extreme cold or high winds. |
Ready to equip your apiary for success? Proper hive preparation is just the first step. HONESTBEE supplies commercial apiaries and beekeeping equipment distributors with the high-quality, reliable vaporizers and supplies needed for effective and safe mite treatments. Let us help you protect your colonies and maximize your honey production. Contact our wholesale experts today to discuss your equipment needs!
Visual Guide
Related Products
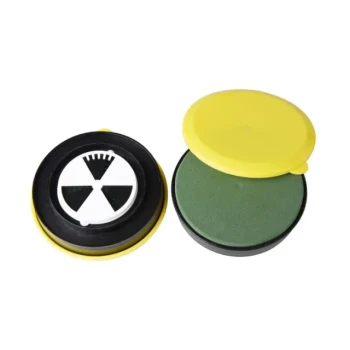
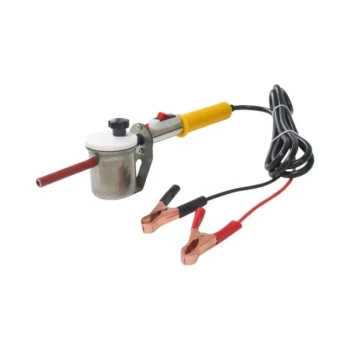
- Durable 12V Oxalic Acid Vaporizer for Varroa Mite Treatment Beehive Beekeeping Tool
- Adjustable Formic and Acetic Acid Dispenser for Bee Mite Treatment
- Oxalic Acid Vaporizer 12V for Bee Varroa Mite Treatment
- Stainless Steel Honey Bee Smoker Hive and Honeycomb Smoker for Beekeeping
- Heavy Duty 12V Oxalic Acid Evaporator Vaporizer for Bee Varroa Mite Treatment Beekeeping Fumigator Atomizer
People Also Ask
- What is the minimum temperature for oxalic acid vaporization? Optimize Winter Mite Control at 37°F
- What factors determine how often to treat for varroa mites with oxalic acid? Time Your Treatment for Maximum Efficacy
- What is the significance of timing oxalic acid vaporization treatments during broodless periods? Maximize Mite Control
- What is the overall goal of using oxalic acid in late fall for beekeepers? Maximize Winter Survival with a Broodless Treatment
- What is the function of an oxalic acid vaporizer? Essential Mite Control for Late Winter Breeding Success