To install a queen bee using a shipping cage, you must first ensure the hive is queenless, then place the cage between frames so the worker bees can slowly release her by eating through a candy plug. This slow introduction is a deliberate process designed to acclimate the colony to her specific pheromones, which is the essential factor for her acceptance.
The core principle of queen introduction is not just releasing her, but managing a gradual acclimation. The shipping cage's candy plug acts as a time-release mechanism, allowing the hive's scent to merge with the new queen's before she is set free.

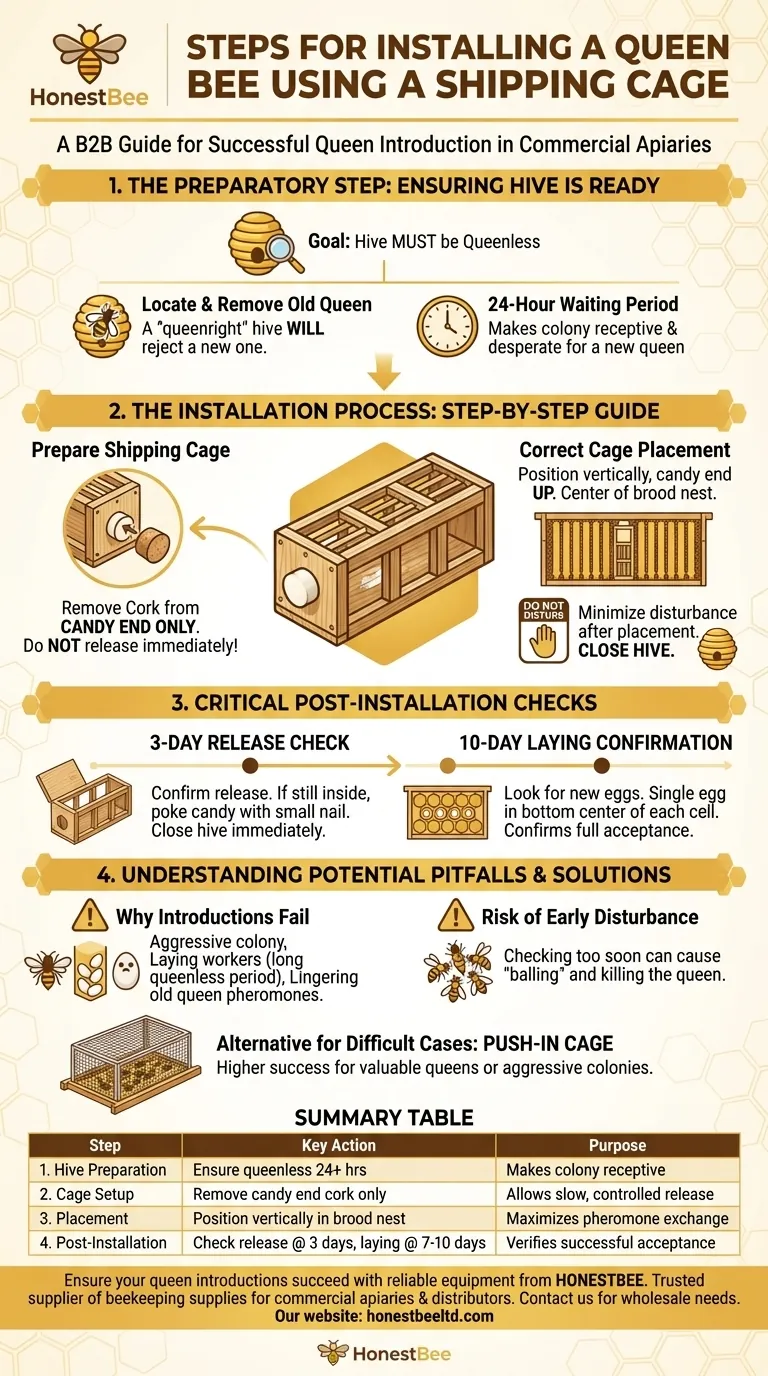
The Preparatory Step: Ensuring the Hive is Ready
Before you even touch the new queen's cage, the colony must be biologically prepared to accept her. A hive will violently reject a new queen if they still have their old one or believe they can raise a new one themselves.
Locating and Removing the Old Queen
The first and most critical step is to find and remove the existing queen. If the hive has been queenless for some time, you can skip this, but you must be absolutely certain.
A hive that is "queenright" will not accept a new monarch. Once you remove the old queen, wait approximately 24 hours before introducing the new one.
The Importance of the Queenless Period
This 24-hour waiting period makes the bees aware of their queenless state. Their desperation for a new queen makes them far more receptive to the one you are about to introduce.
The Installation Process: A Step-by-Step Guide
With the hive prepared, the installation itself is a straightforward but delicate procedure. Your goal is to place the queen securely in the heart of the colony with minimal disturbance.
Preparing the Shipping Cage
Your new queen will arrive in a small wooden or plastic cage with several attendant bees. One end of the cage is blocked with a cork, and the other is plugged with a white sugar candy, which is also covered by a cork.
You must remove the cork from the candy end only. Do not remove the cork from the non-candy end, as this would release the queen immediately and likely result in her being killed.
Correct Cage Placement
Gently press the queen cage between the top bars of two frames in the center of the brood nest. The brood nest is where the young are raised and is the most active part of the hive.
Position the cage vertically with the candy end facing up. This is a crucial detail. If the candy end is down, any attendant bees that die in the cage could fall and block the exit, trapping the queen.
Closing the Hive and Minimizing Disturbance
Once the cage is securely in place, close up the hive. It is now essential to leave the colony alone. Your scent and the constant vibrations from opening the hive can agitate the bees and interfere with the acceptance process.
Critical Post-Installation Checks
Patience is the most important tool at this stage. The bees operate on their own timeline, and you must respect it to ensure success.
The 3-Day Release Check
After three days, perform a quick check. Your goal is to confirm the queen has been released from her cage.
If she is out, remove the empty cage and close the hive immediately. If she is still inside, the candy may be too hard. Use a small nail or screw to poke a small hole through the candy to encourage the bees, then close the hive and wait another day or two.
The 10-Day Laying Confirmation
The ultimate sign of success is a healthy laying pattern. Wait at least 7 to 10 days from the date of introduction before performing a full inspection.
You are looking for newly laid eggs. A successfully introduced queen will be laying in a tight, consolidated pattern, with one egg placed neatly in the bottom center of each cell. This confirms the colony has fully accepted her as their own.
Understanding Potential Pitfalls
While the standard method is highly effective, queen introduction is a complex biological event, and failures can happen. Understanding why can help you troubleshoot issues.
Why Introductions Can Fail
Rejection often occurs if the colony is particularly aggressive, has been queenless for too long (resulting in laying workers), or if remnants of the old queen's pheromones linger. The colony's temperament is a significant factor.
The Risk of Disturbing the Hive Too Soon
Every time you open the hive, you risk agitating the bees. This stress can cause them to "ball" the new queen—surrounding her in a tight ball and killing her through overheating. Resist the urge to check on her progress too frequently.
Alternative Methods for Difficult Cases
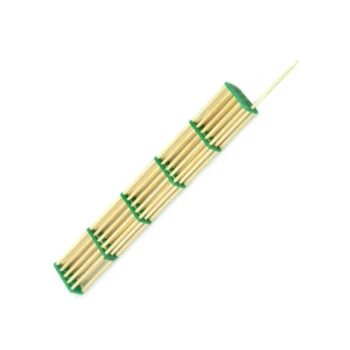
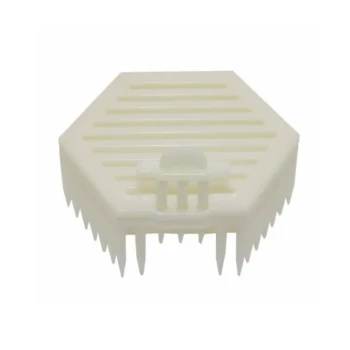
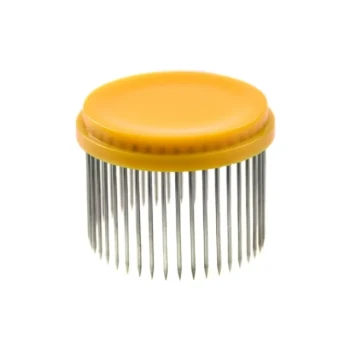
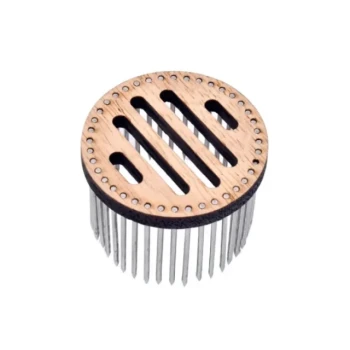
For very aggressive colonies or valuable queens, a push-in cage can offer a higher success rate. This larger cage is pressed over an area of emerging brood and nectar, allowing the queen to begin laying eggs while still protected. Once the colony sees her laying, acceptance is nearly guaranteed.
Making the Right Choice for Your Goal
Your approach should be guided by the state of your colony and your goals.
- If you are requeening a standard, calm colony: The standard shipping cage method is reliable, efficient, and the most common practice for good reason.
- If the hive has been queenless for a long time: Before introducing a new queen, thoroughly check for laying workers (multiple eggs per cell) as their presence will guarantee her rejection.
- If you are introducing a valuable or expensive queen: Consider a more controlled method like a push-in cage to provide the highest possible chance of success.
Patience and minimal disturbance are your most powerful tools for a successful queen introduction.
Summary Table:
| Step | Key Action | Purpose |
|---|---|---|
| 1. Hive Preparation | Ensure hive is queenless for 24+ hours | Makes colony receptive to new queen |
| 2. Cage Setup | Remove cork from candy end only | Allows slow, controlled release |
| 3. Placement | Position cage vertically between brood frames | Maximizes pheromone exchange |
| 4. Post-Installation | Check release after 3 days, confirm laying after 7-10 days | Verifies successful acceptance |
Ensure your queen introductions succeed with reliable equipment from HONESTBEE. As a trusted supplier of beekeeping supplies and equipment for commercial apiaries and distributors, we provide the durable shipping cages and tools you need for smooth, stress-free queen installations. Contact us today to discuss your wholesale needs and keep your colonies thriving.
Visual Guide
Related Products
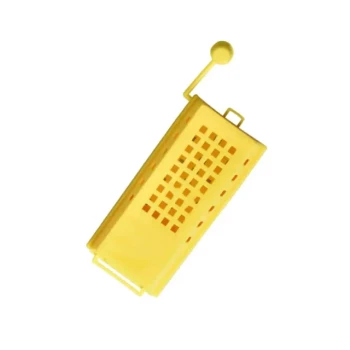
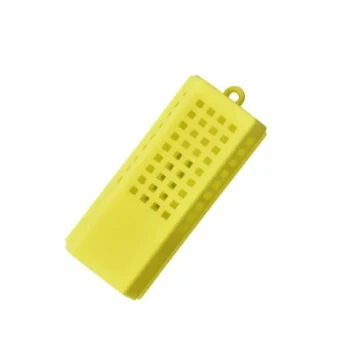
- Professional Queen Bee Introduction and Transport Cage
- Professional Queen Cage with Sliding Gate and Feeder Plug
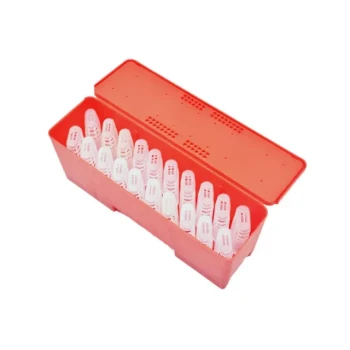
- JZBZ Style Professional Battery Box with 20 Shipping Cages
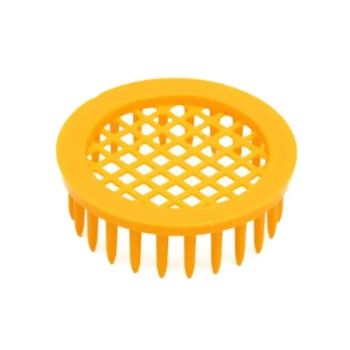
- Durable Galvanized Steel Spring Queen Bee Cage
- Professional Multi-Compartment Queen Cage with Sliding Lid
People Also Ask
- What is the technical purpose of the dedicated feeding compartment and access channel in a queen bee cage? Pro Guide
- What materials are required to install a queen bee's cage into a hive? Essential Tools for Successful Queen Integration
- How long should a queen bee stay in the cage before being released? Ensure a Successful Introduction
- What are the advantages and disadvantages of introducing a queen bee by embedding the cage? Boost Your Queen Acceptance
- Why are specialized queen bee cages used for the banking of mated queen bees? Maximize Commercial Apiary Storage Efficiency