Use adhesive and purpose-made, rust-resistant fasteners together. Wooden beehive frames should be assembled with all-weather waterproof wood glue at every joint, reinforced by coated, rust-resistant frame pins or nails. This combination is essential because frames repeatedly experience heavy comb loads, rough handling during inspections, hive transportation, and mechanical stress during honey extraction.
Core takeaway: Structural integrity comes from a correctly aligned frame, fully bonded joints, and corrosion-resistant fasteners—not from nails or glue used alone. Avoid standard panel pins, which can split thin frame timber and lead to joint failure.
Build the Frame Around Strong, Accurate Joints
Use the correct frame components
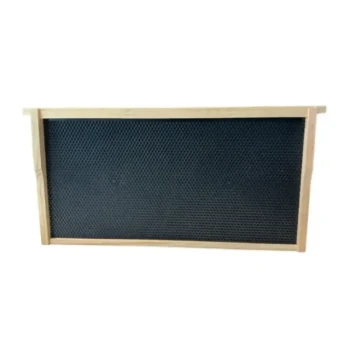
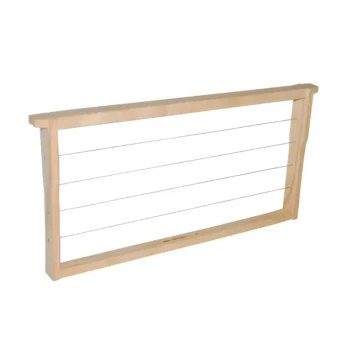
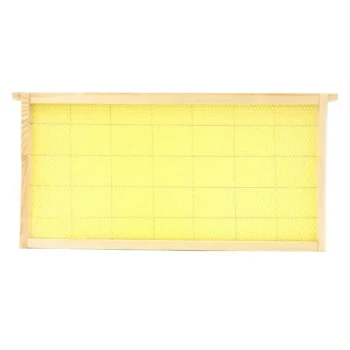
A conventional wooden frame consists of a top bar, two grooved or slotted sidebars, and a bottom bar or bottom rails. Each component must fit accurately before adhesive or fasteners are applied.
The top-bar rebate, sidebar grooves, and bottom-bar slots are the primary connection points. Poorly fitting joints reduce the effective bonding area and can leave the frame vulnerable to twisting under load.
Prefer interlocking joints over simple butt joints
Where the design permits, rebate, dado, grooved, or slotted joints provide better alignment and mechanical support than basic butt joints. These joints help keep components positioned while the adhesive cures and reduce reliance on fasteners alone.
For commercial production, standardized dimensions are important. Consistent frame and hive-box dimensions improve compatibility across brood boxes, supers, replacement parts, and different customer orders.
Keep every frame square
Assemble the frame on a flat work surface and verify it with a carpenter’s square. A frame that is out of square may wobble, fit poorly in the hive, or create inconsistent bee space.
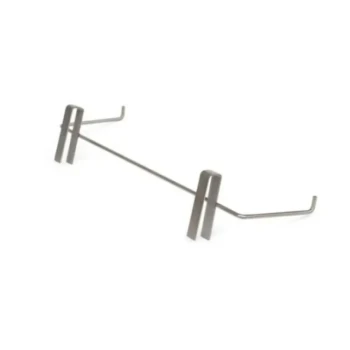
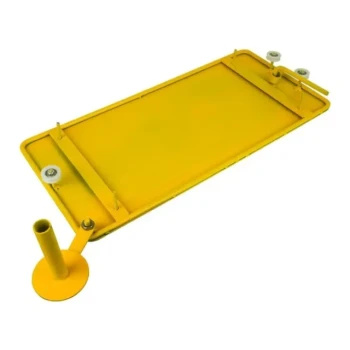
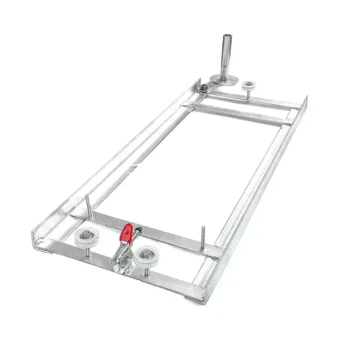
Pipe-pin clamps or similar holding fixtures can maintain alignment while glue is applied and the joints are fastened. This is particularly useful for distributors and manufacturers assembling frames in volume.
Select Hardware That Resists Splitting and Corrosion
Use coated, rust-resistant frame pins
Choose specialized coated, rust-resistant frame nails or pins designed for wooden hive equipment. Hive interiors are humid, and unprotected hardware can corrode, weaken, and stain surrounding timber.
The fastener must be appropriate for the frame material and joint thickness. Fasteners that are too large can split the wood, while those that are too short may not provide sufficient mechanical holding power.
Do not substitute standard panel pins
Standard panel pins should not be used for structural frame joints. Their geometry and driving characteristics can split narrow sidebars and other thin frame components.
A split sidebar may not fail immediately, but repeated inspections and extraction cycles can progressively loosen the joint. Purpose-made frame pins are the safer specification for reliable production and replacement supply.
Use screws selectively
Galvanized nails or screws may be suitable where the frame or hive-component design calls for them. For screwed assemblies, standardizing on #2 Phillips drive screws simplifies manufacturing, field maintenance, and tool management.
Screws are not automatically superior to nails. The correct choice depends on the joint design, timber thickness, production process, and whether the component must be repaired or disassembled later.
Pre-drill where splitting is a risk
A 7/64-inch pilot hole at each fastener location can help prevent splitting and guide the fastener straight into the timber. This is especially useful near the ends of narrow frame components.
Pilot holes should be tested against the actual wood species and fastener being used. The objective is to reduce splitting without removing so much material that the fastener loses holding power.
Combine Adhesive With Mechanical Fastening
Apply glue to every structural joint
Use a thin, continuous coat of all-weather waterproof or exterior-grade wood glue on the joining surfaces. This includes the top-bar rebates, sidebar grooves, bottom-bar slots, and all other frame-corner connections.
Glue distributes stress across the joint, while the pins or nails hold the components in position and provide immediate mechanical reinforcement. Using either method alone leaves the assembly less tolerant of repeated handling.
Follow a controlled assembly sequence
Fit the bottom-bar assembly into the narrow slots in the sidebars, then bring the top bar and sidebars into alignment. Apply adhesive before closing each joint, rather than relying on glue placed only at the visible corners.
After checking squareness, fasten all four frame corners. Allow the adhesive to cure fully before inserting foundation sheets or placing the frame into a hive.
Match the fastener pattern to the frame design
Published assembly guidance commonly specifies either:
- Eight 1-1/8-inch nails: two at each end of the top bar and two at each end of the bottom bar; or
- Six nails: two at each end of the top bar and one at each end of the bottom bar.
These counts should not be mixed arbitrarily. The correct pattern depends on the specific frame design, wood thickness, and manufacturer’s engineering or assembly instructions; the key requirement is consistent reinforcement at every structural corner.
Drive fasteners straight and flush
Nails or pins should enter the timber straight and seat securely without crushing the wood. Bent, loose, or partially driven fasteners should be removed and replaced.
Any exposed nail tip must be removed immediately. Protruding metal can puncture gloves, injure beekeepers, damage adjacent equipment, or interfere with frame handling.
Use the Right Tools for Production and Maintenance
Essential assembly tools
A practical frame-assembly setup includes:
- Carpenter’s square for checking frame geometry.
- Hammer or pneumatic nailer for installing structural pins or nails.
- Pliers for removing bent or incorrectly placed fasteners.
- Clamps or pipe-pin clamps for maintaining alignment during assembly.
- Drill with a 7/64-inch bit where pilot holes are required.
For high-volume operations, fixtures and pneumatic tools can improve repeatability and order fulfillment speed, provided operators continue to verify squareness and fastener placement.
Separate structural fasteners from foundation-installation brads
A brad driver using 3/4-inch, 18-gauge brads can assist with rapid wax-foundation installation. These brads should not automatically be treated as substitutes for the heavier, corrosion-resistant fasteners used at structural frame joints.
This distinction is important when specifying products for wholesale or one-stop supply: foundation-installation hardware and frame-construction hardware serve different purposes.
Inspect before release or shipment
Before frames enter inventory or are shipped, check that:
- All joints are closed and fully seated.
- The frame is square and does not wobble.
- No wood is split around fasteners.
- Fasteners are straight and fully driven.
- No sharp points or protrusions remain.
- Glue has cured before further handling.
A simple inspection standard reduces returns, field failures, and safety complaints across distributor and beekeeper supply channels.
Understanding the Trade-offs
More fasteners are not always better
Adding nails without regard to timber thickness can increase splitting rather than strength. A controlled fastener pattern, correct diameter, suitable length, and pilot-hole practice are more important than indiscriminately increasing the quantity.
Glue alone is insufficient
Weatherproof glue improves joint strength and resistance to outdoor exposure, but it should not be used as the sole structural method. Frames must withstand shock, vibration, prying, and extraction forces that require mechanical reinforcement.
Nails and screws involve different service priorities
Nails are efficient for repeated production and are well suited to pneumatic installation. Screws can support repairability and standardized field maintenance, but they may require more assembly time and must be selected to avoid splitting the frame timber.
Faster assembly can create quality failures
Pneumatic tools and high-throughput fixtures improve efficiency, but excessive driving force can damage wood or bury fasteners too deeply. Production speed should be paired with quality checks for alignment, splitting, and exposed metal.
Making the Right Choice for Your Goal
Select specifications according to the frame design, operating environment, and required production volume.
- If your primary focus is maximum frame strength: Use all-weather waterproof glue on every joint together with coated, rust-resistant frame pins or nails installed in the approved corner pattern.
- If your primary focus is high-volume production: Standardize frame dimensions, fastener types, tools, and inspection procedures while using alignment fixtures to maintain squareness.
- If your primary focus is field maintenance: Consider corrosion-resistant screws with a consistent #2 Phillips drive specification where the component design supports screwed assembly.
- If your primary focus is preventing timber damage: Avoid panel pins, use the specified fastener length and diameter, and pre-drill 7/64-inch pilot holes where splitting is likely.
- If your primary focus is safe beekeeper handling: Inspect every frame for protruding nail tips, split wood, loose joints, and incomplete adhesive curing before delivery or use.
Reliable wooden frames result from disciplined joint preparation, compatible hardware, accurate assembly, and consistent inspection—not from any single fastener or adhesive choice.
Summary Table:
| Factor | Recommendation |
|---|---|
| Joints | Use interlocking joints (rebate, dado) for alignment and bonding surface. |
| Glue | Apply all-weather waterproof wood glue to every joint. |
| Fasteners | Use coated, rust-resistant frame pins or nails; avoid standard panel pins. |
| Nail pattern | Typically 6 or 8 nails per frame: two at each top/bottom corner. Follow manufacturer's spec. |
| Screws | Use #2 Phillips drive screws if needed; ensure suitable length to avoid splitting. |
| Pilot holes | Pre-drill 7/64-inch holes where splitting risk is high. |
| Squareness | Assemble on flat surface, check with carpenter's square, use clamps. |
| Inspection | Verify no splits, protruding points, loose joints, and full glue cure before shipping. |
Ensure your beehive frames meet the highest durability standards. At HONESTBEE, we supply commercial apiaries and distributors with a comprehensive range of beekeeping tools, machinery, and equipment—from hive-making and honey-filling machines to essential consumables. Our one-stop sourcing capabilities, rapid response times, and dedicated customer service help you streamline operations and increase profitability. With deep professional expertise and ultra-fast delivery, we support your business reliability and growth. For distributors and wholesalers, we offer OEM/ODM support, certifications, and consistent supply to meet your volume demands. Contact us today to discuss your frame specifications and discover how we can enhance your supply chain!
Related Products
- Wooden Bee Hive Frames for Beekeeping and Wholesale
- Assembled Wooden Bee Frames with Plastic Foundation for Durability and Convenience by HONESTBEE
- HONESTBEE Wired and Assembled Wooden Bee Frames Foundation for a Thriving Hive
- Assembled Wooden Bee Frames with Beeswax Foundation Ready to Use by HONESTBEE
- Professional Wooden Requeening Frame for Beekeeping
People Also Ask
- How does balancing the number of frames impact hive productivity? Optimize Your Apiary's Biological Output
- How do wooden and plastic hive frames compare in terms of durability? Wood vs. Plastic Longevity & Repairability
- What are the main considerations when choosing between wooden and plastic bee hive frames? Optimize Your Apiary's Efficiency
- How should beehive frames be maintained to prolong their lifespan? 5 Pro Tips for Durable Beekeeping Equipment
- Can I reuse old beehive frames? Save Money and Boost Hive Productivity