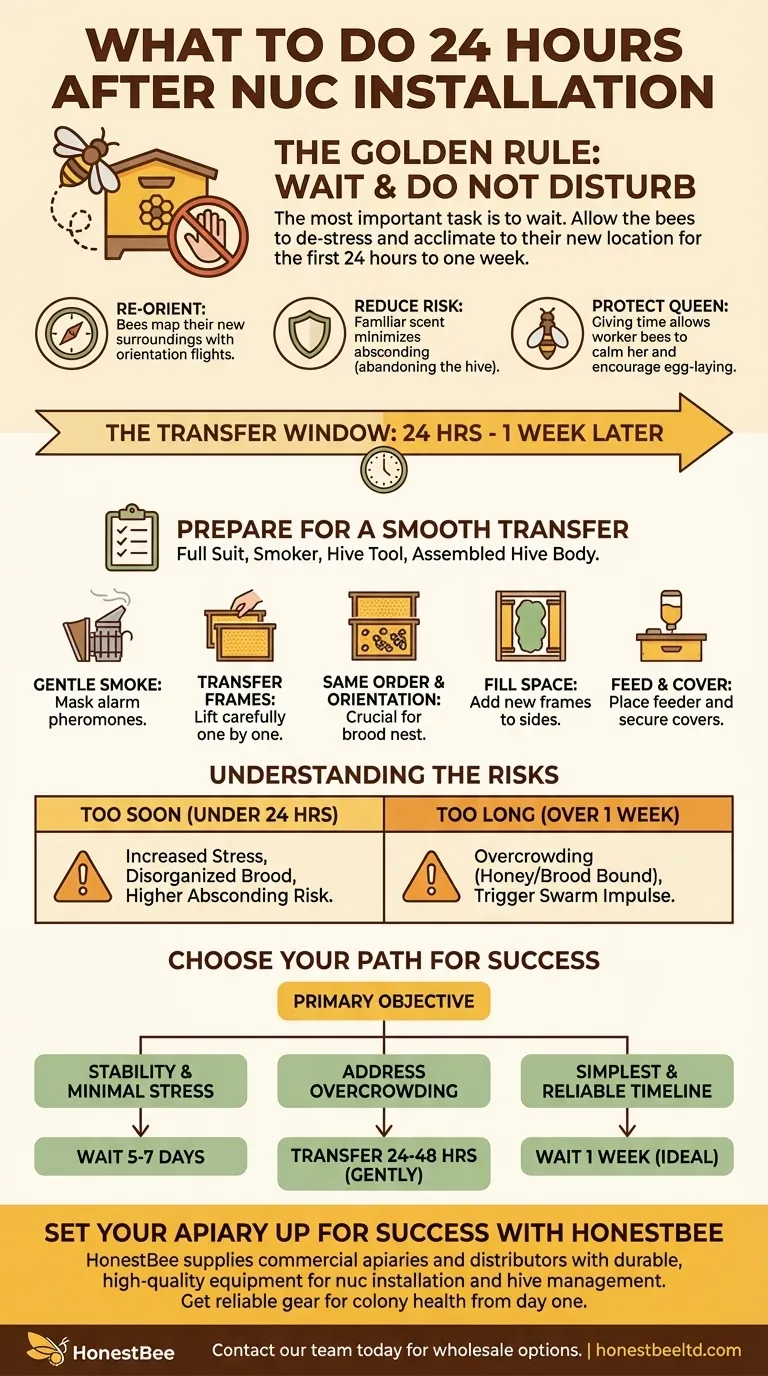
Twenty-four hours after installing a nucleus colony, your most important task is simply to wait. This initial period is for the bees to de-stress and acclimate to their new location, and the best way to support them is to resist the urge to intervene. The physical transfer of frames from the nuc box into the permanent hive body should happen after this critical waiting period has passed.
Your primary goal in the first 24 hours to one week is to allow the colony to stabilize. Moving is a traumatic event for bees, and giving them undisturbed time in their familiar nuc box allows them to re-orient, calm down, and accept their new home, dramatically increasing your chances of success.
Why Waiting is the Critical First Step
Moving a colony is inherently stressful. The vibrations, changing smells, and new environment can disorient the bees. Granting them a period of peace is not passive; it is an active strategy to ensure their long-term health.
Allowing the Colony to Re-orient
Foraging bees navigate using a mental map of their surroundings, which is erased when you move them. Upon exiting the hive in a new location, they must perform "orientation flights"—short, circular flights in front of the hive—to map the new landscape.
Opening the hive too soon can disrupt this crucial process and cause foragers to become lost.
Reducing Absconding Risk
A newly installed colony that experiences excessive stress is a flight risk. If they perceive the new location as unsafe or overly disturbed, they may decide to abandon it entirely, an event known as "absconding."
Allowing the bees to settle down in the familiar scent and structure of their nuc box, even while it's inside the new hive, provides a sense of security that minimizes this risk.
Protecting the Queen
The queen's egg-laying is the engine of the colony, and it is highly sensitive to disruption. The stress of a move can cause her to temporarily stop laying. Giving the colony time to stabilize allows the worker bees to calm her and encourage her to resume her essential duties.
The Transfer: From Nuc to Hive Body
After waiting at least 24 hours and up to a week, you can perform the transfer. For new beekeepers, waiting closer to a full week is the safest and most recommended approach.
Preparing Your Equipment
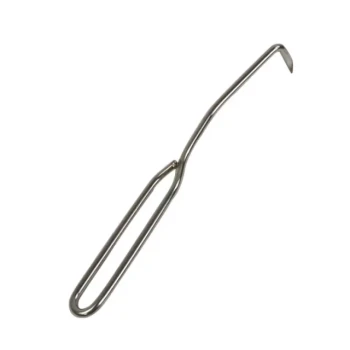
Before you open the nuc, have your equipment ready to make the process smooth and efficient. You will need your full protective suit, a smoker, and a hive tool. Ensure your main hive body is assembled and ready next to the nuc.
The Transfer Process
Use your smoker to apply a few gentle puffs of cool, white smoke into the nuc entrance. This masks alarm pheromones and helps keep the bees calm.
Open the nuc and carefully lift each frame out one by one, using your hive tool to gently pry them apart if necessary.
Crucially, transfer the frames to the new hive body in the exact same order and orientation. The bees organize their hive with purpose, placing brood, pollen, and honey in a specific pattern. Maintaining this order prevents disrupting the brood nest.
Final Hive Configuration
Once all frames from the nuc are in the center of the new hive body, add new frames to fill the remaining space on either side. Place a feeder with a 1:1 sugar-water solution inside or at the entrance. Finally, place the inner and outer covers on securely.
Understanding the Trade-offs
While waiting is the standard advice, it's important to understand the reasoning and the edge cases.
The Risk of Transferring Too Soon
As discussed, moving the frames within the first 24 hours significantly increases colony stress. This can lead to a disorganized brood nest, a non-laying queen, and a higher chance of the entire colony absconding.
The Risk of Waiting Too Long
In some cases, waiting more than a week can be problematic. A very strong, populous nuc can quickly run out of space. This can make the colony feel "honey bound" (no room for eggs) or "brood bound" (no room for expansion), which can trigger a swarm impulse. If you see bees bearding heavily on the outside of the nuc box after a few days, it may be a sign they need more space sooner.
Making the Right Choice for Your Goal
Your primary objective is to get the colony established with minimal setbacks. Your approach in this first week should align with that goal.
- If your primary focus is colony stability and minimal stress: Wait 5-7 days before transferring the frames from the nuc to the hive body.
- If you are concerned the nuc is already overcrowded: You may transfer the frames after 24-48 hours, but proceed gently and quickly to minimize disturbance.
- If you want the simplest, most reliable timeline: Follow the one-week rule. Plan to transfer the frames approximately one week after the installation day, at which time you can also do a very quick check for eggs or the queen.
Your patience during this first week is your most powerful tool for setting the foundation for a thriving, productive colony.
Summary Table:
| Time After Installation | Key Action | Primary Goal |
|---|---|---|
| First 24 Hours | Wait & Do Not Disturb | Allow bees to de-stress and re-orient |
| 24 Hours to 1 Week | Plan Frame Transfer | Prepare for a smooth, low-stress move |
| After 1 Week (Ideal) | Transfer Frames to Hive Body | Establish colony in permanent home with minimal disruption |
Set Your Apiary Up for Success with HONESTBEE
A successful beekeeping operation starts with the right equipment and expert knowledge. At HONESTBEE, we supply commercial apiaries and beekeeping equipment distributors with the durable, high-quality supplies needed for critical tasks like nuc installation and hive management. From robust hive bodies to essential tools, our wholesale-focused operations ensure you get the reliable gear that supports colony health from day one.
Let's discuss how our products can help your colonies thrive. Contact our team today to explore our wholesale catalog and get expert support for your beekeeping business.
Visual Guide
Related Products
- Automatic Heat Preservation 6 Frame Pro Nuc Box for Honey Bee Queen Mating
- Styrofoam Mini Mating Nuc Box with Frames Feeder Styrofoam Bee Hives 3 Frame Nuc Box
- 5 Frame Langstroth Poly Nuc Corrugated Plastic Nuc Boxes
- 5 Frame Wooden Nuc Box for Beekeeping
- Steel Round Disc Entrance Reducer for Flexzion Bee Hive Nuc Box Gate
People Also Ask
- What are the options for adding frames to a nuc after taking two frames from the parent colony?
- How are nuc boxes used in queen rearing? The Essential Tool for Reliable Queen Mating
- What steps are involved in transferring frames from the nuc box to the hive? A Guide for a Smooth, Low-Stress Colony Move
- What is the process for managing a new bee colony started in a nuc box? Expert Tips for Hive Success
- How long can bees be kept in a nuc box? Expert Timeline for Hive Transfer