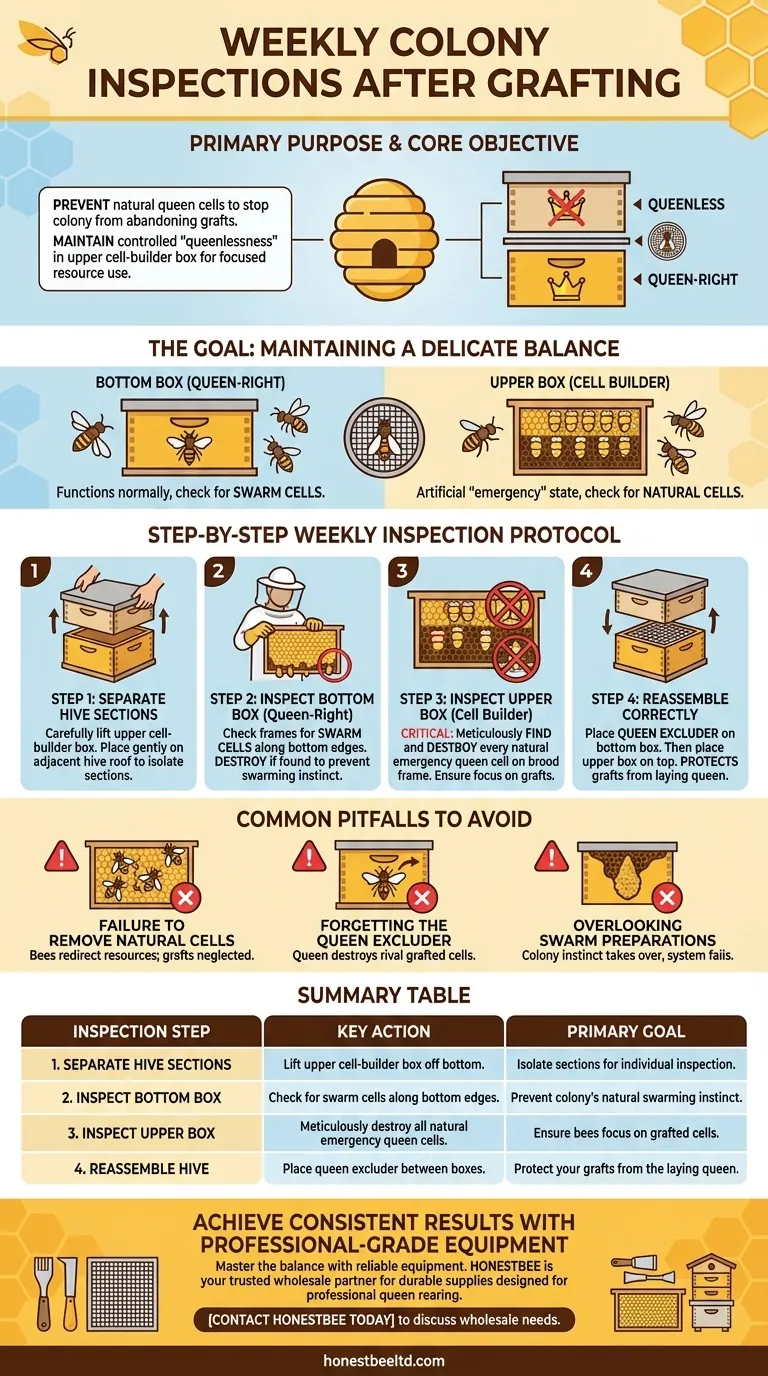
The primary purpose of weekly inspections after grafting is to prevent the colony from creating its own queen cells, which would cause them to abandon or destroy your grafts. The process involves separating the two brood boxes, systematically checking each for any natural queen cells, destroying them, and reassembling the hive correctly with the queen excluder in place.
Your core objective is to maintain a controlled state of "queenlessness" in the upper cell-builder box. This ensures the bees focus their resources on raising your grafted cells while you simultaneously prevent the entire colony from making preparations to swarm.
The Goal: Maintaining a Delicate Balance
In a two-box queen rearing system, you create a specific environment. The bottom box is queen-right, functioning normally. The upper box, separated by a queen excluder, is made to feel queenless, which stimulates the bees' emergency impulse to raise new queens from your grafts.
Weekly inspections are not just about checking on the grafts; they are about managing this delicate and artificial colony balance to ensure a successful outcome.
Step-by-Step Weekly Inspection Protocol
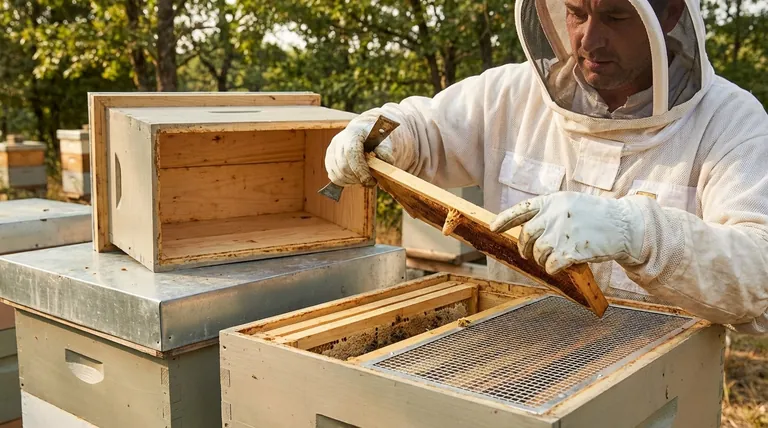
A systematic approach prevents mistakes that could jeopardize your entire batch of queen cells. Handle the colony gently with minimal smoke to keep the bees calm.
Step 1: Separate the Hive Sections
Carefully lift the entire upper brood box (the cell builder) off the colony.
Place it gently on an adjacent upturned hive roof. If you have honey supers on top, remove them first. This action physically isolates the two key components of the system for inspection.
Step 2: Inspect the Bottom Box (Queen-Right Section)
The goal here is to check for swarm cells. These are queen cells typically built along the bottom edges of the frames.
Finding swarm cells means the colony's natural swarming instinct is overriding your setup. If found, they must be destroyed, and you may need to take further swarm control measures.
Step 3: Inspect the Upper Box (Cell Builder Section)
This is the most critical inspection. You must examine the frame of unsealed brood that you placed in this box to draw up nurse bees.
Bees will often prefer to start their own "natural" emergency queen cells on this frame. You must find and destroy every single one of these natural cells. If left, the bees will favor their own cells and abandon your grafted ones.
Step 4: Reassemble the Colony Correctly
Once both boxes are clear of unwanted queen cells, you can reassemble the hive.
Place the bottom brood box back on the hive stand. Crucially, ensure the queen excluder is properly seated on top of it. Then, place the upper brood box (with your grafts) on top of the excluder.
Common Pitfalls and Why They Matter
Mistakes during this simple weekly check are the most common cause of failure in this queen-rearing method.
Failure to Remove Natural Cells
If you miss even one natural queen cell in the upper box, the bees may redirect their attention and royal jelly to it. Your grafted cells will be neglected or torn down.
Forgetting the Queen Excluder
Reassembling the hive without the queen excluder is a catastrophic error. The queen will move up into the cell builder box, find the developing rival queens in your grafted cells, and promptly destroy them.
Overlooking Swarm Preparations
Ignoring swarm cells in the bottom box is equally problematic. A colony preparing to swarm is not focused on raising queens in an artificial "emergency." The entire system will fail as the bees' primary instinct takes over.
Making the Right Choice for Your Goal
Your weekly inspection is a disciplined process where each step protects your investment of time and effort. Your focus determines which step is most critical.
- If your primary focus is maximizing cell acceptance: Meticulously find and destroy every natural queen cell started on the brood frame in the upper box.
- If your primary focus is preventing a swarm: Thoroughly inspect every frame in the bottom box for signs of swarm cells and take immediate action if they are found.
- If your primary focus is protecting your grafts from the queen: Always double-check that the queen excluder is correctly placed during reassembly.
These disciplined weekly checks are the key to achieving consistent and predictable results in your queen-rearing efforts.
Summary Table:
| Inspection Step | Key Action | Primary Goal |
|---|---|---|
| 1. Separate Hive Sections | Lift the upper cell-builder box off the bottom box. | Isolate the two sections for individual inspection. |
| 2. Inspect Bottom (Queen-Right) Box | Check frames for swarm cells along the bottom edges. | Prevent the colony's natural swarming instinct. |
| 3. Inspect Upper (Cell-Builder) Box | Meticulously destroy all natural emergency queen cells on the brood frame. | Ensure bees focus resources on your grafted cells. |
| 4. Reassemble the Hive | Place the queen excluder on the bottom box before adding the upper box. | Protect your grafts from the laying queen. |
Achieve Consistent Queen-Rearing Results with Professional-Grade Equipment
Mastering the delicate balance of weekly inspections is crucial, but your success also depends on reliable, high-quality equipment. Whether you are a commercial apiary scaling up production or a distributor sourcing the best tools for your customers, HONESTBEE is your trusted wholesale partner.
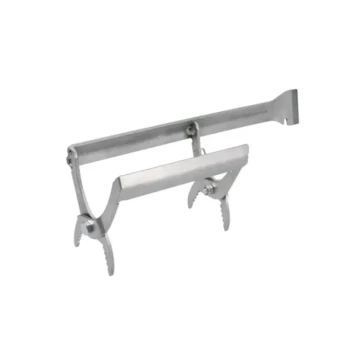
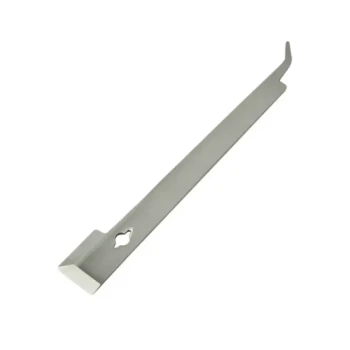
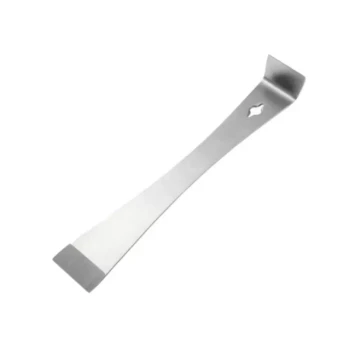
We supply durable queen excluders, hive tools, and other essential beekeeping supplies designed for the rigorous demands of professional queen rearing. Let us help you build a more efficient and profitable operation.
Contact HONESTBEE today to discuss your wholesale needs and elevate your beekeeping business.
Visual Guide
Related Products
- Retractable Chinese Queen Rearing Grafting Tools Equipment
- Plastic Chinese Queen Grafting Tool for Bee Queen Rearing
- Stainless Steel Queen Grafting Tool for Beekeeping and Bee Queen Grafting
- Black 2 Pack Beekeeper Queen Grafting Tool for Bee Queen Larva Transferring Needle
- Professional Dual Action Queen Excluder Scraper for Beekeeping
People Also Ask
- How do queen-rearing tools facilitate the sustainability and expansion of a commercial apiary? Drive Scalable Growth
- How do queen rearing tools and queen introduction hardware support commercial apiaries? Manage Queen Failure Effectively
- What is the function of Queen Rearing Tools in genetic improvement? Achieve Superior Colony Breeding Today
- How do specialized breeding tools assist in addressing honey bee colony decline? Fast-track Bee Genetic Resilience
- How do professional queen rearing tools and AI equipment improve bee stock? Elevate Your Apiary's Genetic Potential