After feeding bees, you must immediately remove all feeding equipment from the apiary, clean it thoroughly, and store it properly. Leaving feeders or any related debris in the bee yard is a critical error that can attract pests and spread disease, undermining the very health you were trying to support with feeding.
The core principle is simple: a clean apiary is a healthy apiary. Proper post-feeding sanitation isn't just about tidiness; it's a fundamental biosecurity practice to protect your colonies from pests and disease.
Why Immediate Removal is Non-Negotiable
When you feed bees, you are creating a concentrated and highly attractive food source. The lingering scent of sugar syrup or pollen substitute on feeders and equipment acts as a powerful beacon for a host of undesirable visitors.
Preventing a Pest Invasion
Empty feeders still contain residue and scent trails that attract pests. These pests can quickly become a significant problem for your colonies.
Common invaders drawn to leftover feed include ants, wasps, hornets, and even larger animals like skunks or mice. Once they discover the food source, they are likely to turn their attention to the hives themselves, leading to robbing behavior and stress on your bees.
Stopping the Spread of Disease
Shared feeding equipment can be a vector for disease transmission between hives. Pathogens can easily contaminate the surfaces of feeders.
If one colony has an underlying issue, moving a contaminated feeder to another hive or leaving it exposed can spread diseases like American Foulbrood (AFB) or chalkbrood throughout your entire apiary.
The Correct Post-Feeding Protocol
A disciplined approach to cleaning and storage is essential. Follow these steps every time you finish a feeding cycle.
Step 1: Immediate Removal from the Apiary
As soon as the bees have consumed the feed or you have decided to stop feeding, remove the feeders. Do not leave them in the bee yard, even for a short period.
Also, be sure to collect any associated debris, such as syrup packaging, foil seals from pollen patties, or empty buckets.
Step 2: Thorough Cleaning
The goal is to eliminate all traces of sugar or pollen substitute. Wash all equipment with hot, soapy water.
For stubborn residue, a scrub brush is effective. Ensure you rinse everything thoroughly to remove any soap film, which can be harmful to bees.
Step 3: Proper Storage
Once the equipment is completely clean and dry, store it in a secure, sealed container. A plastic tote with a tight-fitting lid is an excellent choice.
This prevents pests from being attracted to your storage area and keeps the equipment clean and ready for its next use.
Common Pitfalls to Avoid
Even well-intentioned beekeepers can make mistakes that compromise hive health. Understanding these common errors can help you avoid them.
Assuming "Empty" Means "Clean"
A feeder that appears empty to the naked eye is still covered in a film of syrup residue. This is more than enough to attract pests. Never confuse an empty feeder with a clean one.
Leaving Debris Behind
It's easy to overlook a small piece of packaging or a foil wrapper. Make a final scan of the bee yard for any foreign objects before you leave. These items can hold the scent of feed long after the feeders are gone.
Cross-Contaminating Equipment
Never take a feeder directly from one hive and place it in another without first cleaning and sterilizing it. This is a primary way that diseases are spread within an apiary.
How to Apply This to Your Apiary
Your approach should be consistent and disciplined, regardless of the size of your operation.
- If your primary focus is efficiency: Create a "feeding kit" with all your supplies and a designated bucket for dirty equipment, making cleanup faster and ensuring you don't leave anything behind.
- If your primary focus is biosecurity: Implement a strict "one hive, one feeder" policy, or thoroughly sterilize feeders between uses on different colonies to prevent any chance of disease transfer.
Ultimately, treating post-feeding cleanup as an integral part of hive management is crucial for maintaining strong, healthy, and resilient colonies.
Summary Table:
| Step | Action | Key Benefit |
|---|---|---|
| 1 | Remove Feeders Immediately | Prevents attraction of pests like ants, wasps, and rodents |
| 2 | Clean Thoroughly with Hot, Soapy Water | Eliminates disease vectors like American Foulbrood (AFB) |
| 3 | Store Clean & Dry in Sealed Containers | Ensures equipment is ready and safe for next use |
Protect Your Investment with Professional-Grade Equipment
A disciplined cleaning routine starts with durable, easy-to-clean feeders and equipment. HONESTBEE supplies commercial apiaries and beekeeping equipment distributors with wholesale-focused, high-quality supplies designed to withstand rigorous sanitation protocols. Ensure your operation's biosecurity and efficiency—contact our team today to discuss your wholesale needs and keep your colonies healthy and productive.
Visual Guide

Related Products
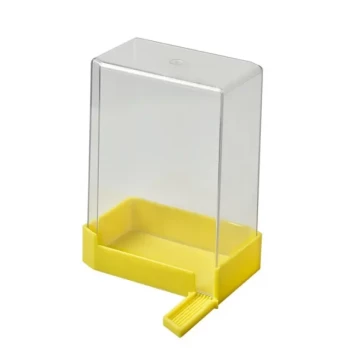
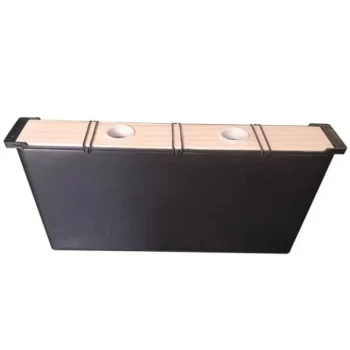
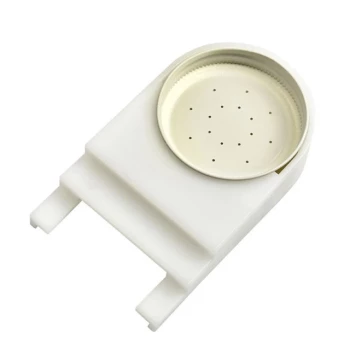
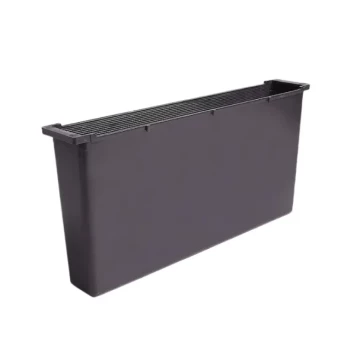
- Rapid Bee Feeder White Plastic 2L Round Top Feeder for 8 or 10-Frame Bee Hives
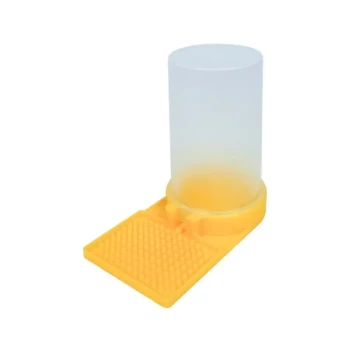
- White Plastic 0.5L Beekeeping Entrance Feeder for Bees
- HONESTBEE Entrance Bee Feeder Professional Hive Nutrition Solution for Beekeeping
- HONESTBEE Professional Entrance Bee Feeder Hive Nutrition Solution
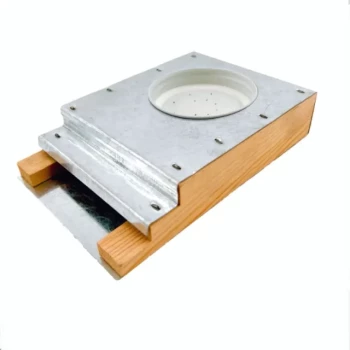
- Boardman Entrance Bee Feeder Durable Galvanized Steel and Wood Construction for Beekeeping
People Also Ask
- What should be done if feed in a feeder is not consumed by the bees? Prevent Hive Mold with Prompt Feed Management
- What is the necessity of specialized internal or entrance feeders? Secure Your Hive with Professional Feeding Tools
- What is the primary purpose of a bee feeder? Boost Colony Growth and Survival with Strategic Feeding Solutions
- Why is the use of specialized feeders necessary? Optimize Colony Growth and Winter Survival
- When is it inappropriate to use a bee feeder? Guide to Proper Hive Supplemental Feeding