Queen excluders can support a controlled re-queening plan, but they should not permanently trap an emerging virgin queen above the excluder. The safest approach is to use the excluder to locate or temporarily confine the old queen, then ensure the colony is genuinely queenless—or that the old queen can no longer interfere—before introducing a ripe queen cell. The excluder must be removed or repositioned before the virgin queen needs to leave for mating.
A queen excluder is a management and separation tool, not a substitute for proper queenlessness. Use it to identify the existing queen and control her location, but protect the new queen by providing a clear route to emerge, mate, and return.
Why Queen Excluders Matter in Re-Queening
They control the old queen’s location
Place the excluder between two hive bodies to restrict the laying queen to one section of the hive. This can simplify inspections and reduce the risk of accidentally moving the old queen with the replacement cell.
After approximately three days, inspect both sections for fresh eggs. The box containing new eggs is the one containing the queen, although this method depends on suitable weather, visible eggs, and a colony that is actively laying.
They preserve the colony’s shared scent
An excluder allows worker bees to move between hive sections while restricting the queen. This maintains the colony’s overall odor and workforce, which can help workers continue caring for a queen cell introduced into the hive.
However, this arrangement does not create complete queenlessness. Workers may still detect the old queen’s pheromones, and acceptance of an introduced cell is therefore less predictable than in a genuinely queenless colony.
They keep brood management orderly
When correctly used, excluders keep the old queen in the designated brood chamber and prevent egg laying in honey supers. This makes it easier to inspect brood, manage replacement, and keep honey combs free from brood-related darkening.
A Safer Controlled Supersedure Procedure
First, assess the colony and replacement objective
Confirm why re-queening is needed. Poor pattern, failing temperament, disease concerns, age, or undesirable genetics may justify replacement, but a colony with serious disease or inadequate food should not be treated as a simple queen-cell replacement project.
Select a healthy, well-populated colony with adequate food and enough nurse bees to support the developing queen.
Locate and secure the old queen
Use an excluder between hive bodies if finding the queen is difficult. After the colony has had time to establish fresh eggs, inspect the combs and identify the queen’s section.
For the most reliable replacement, remove the old queen or place her in a separate nuc. If retaining her temporarily, keep her in a clearly identified brood chamber and prevent accidental movement during inspections.
Introduce a protected ripe queen cell
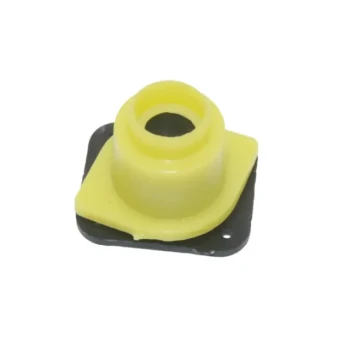
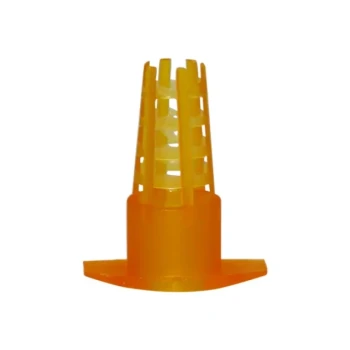
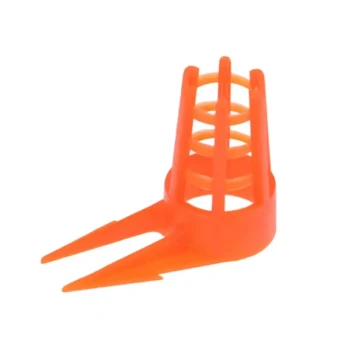
Place the ripe cell in a central area where nurse bees are present and where it will not be damaged by manipulation. A cell protector or suitable cell cage can shield it from crushing and premature removal.
Introducing a cell while the old queen remains freely active is less reliable. Workers may remove the cell, and the colony may continue to favor the established queen rather than complete the intended replacement.
Manage the excluder around emergence
The critical timing issue is the virgin queen’s movement. A virgin queen must leave the hive for mating and return afterward, but a standard excluder is designed to restrict queens and can trap her above or below it.
Therefore, do not leave the new queen confined by the excluder through emergence and mating. Remove or reposition the excluder before the virgin queen exits the cell, or provide a hive configuration with an unobstructed entrance and no excluder blocking her route.
Allow time for mating and egg laying
Avoid unnecessary inspections immediately after emergence. Weather, drone availability, and the queen’s maturity affect mating success.
Once the queen has begun laying a consistent pattern of eggs, remove any remaining separation equipment and allow the colony to integrate fully. Confirm that the old queen is no longer present before considering the replacement complete.
When a Queenless Method Is Better
Use a split or nuc for higher control
A small queenless nuc provides a more predictable environment for accepting a ripe cell. The old queen cannot suppress the replacement process, and the beekeeper can monitor emergence, mating, and early laying with less disruption to the production colony.
Once the new queen is laying properly, the nuc can be reunited with the main colony using an appropriate combining method.
Use a queenless portion of the colony
If the colony must remain in the original equipment, separate a portion containing brood and nurse bees from the old queen. Confirm that it has no viable queen cells or hidden queen before introducing the replacement cell.
This approach is generally more dependable than attempting to induce supersedure in a fully queenright colony with an excluder alone.
Use overcrowding only for specific breeding goals
An excluder at the entrance of a nuc can prevent the existing queen from leaving while overcrowding encourages swarm-cell production. This may allow the beekeeper to harvest natural queen cells, but it is a swarm-management and queen-rearing technique—not a guaranteed method for replacing the colony’s queen.
It also requires careful control of congestion, ventilation, food, and timing to avoid unwanted swarming or colony stress.
Understanding the Trade-offs
A queen excluder does not guarantee supersedure
The idea that an excluder creates a fully “queenless zone” is an oversimplification. Workers can still receive queen pheromones through colony contact, and a queenright colony may reject or destroy an introduced cell.
Treat excluder-assisted supersedure as a conditional technique, not a guaranteed protocol.
The virgin queen can be trapped
This is the most important safety limitation. If the ripe cell is placed above an excluder and the virgin emerges there, she may be unable to pass through the grid to mate and return.
A protected cell does not solve this problem. The queen’s route through the hive must be planned before the cell reaches emergence.
Worker traffic can be restricted
Some excluders, particularly poorly finished or incorrectly sized products, can impede worker movement. Sharp edges, distorted openings, burrs, propolis buildup, or poor fit can damage bees and reduce access to food and brood.
Inspect the excluder before installation and keep it clean and correctly seated.
Timing and weather can defeat the plan
A successful replacement depends on queen-cell maturity, emergence timing, suitable mating weather, available drones, colony strength, and adequate nutrition. A queen can emerge normally and still fail to mate or begin laying.
Do not declare success until the colony shows a healthy laying pattern.
Selecting and Using the Right Excluder
Choose fit and finish before material
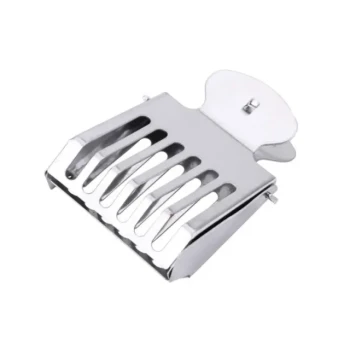
Metal, plastic, and welded round-wire excluders can all be effective. The key factors are accurate queen-excluding openings, smooth surfaces, structural stability, and compatibility with the hive equipment.
For professional operations and resellers, consistency across sizes and batches matters as much as nominal material. A poorly fitting excluder can create both management and bee-safety problems.
Avoid installing it too early over new supers
When adding supers, worker bees may initially hesitate to cross an excluder into an unused space. Allowing bees to begin depositing nectar in drawn comb can encourage traffic through the grid.
This consideration is less important when the excluder is being used briefly for queen location, but it remains relevant in honey-production configurations.
Inspect before every critical use
Check for bent wires, cracked plastic, sharp edges, blocked openings, and gaps around the hive body. The excluder should lie flat without crushing bees or allowing the queen to bypass it.
For commercial supply, rapid availability and reliable order fulfillment are valuable only when matched by consistent manufacturing quality and clear product specifications.
How to Apply This to Your Project
Use the following decision rules when planning an excluder-assisted replacement:
- If your primary focus is reliable re-queening: Remove or isolate the old queen and introduce the ripe cell into a genuinely queenless, well-supported unit.
- If your primary focus is locating the existing queen: Place the excluder between hive bodies, then identify the queen’s section by checking where fresh eggs appear after about three days.
- If your primary focus is controlled supersedure in the production hive: Use the excluder only as temporary separation, and remove or reposition it before the virgin queen must leave for mating.
- If your primary focus is queen-cell production: Use an overcrowded nuc or another established queen-rearing method, recognizing that the excluder does not eliminate swarm-management risks.
- If your primary focus is equipment sourcing: Specify the hive format, material, dimensions, opening consistency, edge finish, and required delivery schedule before ordering in volume.
A queen excluder can improve control, but safe re-queening depends on queenlessness, correct timing, an unobstructed mating route, and verification that the new queen is laying successfully.
Summary Table:
| Method | Key Steps | When to Use |
|---|---|---|
| Excluder for queen location | Place excluder between hive bodies; after 3 days, check for fresh eggs to locate queen | When queen is difficult to find |
| Excluder for controlled supersedure | Exclude old queen temporarily, introduce ripe queen cell, remove excluder before virgin emerges | For controlled replacement in production hives |
| Queenless split or nuc | Create queenless unit with brood and nurse bees, introduce ripe cell | For higher acceptance and monitoring |
| Overcrowding for queen cell production | Use entrance excluder to prevent queen leaving, encourage swarm cells | For breeding or queen production |
Ensure a smooth re-queening process with reliable equipment from HONESTBEE. Our wholesale beekeeping tools, including precision queen excluders, support commercial apiaries and distributors with one-stop sourcing, rapid response, and ultra-fast delivery. Contact us today for tailored solutions and OEM/ODM support to keep your apiary thriving.
Related Products
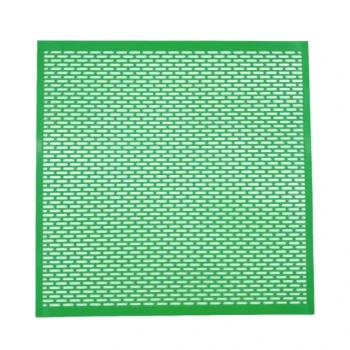
- High Performance Plastic Queen Excluder for Beekeeping and Apiary Management
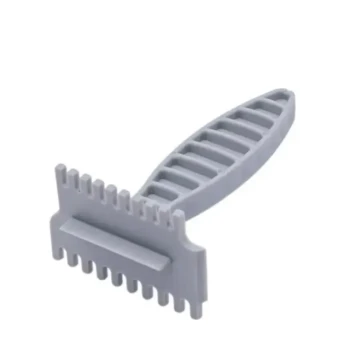
- Lightweight Durable Plastic Queen Excluder Scraper for Beekeeping
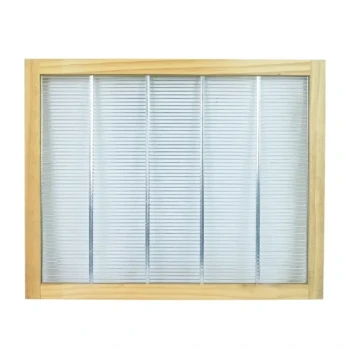
- Premium Wood Framed Metal Wire Queen Bee Excluder
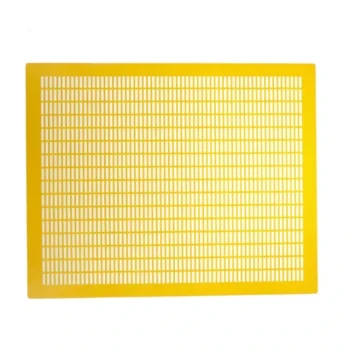
- Professional Plastic Queen Excluder for Modern Beekeeping
- Metal Queen Bee Excluder for Beekeeping
People Also Ask
- What are the characteristics of a plastic queen excluder? Key Benefits for Cost-Effective Beekeeping
- What are the operational and cost advantages of using plastic queen excluders over metal or wire excluders in commercial hive management? Discover how they reduce labor, prevent wing damage, and lower total costs.
- What types of queen excluders are available for beekeepers? Choose the Right Tool for Your Hive
- Why are standardized hive frames and queen excluders essential for maintaining honey purity and quality? Scale Your Purity
- Do plastic queen excluders work? A Cost-Effective Solution for Modern Apiaries