Proper queen cage maintenance is a straightforward process focused on ensuring cleanliness, structural integrity, and safety. The core routine involves inspecting the cage for damage to its frame or mesh before and after each use, and cleaning it every few weeks with mild soap and water to remove any wax or propolis buildup that could restrict airflow.
A queen cage is more than just a container; it's a temporary life-support and introduction tool for the most vital member of the hive. Your maintenance goal is not simply to preserve the equipment, but to guarantee a safe, clean, and stress-free environment for the queen during her most vulnerable period.
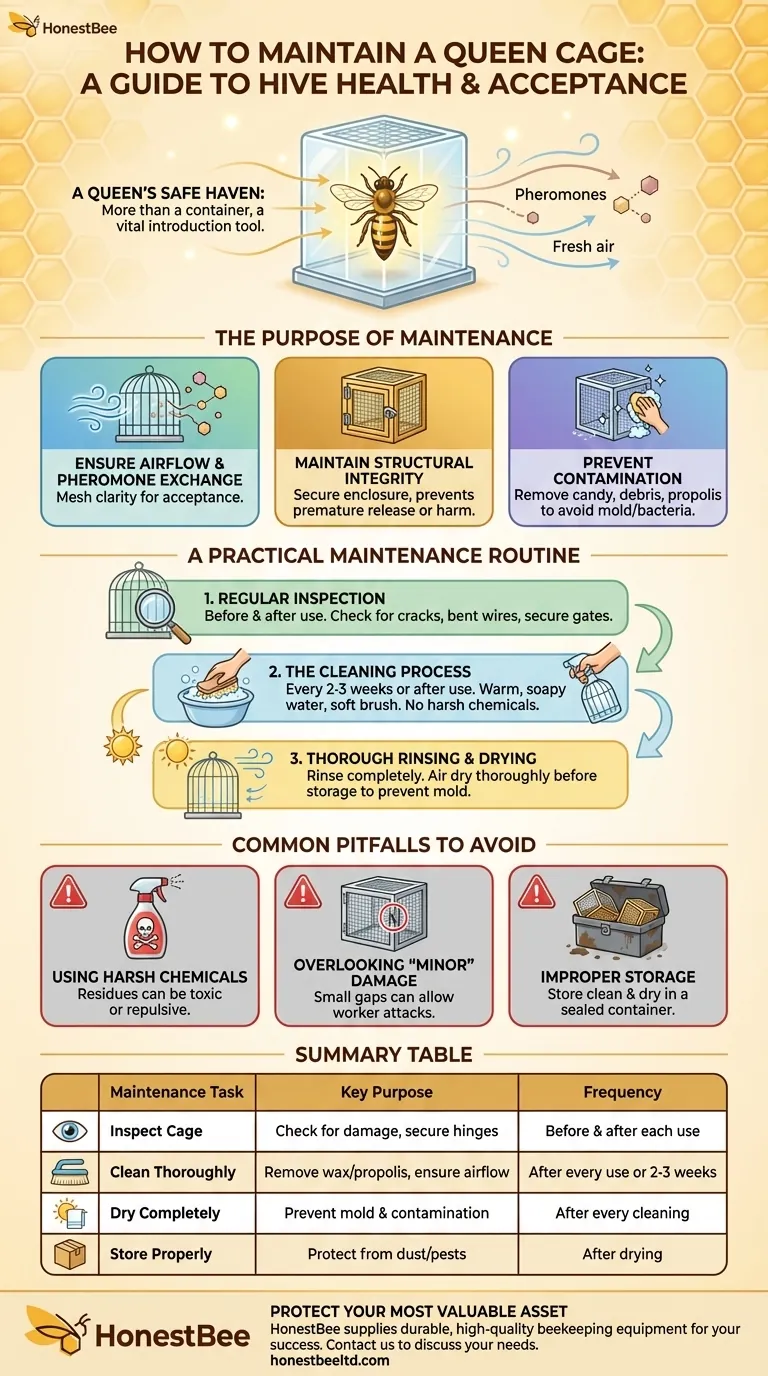
The Purpose of Maintenance: A Queen's Safe Haven
Maintaining a queen cage is directly linked to the success of her introduction and the long-term health of the colony. Each maintenance task serves a specific protective function.
Ensuring Airflow and Pheromone Exchange
The mesh or screen on a cage has two critical jobs. The first is to provide adequate ventilation for the queen and her attendants.
The second, more subtle role is to allow the queen's unique pheromones to circulate throughout the hive. This is how the colony becomes accustomed to her scent, which is essential for her acceptance. Blockages from wax or propolis can hinder this process.
Maintaining Structural Integrity
A queen cage must be a secure enclosure. Any cracks in the frame, damage to the hinges, or gaps in the mesh can have severe consequences.
A compromised cage could lead to the queen being released prematurely before the colony has accepted her, or it could allow hostile worker bees to enter and harm her.
Preventing Contamination
Old candy, hive debris, or propolis left in a used cage can become a breeding ground for mold or bacteria. Introducing a new queen in a dirty cage exposes her to unnecessary health risks.
A Practical Maintenance Routine
Incorporate these steps into your beekeeping workflow to ensure your cages are always ready for use.
Step 1: Regular Inspection
Before you place a queen in a cage and immediately after you remove one, perform a quick but thorough visual inspection.
Look for stress fractures in the plastic, worn-out hinges on wooden cages, and any bent or broken wires in the mesh. Ensure any gates or plugs fit securely.
Step 2: The Cleaning Process
Clean cages after every use or every 2-3 weeks if in storage. Submerge the cage in warm, soapy water, using a mild, unscented soap.
Use a soft brush (like an old toothbrush) to gently scrub away any wax or propolis buildup, paying special attention to the mesh screen.
Step 3: Thorough Rinsing and Drying
Rinse the cage completely under clean water to remove all soap residue.
Allow the cage to air dry thoroughly before storing it. Storing a damp cage can promote mold growth, defeating the purpose of cleaning.
Common Pitfalls to Avoid
Simple mistakes can undermine your efforts and risk the queen's health.
Using Harsh Chemicals or Cleaners
Never use harsh detergents, bleach, or other strong chemicals. Lingering residues can be toxic or repulsive to bees, which may cause the colony to reject the queen.
Overlooking "Minor" Damage
A small crack or a slightly bent piece of mesh may seem insignificant. However, these small openings can be just enough for a worker bee to squeeze through and attack the queen.
Improper Storage
Do not toss used cages into a dirty toolbox or bucket. Store your clean, dry cages in a sealed container or bag to protect them from dust, pests, and contamination between uses.
Making the Right Choice for Your Goal
Your maintenance approach should align with the specific task at hand.
- If you are preparing for a new queen: Always start with a cage you have personally inspected and cleaned to eliminate any unknown variables.
- If you are introducing a queen: Double-check that all gates are secure and that the candy plug is free of debris to ensure a smooth, slow release.
- If you have just finished an introduction: Clean the cage immediately to prevent propolis and wax from hardening, making them much more difficult to remove later.
By viewing the queen cage as a critical piece of safety equipment, you directly invest in the stability and future of your colony.
Summary Table:
| Maintenance Task | Key Purpose | Frequency |
|---|---|---|
| Inspect Cage | Check for cracks, bent mesh, or faulty hinges | Before & after each use |
| Clean Thoroughly | Remove wax/propolis to ensure airflow & prevent disease | After every use or every 2-3 weeks |
| Dry Completely | Prevent mold growth and contamination | After every cleaning |
| Store Properly | Protect from dust and pests in a sealed container | After drying |
Protect your most valuable asset. Proper queen cage maintenance is non-negotiable for commercial apiaries and distributors focused on hive health and productivity. At HONESTBEE, we supply the durable, high-quality beekeeping equipment you need to succeed. From reliable queen cages to essential hive tools, our wholesale-focused operations ensure you get the best gear for your business.
Contact HONESTBEE today to discuss your equipment needs and ensure every queen introduction is a success.
Visual Guide
Related Products
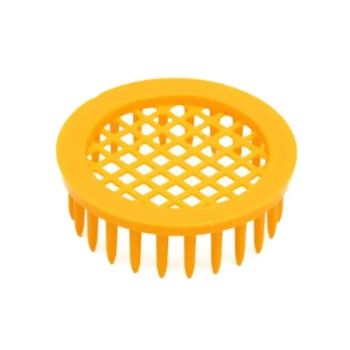
- Durable Galvanized Steel Spring Queen Bee Cage
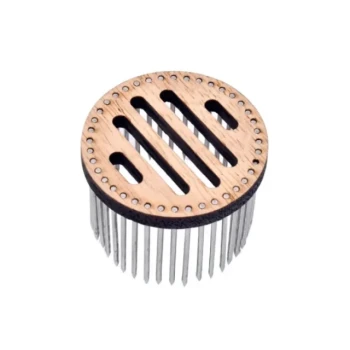
- Classic Wooden and Mesh California Queen Cage
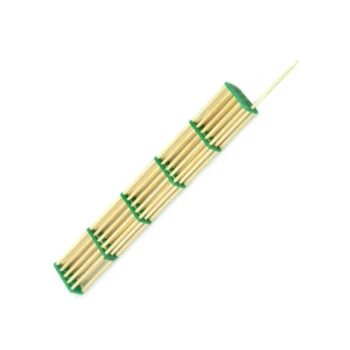
- Professional Queen Bee Introduction and Transport Cage
- Professional Queen Cage with Sliding Gate and Feeder Plug
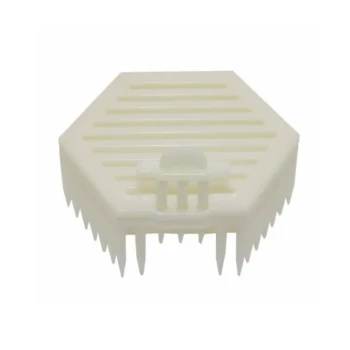
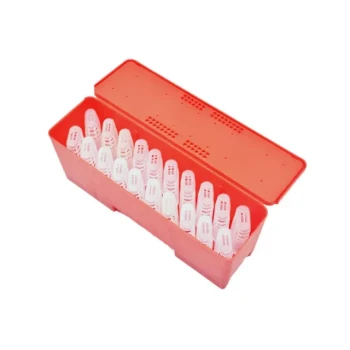
- Professional Multi-Compartment Queen Cage with Sliding Lid
People Also Ask
- What materials are required to install a queen bee's cage into a hive? Essential Tools for Successful Queen Integration
- What is the optimal placement for a queen bee cage? Essential Strategies for Successful Re-queening
- What is the technical purpose of the dedicated feeding compartment and access channel in a queen bee cage? Pro Guide
- When and how should a beekeeper verify that the queen bee has been released? Ensure Colony Success
- Why are specialized queen bee cages used for the banking of mated queen bees? Maximize Commercial Apiary Storage Efficiency