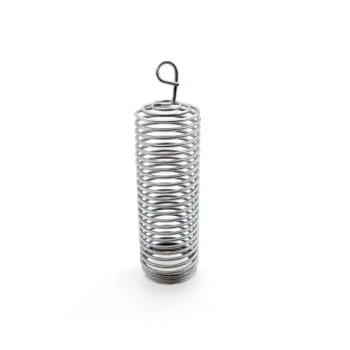
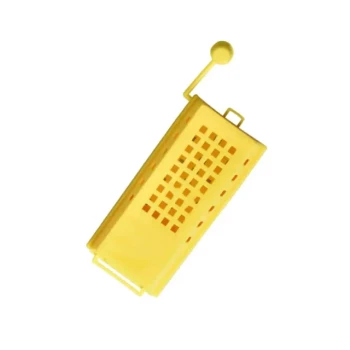
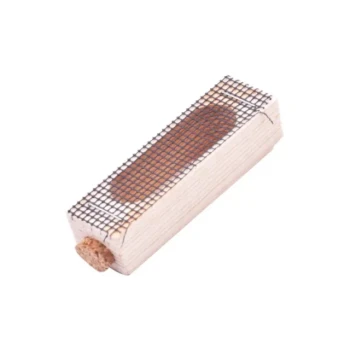
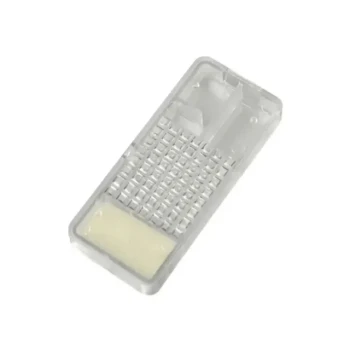
Install the package bees by creating room in the center of the 10-frame brood box, then suspend the inspected queen cage candy-end up between two central frames. Remove five frames, prepare the cage by opening the protective cover over the candy plug, and keep the wire screen exposed so workers can feed the queen. Place the package at the entrance, provide internal sugar syrup, and slope the hive slightly forward so rainwater drains away instead of collecting inside.
The critical points are correct queen-cage preparation, secure central placement, adequate feeding, and positive drainage. The candy should remain intact so the bees release the queen gradually, while the hive must be tilted forward to control moisture.
Preparing the 10-Frame Brood Hive
Create Working Space
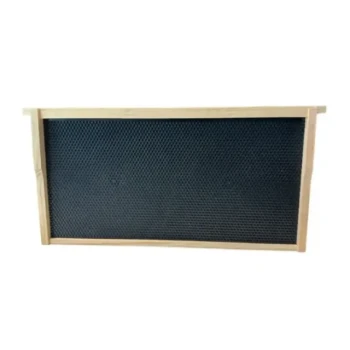
Remove five frames from the 10-frame brood hive, preferably leaving the remaining frames positioned centrally and evenly.
The open space allows the package bees to be introduced without crushing bees and provides room to install the queen cage between the central frames.
Prepare the Queen Cage
Before installation, inspect the cage and confirm that the queen and her attendant bees are alive and moving normally.
Remove or slide aside the protective cork or disc covering the candy-release opening. The hard candy should remain in place so worker bees can gradually consume it and release the queen over several days.
If the candy is missing or damaged, use an appropriate fondant replacement rather than leaving the release opening unobstructed.
Installing the Queen Cage
Position the Cage Centrally
Place the cage between two central brood frames, where worker bees can easily contact it from both sides.
The cage should be held securely by the frame pressure or by a suitable hanger, bracket, or strap. It must not shift, fall, or become crushed when the frames are replaced.
Keep the Candy End Up
Install the cage with the candy end pointing upward.
This orientation reduces the risk that a dead attendant bee will fall against and block the candy exit. It also provides a controlled release path for the queen.
Expose the Wire Screen
Ensure the cage’s wire-screen side remains exposed to the surrounding bees.
Worker bees need access to the screen so they can feed the caged queen and receive her pheromones without making immediate direct contact with her.
Replace the Frames Carefully
After the cage is secured, replace the five removed frames slowly and evenly.
Avoid pressing a frame against the cage or trapping bees between the frames and the hive wall. Leave the queen cage accessible to workers while maintaining normal frame spacing.
Introducing the Package Bees
Place the Package at the Entrance
Set the bee package at or immediately in front of the hive entrance after the queen cage has been installed.
The bees can then move into the brood box naturally. Follow the package supplier’s handling instructions, and use light smoke only where appropriate to reduce agitation during installation.
Provide Internal Sugar Syrup
Install an internal frame feeder and supply sugar syrup to support the colony while it establishes itself.
The feeder should be positioned so the bees can reach it easily without making the queen cage inaccessible or obstructing the frames.
Close the Hive with Minimal Disturbance
Once the bees have entered and the feeder is installed, close the hive carefully.
Avoid repeatedly opening the hive during the initial establishment period. Excessive disturbance can interfere with queen acceptance and colony organization.
Preventing Moisture Damage
Slope the Hive Toward the Entrance
The hive should have a slight forward tilt, with the entrance side lower than the rear.
Place a small piece of wood beneath the back feet of the hive stand to raise the rear and create this slope.
Drain Rainwater Outward
The forward slope prevents rainwater and condensation from pooling inside the hive.
Water should drain toward the entrance rather than remain against the bottom board, brood box, or other wooden components.
Keep the Hive Stable
The support used to create the slope must be secure and strong enough to prevent rocking.
A tilted hive that shifts in wind or during inspections can disturb the colony, damage frames, and compromise the queen cage’s position.
Understanding the Trade-Offs
Do Not Release the Queen Directly
Releasing the queen immediately can increase the risk of rejection because the package bees have not yet become accustomed to her pheromones.
The candy-release method gives the workers time to accept her presence before direct contact occurs.
Do Not Destroy the Candy Plug
The protective cork or disc should be removed, but the sugar candy itself should generally remain intact.
Puncturing or removing the candy entirely can release the queen too quickly and defeats the purpose of gradual introduction.
Do Not Block the Cage Screen
Frames must not press tightly against the wire screen.
If worker bees cannot reach the screen, they cannot feed the queen or distribute her pheromones through the developing colony.
Avoid Excessive Moisture Protection That Restricts Ventilation
Drainage is essential, but the hive should not be sealed so tightly that normal ventilation is eliminated.
The primary moisture-control measure during installation is a stable forward slope that prevents water from accumulating inside the hive.
How to Apply This to Your Installation
Use this sequence as a practical installation checklist:
- If your primary focus is queen acceptance: Inspect the queen, remove only the protective cover over the candy, and suspend the cage candy-end up between two central frames with the screen exposed.
- If your primary focus is safe package establishment: Remove five frames, install an internal frame feeder, place the package at the entrance, and replace the frames without crushing bees.
- If your primary focus is hive durability: Raise the rear of the hive stand slightly with a stable wood spacer so water drains toward the entrance.
- If your primary focus is repeatable commercial installation: Use a standardized cage inspection, feeder placement, frame-replacement, and hive-leveling procedure for every package.
A secure queen cage, accessible food supply, and forward-draining hive provide the foundation for a smooth package-bee installation and a healthier, drier brood hive.
Summary Table:
| Key Step | Action | Purpose |
|---|---|---|
| Create Working Space | Remove 5 frames from the 10-frame hive | Provide room for package bees and queen cage placement |
| Prepare Queen Cage | Inspect queen, remove protective cover over candy | Allow gradual release of queen |
| Install Queen Cage | Position centrally between frames, candy end up, screen exposed | Ensure worker contact and controlled release |
| Introduce Package | Place package at entrance, provide syrup feeder | Encourage natural entry and nourishment |
| Prevent Moisture | Tilt hive slightly forward | Drain rainwater away from hive interior |
Ensure successful hive installations with top-quality beekeeping supplies from HONESTBEE. We offer a full range of beekeeping tools, machinery, and equipment tailored for commercial apiaries and distributors. Our rapid response, dedicated support, and ultra-fast delivery ensure your operation stays productive. For professional guidance and premium products, contact us today and let us help you optimize your apiary management.
Related Products
- Portable Bee Mating Hive Boxes Mini Mating Nucs 8 Frames for Queen Rearing
- Durable Galvanized Steel Spring Queen Bee Cage
- Professional Queen Cage with Sliding Gate and Feeder Plug
- Classic Wooden and Mesh California Queen Cage
- Professional Queen Bee Introduction and Transport Cage
People Also Ask
- How do specialized queen-rearing frames and mating boxes boost off-season bee production? Optimize Your Apiary's Output
- What are the approximate weights of different types of 8-frame beehive boxes? Lift Smarter for Your Apiary
- What role does the structural configuration of beekeeping mating boxes play? Optimize Queen Mating Success
- What is an 8 frame box and why is it popular? A Lighter, More Ergonomic Hive Solution
- What role do portable mating nucs play in geographic isolation breeding? Secure Genetic Purity in Remote Locations