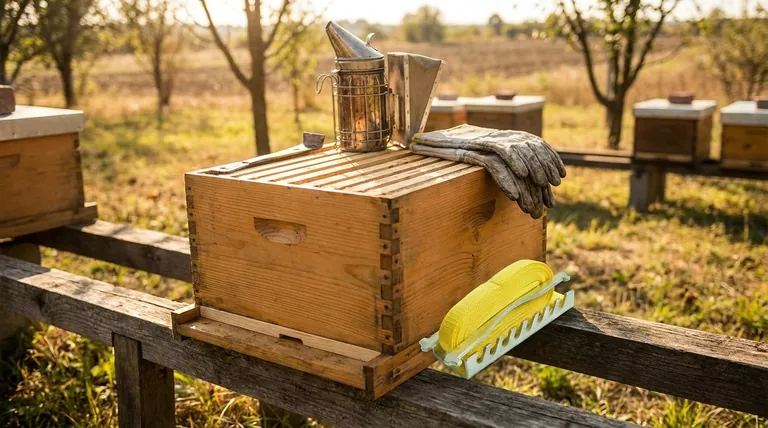
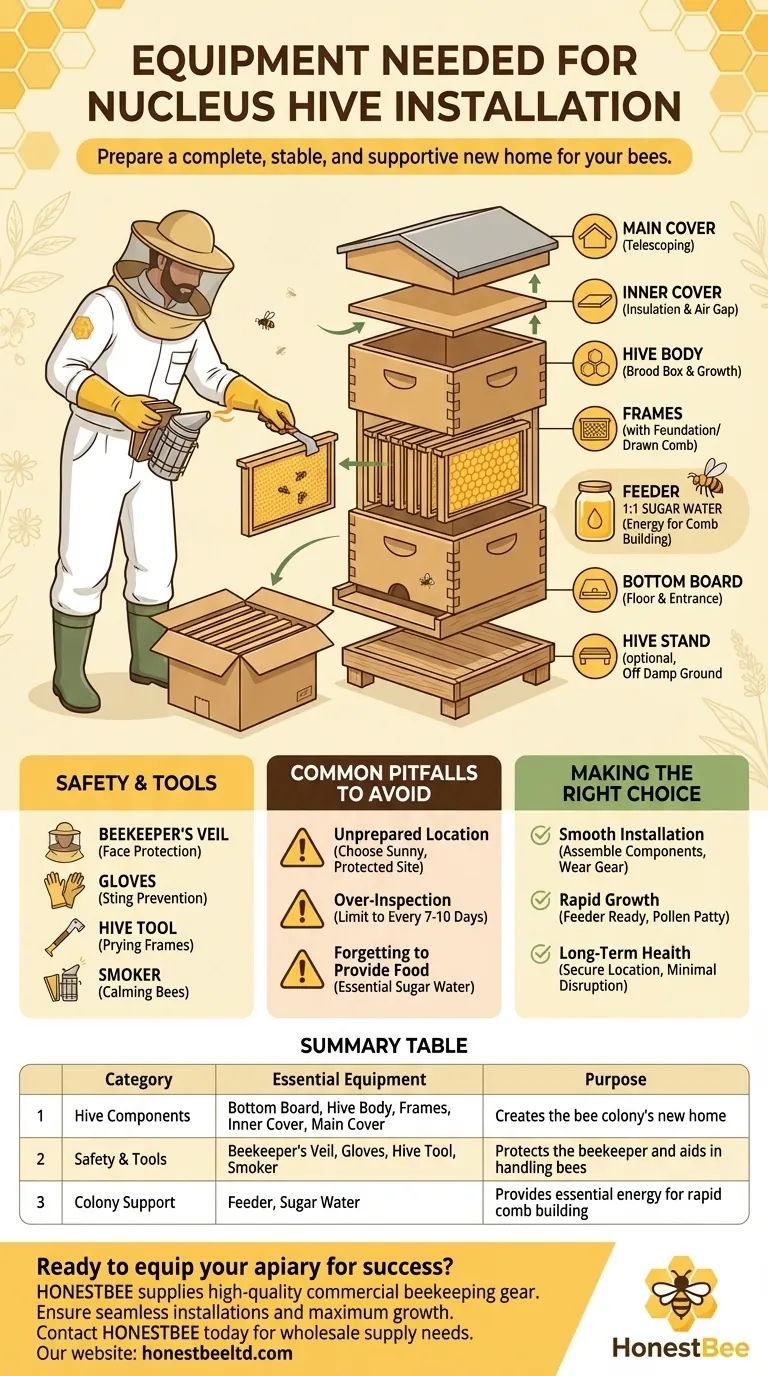
To install a nucleus hive, you will need a complete hive setup and personal protective gear. The basic hive consists of a bottom board, a hive body (or "brood box") with frames, an inner cover, and a main cover. For your own safety and to work calmly, you must have a beekeeper's veil, gloves, and a hive tool.
The core task is not just acquiring equipment, but preparing a complete, stable, and supportive new home for your bees before they arrive. Success depends on having the hive, food, and tools ready from day one.
Preparing the Core Hive Components
A nucleus hive, or "nuc," is a small, established colony that needs to be transferred into a full-sized hive. Your first job is to have that new home fully assembled and waiting for them.
The Hive Body and Frames
The hive body is the primary box where the queen will lay eggs and the colony will grow. It's the central structure of their new home.
Inside this box, you will place frames. A nuc typically comes with five frames, so you will need to add five more new frames to fill out a standard ten-frame hive body.
These new frames should contain either foundation (wax or plastic sheets) or drawn comb to give the bees a guide for building their new honeycomb.
The Foundation and Covers
The entire hive stack rests on a bottom board, which serves as the floor and entrance for the hive.
An inner cover is placed on top of the hive body. It provides insulation and an important air gap for ventilation.
The final piece is the main cover, often called a telescoping cover, which acts as the roof to protect the colony from rain and weather.
The Feeder
A feeder is a critical piece of equipment for a new colony. Nucs are small and need a significant amount of resources to build out their new hive.
Providing a 1:1 mixture of sugar water helps them produce wax and draw out the comb on the new frames much faster. A feeder ensures they have this energy source readily available.
Essential Tools for the Beekeeper
Beyond the hive itself, you need specific tools to handle the bees safely and efficiently during the installation.
Personal Protective Gear
This is non-negotiable for your safety and confidence. At a minimum, you need a beekeeper's veil to protect your face and neck.
A full beekeeping suit and gloves are highly recommended, especially for new beekeepers, as they prevent stings and allow you to work more calmly.
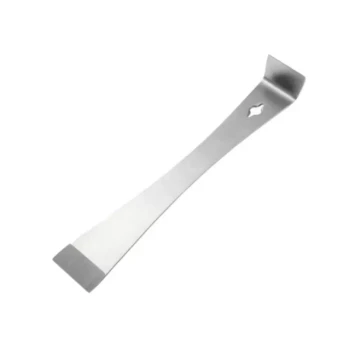
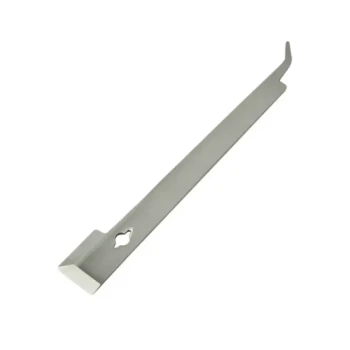
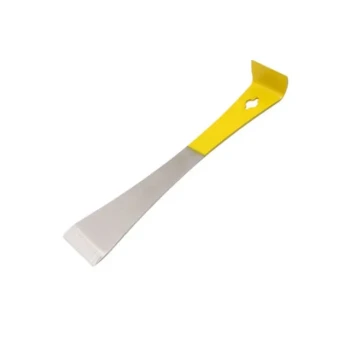
The Hive Tool
The hive tool is the beekeeper's essential multi-tool. It's used to gently pry apart frames and boxes, which the bees will have sealed together with a sticky substance called propolis.
The Smoker
A smoker is used to deliver small puffs of cool, white smoke. This smoke helps calm the bees by masking their alarm pheromones, making the transfer from the nuc to the new hive much smoother.
Common Pitfalls to Avoid
Simply having the equipment is not enough. New beekeepers often make predictable mistakes that can stress or harm the new colony.
The Risk of an Unprepared Location
Do not wait until installation day to choose your hive location. The site should be selected in advance, offering protection from harsh wind, receiving morning sun, and being easily accessible for you to work.
The area should be clear of obstructions, and the hive should be placed on a stand to keep it off the damp ground.
The Danger of Over-Inspection
Once the nuc is installed, the colony needs time to settle in. While it is tempting to look inside every day, this can be highly stressful for the bees.
Limit your inspections to once every 7 to 10 days initially. These checks should be brief and focused on verifying that the queen is laying eggs and the colony is expanding.
Forgetting to Provide Food
Assuming the bees can immediately find enough nectar is a common mistake. A new nuc is focused on construction, not foraging.
Failing to provide sugar water can significantly slow down their progress and put the colony's survival at risk, especially if there is a poor nectar flow.
Making the Right Choice for Your Goal
Your equipment choices and preparation should directly support your beekeeping objectives.
- If your primary focus is a smooth and stress-free installation: Have all hive components fully assembled and positioned, your smoker lit, and your protective gear on before you open the nucleus hive.
- If your primary focus is rapid colony growth: Ensure you have a feeder filled and ready, and consider providing a pollen patty to give the bees the protein they need for raising new brood.
- If your primary focus is long-term colony health: Select a secure, well-drained, and sunny location, and establish a consistent, minimal-disruption inspection schedule from the very beginning.
Preparing your equipment and location in advance is the single most important factor in a successful nucleus hive installation.
Summary Table:
| Category | Essential Equipment | Purpose |
|---|---|---|
| Hive Components | Bottom Board, Hive Body, Frames, Inner Cover, Main Cover | Creates the bee colony's new home |
| Safety & Tools | Beekeeper's Veil, Gloves, Hive Tool, Smoker | Protects the beekeeper and aids in handling bees |
| Colony Support | Feeder, Sugar Water | Provides essential energy for rapid comb building |
Ready to equip your apiary for success? HONESTBEE supplies commercial apiaries and beekeeping equipment distributors with the high-quality, reliable gear mentioned in this guide. From durable hive bodies and frames to essential tools like smokers and hive tools, we provide everything you need for efficient, large-scale operations. Ensure your nucleus hive installations are seamless and set your colonies up for maximum growth and health. Contact HONESTBEE today to discuss your wholesale supply needs.
Visual Guide
Related Products
- 5 Frame Wooden Nuc Box for Beekeeping
- Automatic Heat Preservation 6 Frame Pro Nuc Box for Honey Bee Queen Mating
- Steel Round Disc Entrance Reducer for Flexzion Bee Hive Nuc Box Gate
- 4 Frame Plastic Nuc Boxes for Beekeeping Bee Nuc Box
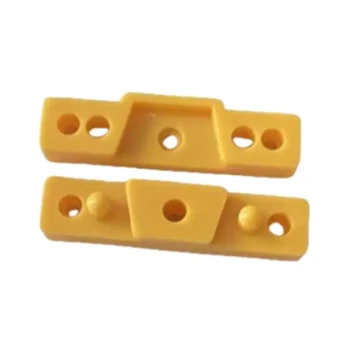
- Ergonomic Plastic Frame Spacer Tool for Rapid Hive Management Beekeeping
People Also Ask
- What is the most common type of standard nuc? The 5-Frame Nuc Explained
- What are the options for adding frames to a nuc after taking two frames from the parent colony?
- What is the procedure for moving bees from a 5-frame nuc to a 10-frame hive? 6 Steps for a Successful Colony Transfer
- What are the characteristics of a standard nuc? Essential Guide for Professional Apiaries
- What frames should be moved into the queenless hive when requeening with a nuc? Ensure a Successful Queen Introduction