The definitive method for extracting honey from fixed comb and top bar hives is the crush and strain technique. Because these hives lack the reinforced frames of a standard Langstroth hive, the entire honeycomb is cut from the hive, crushed to release the honey, and then strained through a mesh or cloth to separate the liquid honey from the solid beeswax. This process sacrifices the comb but allows for a complete harvest of both honey and wax.
The core difference between extracting from top bar hives versus standard hives is the philosophy of the harvest. Instead of preserving the comb for reuse, the crush and strain method embraces the comb's destruction to yield both pure, raw honey and clean beeswax simultaneously.
The Principle: Why Crush and Strain is Necessary
For beekeepers using top bar or fixed comb hives, understanding why this method is used is as important as knowing how to do it. The answer lies in the structure of the comb itself.
The Limitation of "Foundationless" Comb
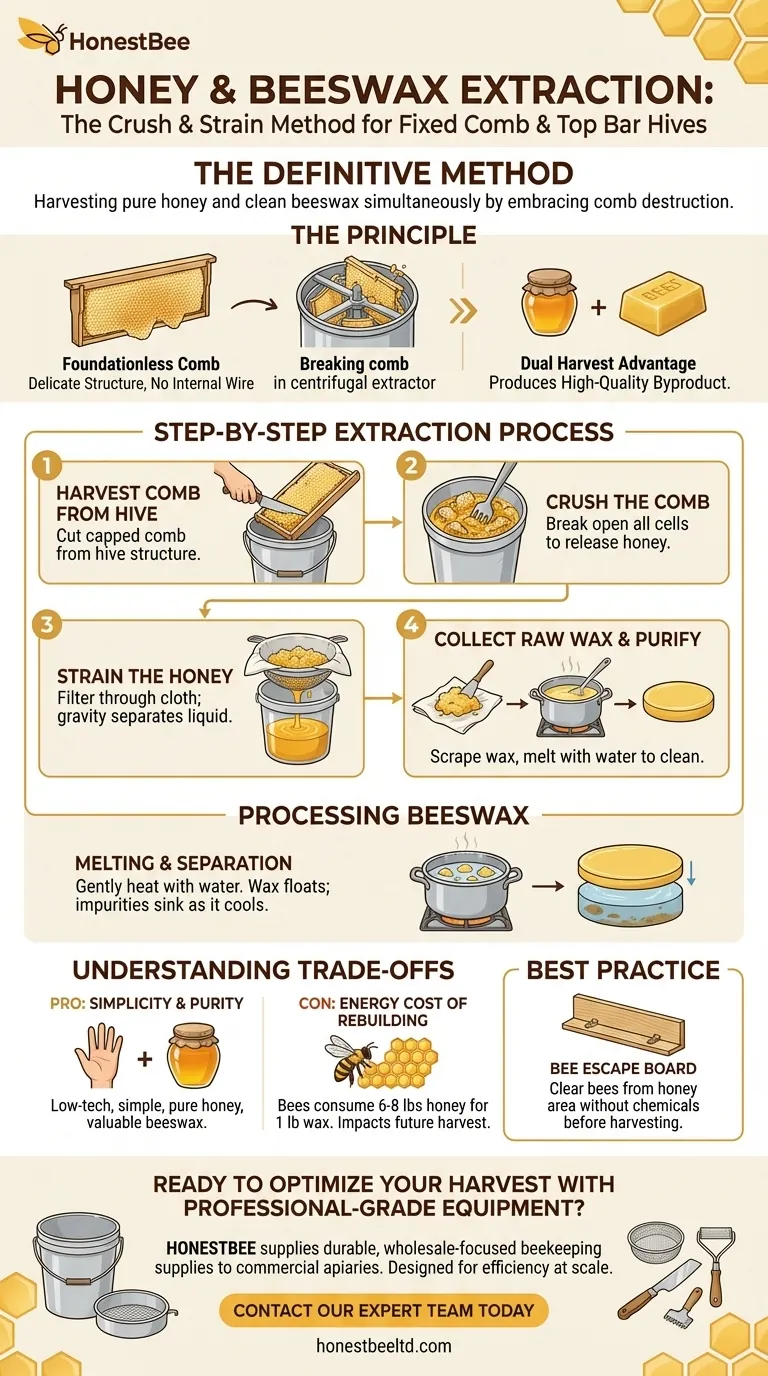
Unlike the frames in a standard Langstroth hive, the combs in top bar and fixed comb hives are foundationless. They are not built around a sheet of foundation and often lack the internal wiring needed for structural support.
Putting this delicate, natural comb into a centrifugal extractor—the machine used for standard frames—would cause it to disintegrate under the immense rotational force. Therefore, a different, more direct approach is required.
The Advantage of a Dual Harvest
While losing the comb may seem like a drawback, this method allows you to harvest two valuable products at once.
The beeswax that is separated during straining is a pure, high-quality byproduct. For many natural beekeepers, this dual harvest of both honey and wax is a primary benefit of the top bar system.
The Step-by-Step Extraction Process
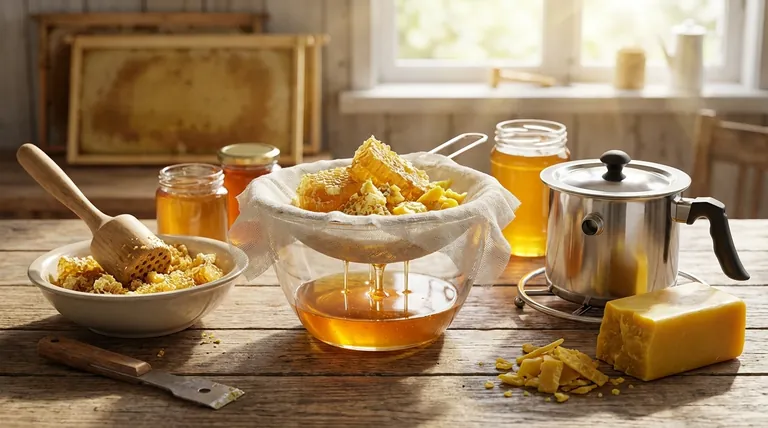
This process can be scaled from a single jar to large food-grade buckets, but the core steps remain the same. You will need at least two clean, food-grade containers and a straining cloth (like cheesecloth, a fine mesh nylon bag, or a dedicated honey strainer).
Step 1: Harvest the Comb from the Hive
Begin by carefully cutting the honeycomb from the top bars or the hive structure itself. Try to select combs that are fully capped, as this indicates the honey has the correct moisture content and is ready for harvest.
Place the harvested combs into your first clean, food-grade bucket or large jar.
Step 2: Crush the Comb
Break up the honeycomb to release the honey from the individual wax cells. You can do this by cutting the comb into small pieces or by using a clean utensil, like a large spoon or potato masher, to crush it against the side of the container.
The goal is to ensure every cell is broken open. The mixture will look like a slurry of wax pieces suspended in thick honey.
Step 3: Strain the Honey
Secure your straining cloth over the opening of the second, empty container. You can use a large rubber band for a jar or clamps for a bucket.
Pour the crushed comb and honey mixture into the strainer. Gravity will do the work, but patience is required. The honey will slowly drip through the mesh, leaving the wax pieces behind in the cloth. This can take several hours or even overnight.
Step 4: Collect the Raw Wax
Once the honey has finished draining, the beeswax and any other impurities will be left behind in the straining cloth. Scrape this raw wax into a separate container for later processing. The honey in your second bucket is now ready for bottling.
Processing and Purifying the Beeswax
The raw wax collected from straining is not yet clean. It will contain residual honey, pollen, and other hive debris. The standard method for purifying it uses water and heat.
The Goal: Removing Impurities
The objective is to melt the wax, allowing the pure beeswax to separate from the heavier, water-soluble impurities like honey.
The Method: Melting and Separation
Place the raw wax scrapings into a pot and cover them with water. Gently heat the mixture until the wax is completely melted. Do not boil the water, as overheating can darken and damage the wax.
Once melted, remove the pot from the heat and allow it to cool completely. Because beeswax is lighter than water, it will float to the top and solidify into a clean, hard disk as it cools. Any remaining honey and debris will be trapped in the water below.
After it has fully hardened, you can easily lift the disk of clean beeswax off the water.
Understanding the Trade-offs
The crush and strain method is simple and effective, but it comes with one significant trade-off that every beekeeper must consider.
Pro: Simplicity and Purity
This method requires no expensive machinery and is straightforward to perform at any scale. The resulting honey is exceptionally pure, as it is only filtered by gravity, and you gain a valuable secondary product in the beeswax.
Con: The Energy Cost of Rebuilding Comb
The primary drawback is that the bees must rebuild all of the harvested comb from scratch. Producing wax is an energy-intensive process for bees; it is estimated they consume 6 to 8 pounds of honey to produce just 1 pound of wax.
This means that after a crush and strain harvest, the colony must redirect significant resources to rebuilding comb before they can begin storing surplus honey again. This will impact the speed and volume of your next honey harvest.
Best Practice: Clearing the Bees
Before you even begin harvesting comb, you must clear the bees from the honey you intend to take. A bee escape board is a highly effective, chemical-free tool for this. Placed between the main hive body and the honey sections, it creates a one-way exit, allowing bees to leave the honey area without being able to return.
Making the Right Choice for Your Harvest
Your approach should align with your goals as a beekeeper. The crush and strain method is not just a technique; it is a philosophy of working with the hive's natural cycles.
- If your primary focus is a dual harvest of honey and wax: The crush and strain method is the most direct and natural way to achieve this with a top bar or fixed comb hive.
- If your primary focus is maximizing honey production volume: Be mindful of how much comb you harvest at once, as the colony will need time and resources to rebuild before refilling it with honey.
Ultimately, the crush and strain method allows for a complete and natural harvest that fully utilizes the products of the hive.
Summary Table:
| Step | Process | Key Action |
|---|---|---|
| 1 | Harvest Comb | Cut fully capped honeycomb from the hive. |
| 2 | Crush Comb | Break up the comb to release honey from wax cells. |
| 3 | Strain Honey | Filter the mixture through a cloth to separate honey from wax. |
| 4 | Purify Wax | Melt the raw wax with water to remove impurities. |
Ready to optimize your harvest with professional-grade equipment?
HONESTBEE supplies durable, wholesale-focused beekeeping supplies and equipment to commercial apiaries and distributors. Whether you need high-capacity straining buckets, fine-mesh filters, or other extraction tools, our products are designed for efficiency and reliability at scale.
Contact our expert team today to discuss how our equipment can support your crush and strain operations and improve your yield of pure honey and clean beeswax.
Visual Guide
Related Products
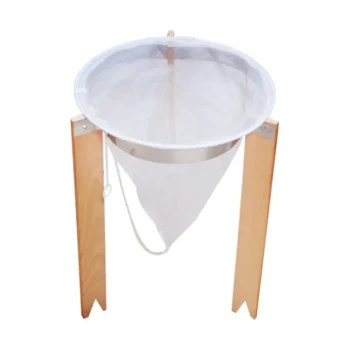
- Stainless Steel Triangle Support Honey Strainer and Filters
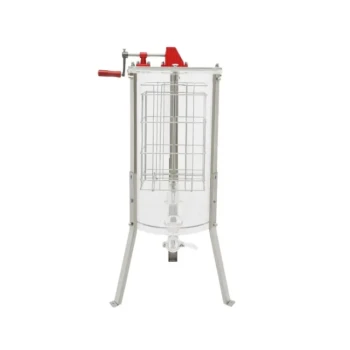
- Stainless Steel 3 Frame Manual Honey Extractor Spinner for Bee Honey Extraction
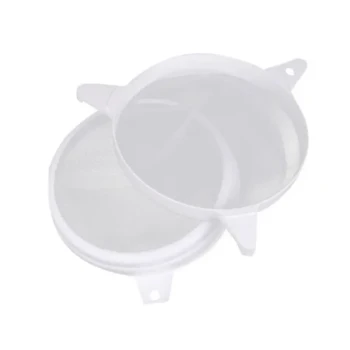
- Two-Stage Plastic Honey Filter for Buckets
- Stainless Steel Double Layer Honey Strainer Sieve Filters
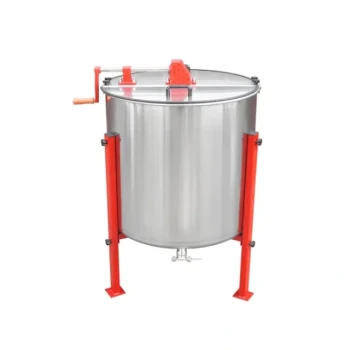
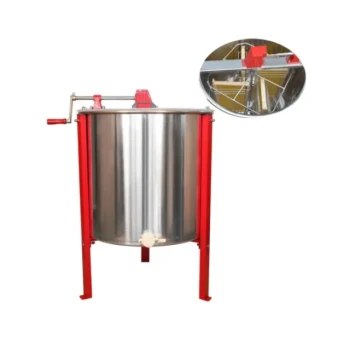
- Manual Hand Crank 4 Frame Honey Extractor Centrifuge for Beekeeping
People Also Ask
- Why is stainless steel preferred for honey strainers? Ensure Purity and Durability for Your Honey
- Why are stainless steel filters essential during the initial purification phase of honey processing? Ensure Purity
- What are the advantages of using honey strainers? A Simple, Low-Cost Path to Pure Honey
- How do I strain my honey? A Step-by-Step Guide to Clean, Pure Harvests
- What can I use to strain honey? A Beekeeper's Guide to Choosing the Right Filter