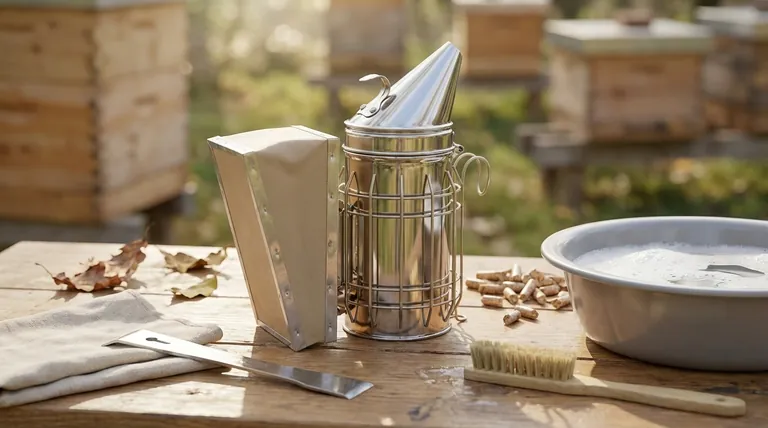
To properly clean a beekeeping smoker, you must first allow it to cool completely and empty any remaining fuel and ash. Then, wash the canister with warm water and a soft cloth, using a mild soap for any stubborn residue. The most critical final step is to ensure the smoker is dried thoroughly before storage to prevent rust and damage to its components.
A clean smoker isn't just about maintenance; it's a fundamental aspect of safe and effective beekeeping. A clogged or dirty smoker fails to produce the cool, consistent smoke needed to calm bees, creating a risk for both the beekeeper and the hive.
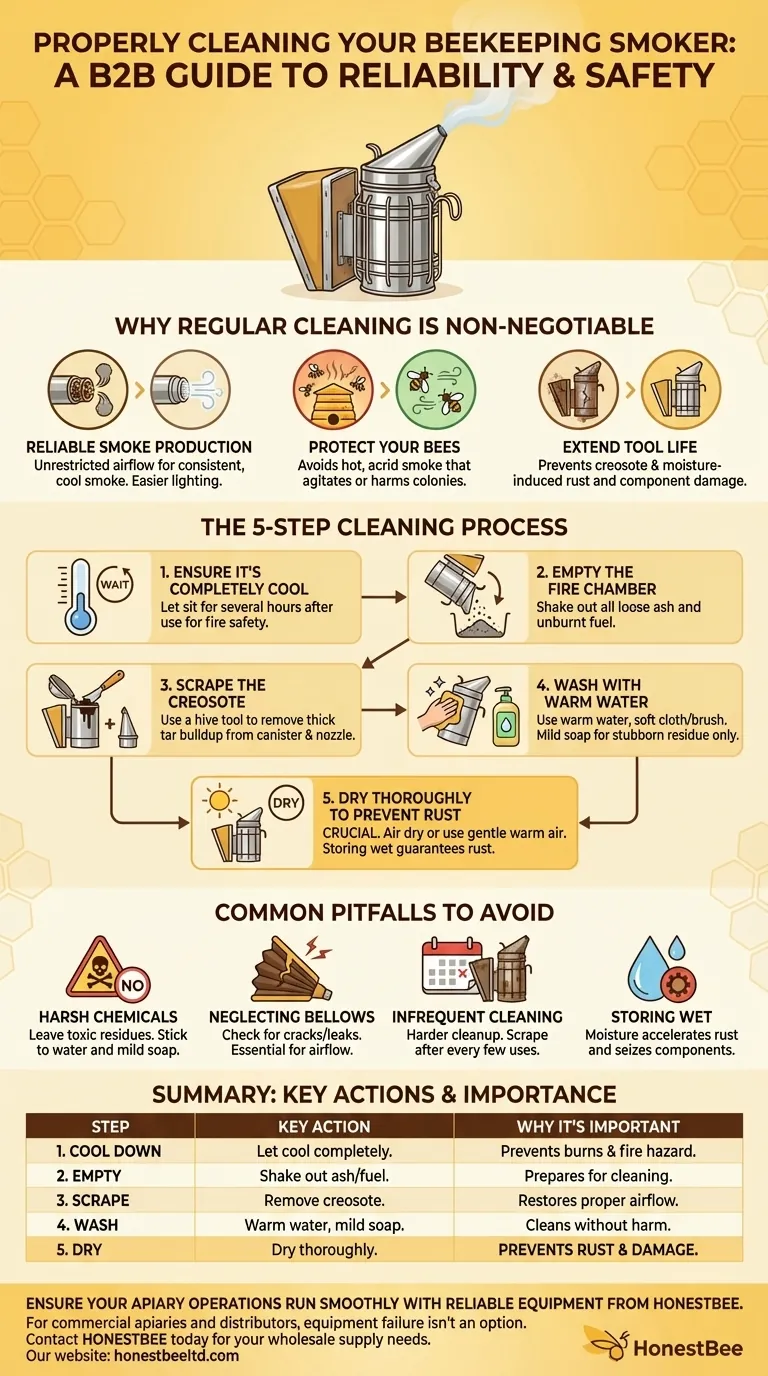
Why Regular Smoker Cleaning is Non-Negotiable
A smoker is one of a beekeeper's most essential tools. Over time, residue from burnt fuel, known as creosote, builds up inside the canister and nozzle. This buildup directly compromises the tool's function and your safety.
To Ensure Reliable Smoke Production
A clogged nozzle or restricted canister prevents proper airflow. This makes the smoker difficult to light and can stop it from producing the thick, cool smoke needed to manage a colony during an inspection.
To Protect Your Bees
A dirty smoker is more likely to produce sparks or hot, acrid smoke instead of the gentle, cool smoke that pacifies bees. This can agitate the colony or even harm the bees.
To Extend the Life of Your Tool
Creosote is acidic and, combined with moisture, will accelerate rust. Regular cleaning prevents the metal from degrading and keeps moving parts, like the bellows hinge, functioning smoothly.
The Step-by-Step Cleaning Process
Follow these steps after every few uses or whenever you notice performance declining. A deep clean at the end of the season is also highly recommended.
Step 1: Ensure It's Completely Cool
Never attempt to clean a hot or even warm smoker. This is a basic fire safety precaution. Let it sit for several hours after use to ensure it has cooled entirely.
Step 2: Empty the Fire Chamber
Turn the smoker upside down and shake out all loose ash and unburnt fuel. Tap the side to dislodge any debris clinging to the interior walls.
Step 3: Scrape the Creosote
Use your hive tool to scrape the thick, tar-like creosote buildup from the inside of the canister and, most importantly, the inside of the nozzle. A clean nozzle is essential for good airflow.
Step 4: Wash with Warm Water
Using a soft cloth or brush, wash the canister with warm water. For very stubborn residue, a small amount of mild dish soap can be effective. Rinse thoroughly to remove all soap.
Step 5: Dry Thoroughly to Prevent Rust
This is the most crucial step for longevity. You can dry it with a towel, let it air dry in the sun, or even give it a gentle blast of warm air. Storing a smoker even slightly damp will guarantee rust.
Common Pitfalls to Avoid
Proper cleaning is simple, but a few common mistakes can damage your tool or compromise safety.
Using Harsh Chemicals or Solvents
Aggressive cleaning agents can leave behind residues that may be toxic to your bees when the smoker is next heated. Stick to water and, if necessary, a very mild soap.
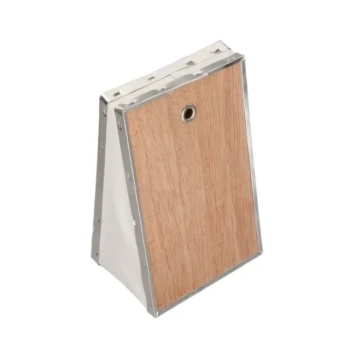
Neglecting the Bellows
While the canister gets dirty, the bellows can fail. Periodically check the bellows for cracks or leaks, as these will prevent you from producing enough air to keep the fuel smoldering.
Infrequent Cleaning
Letting creosote build up makes the cleaning process significantly harder. A quick scrape-out after every couple of uses is far easier than an hour-long battle with hardened tar at the end of the year.
Storing the Smoker Wet
It bears repeating: moisture is the enemy of a metal smoker. Even a small amount of water left inside will cause rust, which can seize the hinge or eat through the canister wall over the winter.
Making the Right Choice for Your Routine
Your cleaning frequency should match your beekeeping intensity.
- If your primary focus is hobby beekeeping (a few hives): A thorough cleaning at the end of the season and a quick scrape-out after every few uses will keep your smoker in excellent condition.
- If your primary focus is commercial or frequent beekeeping (weekly use): Perform a quick scrape and empty after every single use and a full deep clean at least once a month to ensure absolute reliability.
A well-maintained smoker is a reliable partner in the apiary.
Summary Table:
| Step | Key Action | Why It's Important |
|---|---|---|
| 1. Cool Down | Let smoker cool completely. | Prevents burns and fire hazard. |
| 2. Empty | Shake out all ash and unburnt fuel. | Prepares the canister for cleaning. |
| 3. Scrape | Remove creosote from canister and nozzle. | Restores proper airflow for consistent smoke. |
| 4. Wash | Use warm water and a soft cloth/mild soap. | Cleans residue without harming bees. |
| 5. Dry | Dry thoroughly before storage. | Crucial to prevent rust and damage. |
Ensure your apiary operations run smoothly with reliable, durable equipment from HONESTBEE.
A clean, functional smoker is vital for safe hive management. For commercial apiaries and distributors, equipment failure isn't an option. HONESTBEE supplies high-quality beekeeping supplies and equipment through wholesale-focused operations, ensuring your tools are as dependable as your practice.
Contact HONESTBEE today to discuss your wholesale supply needs and keep your focus on the bees.
Visual Guide
Related Products
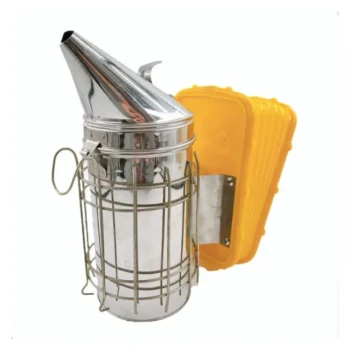
- Stainless Steel Honey Bee Smoker Hive and Honeycomb Smoker for Beekeeping
- Miniature Stainless Steel Bee Smoker for Beekeeping
- Professional Bee Smoker with Elongated Spout and Durable Bellows for Beekeeping
- Electric Bee Smoker European Style Bee Hive Smoker for Beekeeping
- Galvanized Beekeeping Smoker for Honey Bee and Apiculture
People Also Ask
- What type of bee smoker is recommended for a beginner? Top Picks for Easy Hive Management
- How should a beekeeper use a smoker when approaching a hive? A Guide to Calm, Safe Inspections
- How do bee smokers and colored light sources work together to assist in night-time honey harvesting? Expert Strategies
- What is the best material for a bee smoker? Choose the Right Fuel for a Calm Hive
- When should you add more fuel to the bee smoker? Watch for This Critical Smoke Signal