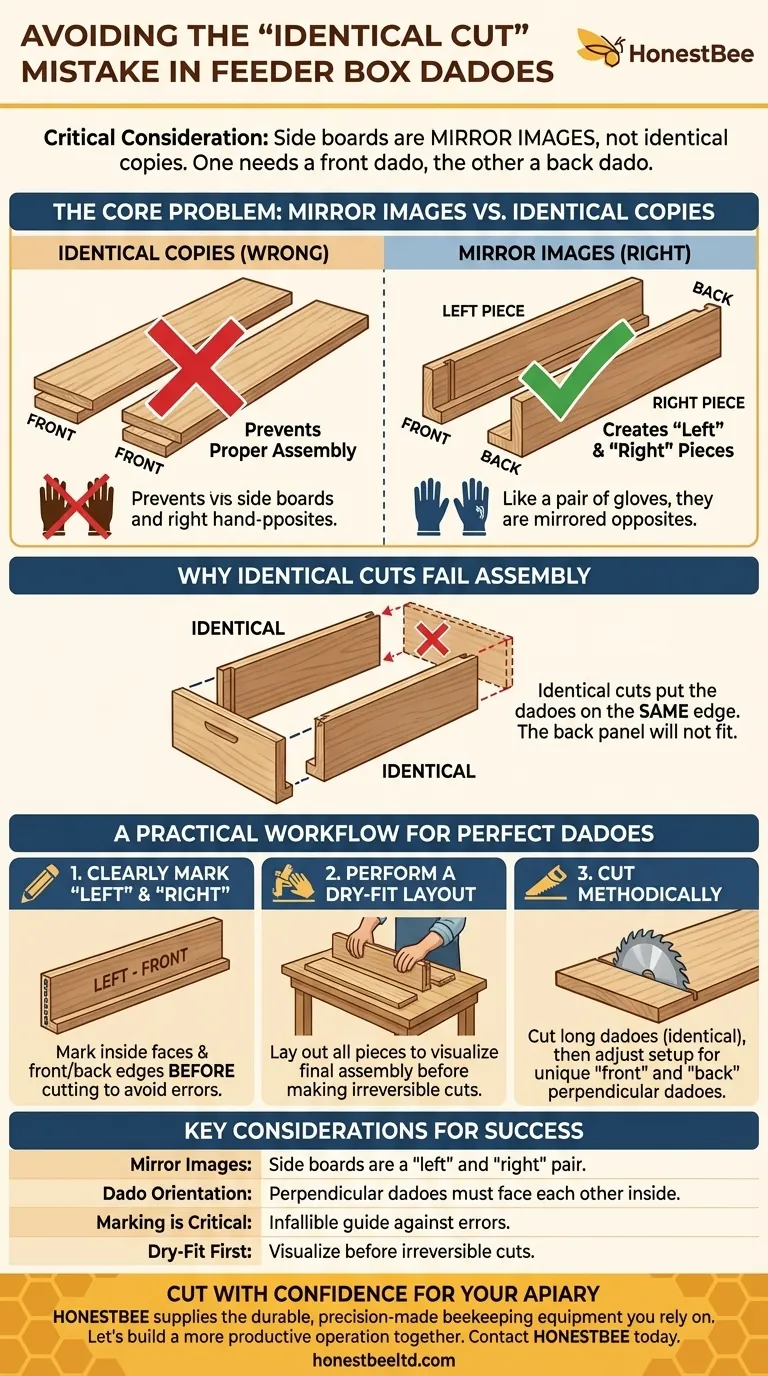
Before you make the cut, you must recognize that the two long side boards of the feeder box are not identical. They are mirror images of each other. A common and irreversible mistake is to cut the dadoes identically on both pieces, which will prevent proper assembly.
The critical consideration is that one side board requires a perpendicular dado at its front edge, while the other requires it at the opposite (back) edge. You are creating a "left" and a "right" piece, not two identical copies.
The Core Problem: Mirror Images vs. Identical Copies
Understanding the geometry of the final assembly is essential before operating any tool. The goal is to create a three-dimensional box, and the orientation of your cuts determines whether the pieces will fit together.
Visualizing the Final Assembly
The long dadoes you are cutting are meant to hold the bottom of the feeder box. The perpendicular, narrower dadoes are meant to hold the front and back panels.
For the box to assemble correctly, these perpendicular dadoes must face each other on the inside of the construction.
Why Identical Cuts Fail
If you cut both side boards identically, both perpendicular dadoes will be on the same edge (for example, the "front" edge of each board).
When you try to assemble the box, you will be able to slide the front panel in, but the dado for the back panel will be in the wrong location, making assembly impossible without re-cutting a board.
Adopting a "Left and Right" Mentality
Think of the two side pieces like a pair of shoes or gloves. They are functionally the same but are mirrored opposites.
This mental model ensures you consciously prepare one "left" board and one "right" board before making your cuts.
Common Pitfalls and How to Avoid Them
This specific step in woodworking is a frequent source of error, often stemming from haste and a lapse in visualization. Being deliberate here saves significant time and material.
The Mistake of Batch Processing
The most common error is setting up your saw or router to cut the perpendicular dado and then running both boards through with the same orientation. This efficiently produces two identical, incorrect pieces.
The Power of Clear Marking
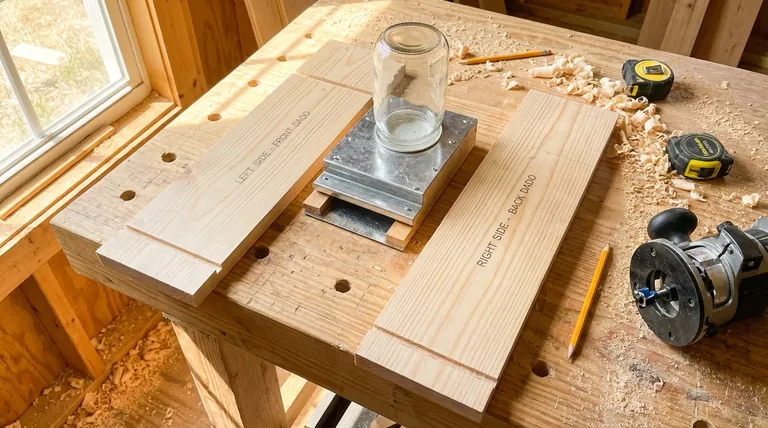
Before cutting, lay the two side boards next to each other as they will appear in the final assembly.
Use a pencil to clearly mark the inside faces and the "front" and "back" edges of each board. These markings serve as an infallible guide during the cutting process.
The Dry-Fit Principle
Always lay out your pieces flat on your workbench to simulate the final box. This physical check allows you to see exactly where each dado needs to be cut long before you commit to removing wood.
A Practical Workflow for Perfect Dadoes
To ensure your project succeeds, adopt a methodical approach that prioritizes planning over speed.
- If your primary focus is accuracy: Mark both boards clearly as a distinct "left" and "right" pair before making any cuts to eliminate orientation errors.
- If your primary focus is efficiency: Make the long dado cut along the bottom edge of both boards first, as this cut is identical for both. Then, adjust your setup for the perpendicular dadoes, cutting one board at its "front" and the other at its "back."
- If your primary focus is avoiding waste: Always perform a quick dry layout of the unmarked pieces to physically visualize the final assembly before you even pick up a pencil.
Ultimately, a moment of careful planning prevents the frustration of a miscut piece.
Summary Table:
| Key Consideration | Why It Matters |
|---|---|
| Mirror Images, Not Copies | Side boards are a "left" and "right" pair. Identical cuts will prevent assembly. |
| Dado Orientation | Perpendicular dadoes must face each other on the inside of the box for the front and back panels to fit. |
| Marking is Critical | Clearly mark the inside face and "front/back" edges on each board before cutting to avoid orientation errors. |
| Dry-Fit First | Lay out all pieces to visualize the final assembly before making any irreversible cuts. |
Cut with Confidence for Your Apiary
Perfectly constructed feeder boxes are essential for efficient hive management. As a commercial beekeeper or distributor, miscuts and assembly errors cost you valuable time and money.
HONESTBEE supplies the durable, precision-made beekeeping equipment you rely on. We help you avoid common woodworking pitfalls by providing high-quality components and expert advice, so you can focus on your bees.
Let's build a more productive operation together. Contact HONESTBEE today to discuss your wholesale equipment needs and ensure your next project is a success.
Visual Guide
Related Products
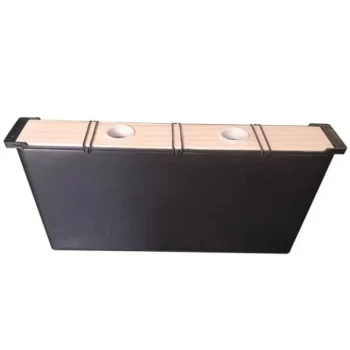
- Styrofoam Mini Mating Nuc Box with Frames Feeder Styrofoam Bee Hives 3 Frame Nuc Box
- Rapid Bee Feeder White Plastic 2L Round Top Feeder for 8 or 10-Frame Bee Hives
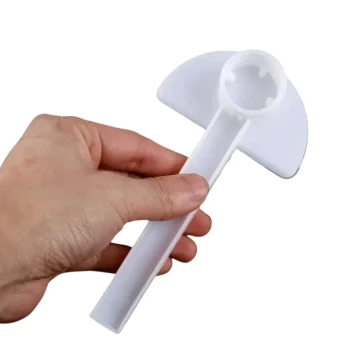
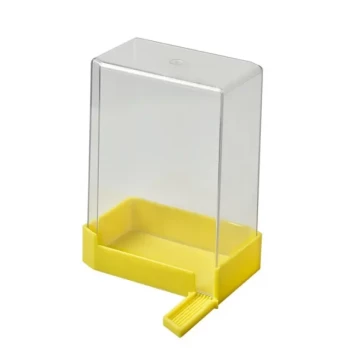
- White Plastic 0.5L Beekeeping Entrance Feeder for Bees
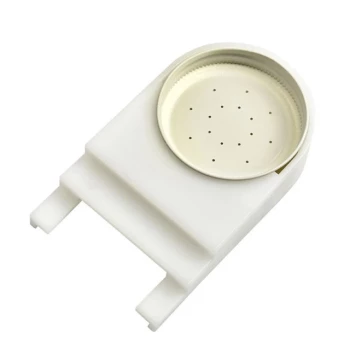
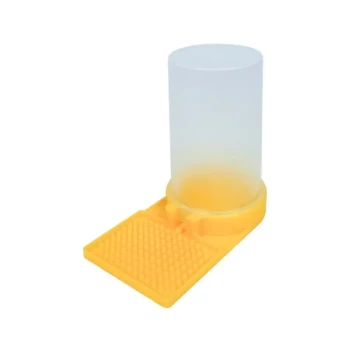
- HONESTBEE Entrance Bee Feeder Efficient Hive Front Liquid Feeding Solution for Beekeeping
- Classic Boardman Entrance Bee Feeder Hive Front Feeding Solution
People Also Ask
- What are the common sizes and material types of nuc boxes? Choose the Best Housing for Your Colonies
- What is the primary advantage of mini mating nucs? Maximize Queen Production with Minimal Bee Resources
- How should a beekeeper relocate a new colony in a nuc box? Master the 5-5 Rule for Success
- How are nuc boxes used in queen rearing? The Essential Tool for Reliable Queen Mating
- What are the practical uses for an empty nuc box? Essential Tools for Swarm Control and Apiary Management