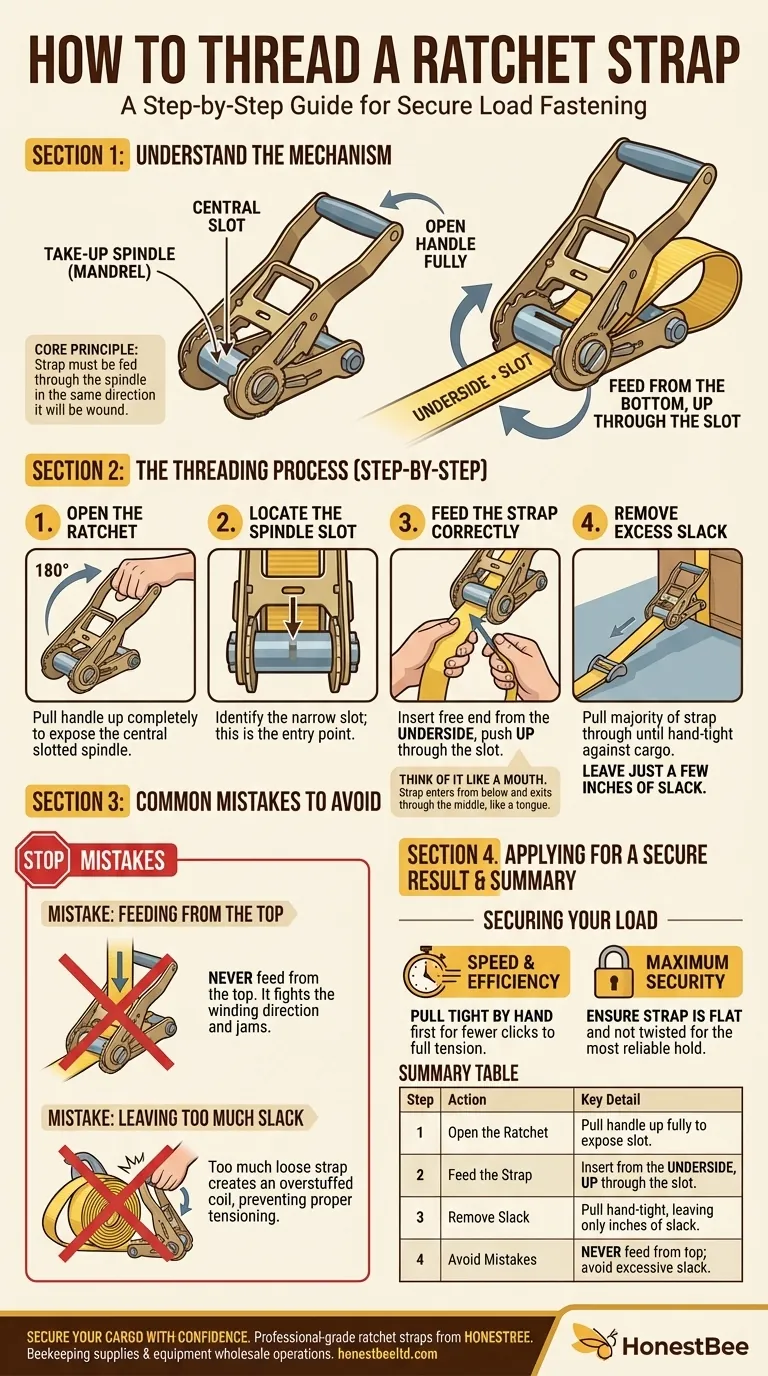
To thread a ratchet strap, you must first open the ratchet handle completely to expose the central, slotted spindle. You then feed the loose end of the strap from the bottom (or back) of the ratchet, up through the slot in this spindle. Pull the excess strap all the way through until it is taut, leaving just a few inches of slack to work with.
The core principle is simple: the strap must be fed through the spindle in the same direction it will be wound. Feeding it from the bottom ensures that as you crank the handle, the spindle neatly wraps the strap around itself, creating tension.
The Logic of the Ratchet Mechanism
To use a ratchet strap correctly and safely, it helps to understand its basic components. The mechanism is designed for one-way tensioning, and feeding the strap properly is the critical first step.
Step 1: Open the Ratchet Assembly
First, fully open the ratchet by pulling up on the handle. This disengages the locking mechanism and allows the central spindle to rotate freely.
Opening the handle exposes the take-up spindle (also called a mandrel), which is the rotating cylinder in the middle of the mechanism.
Step 2: Locate the Spindle Slot
You will see a narrow opening, or slot, that runs through the center of this spindle. This slot is the entry point for your strap.
Step 3: Feed the Strap Correctly
Take the free, non-hooked end of your webbing. Insert it from the underside of the ratchet assembly and push it up through the slot.
Think of the open ratchet as a mouth. The strap should come from below and exit through the middle, like a tongue.
Step 4: Remove the Excess Slack
Pull the majority of the strap's length through the slot until it is hand-tight against your cargo. You should only have a small amount of slack (e.g., 6 inches) between the ratchet and the other anchor point.
This is a critical step. Failing to remove slack by hand means you will have to wind the entire strap length onto the spindle, which can cause it to overfill and jam.
Common Threading Mistakes to Avoid
Incorrectly threading the strap is the most common reason a ratchet fails to tighten. Understanding these errors will ensure you get it right every time.
Mistake: Feeding from the Top
Never feed the strap down through the slot from the top. If you do this, the strap will be fighting the winding direction of the spindle. It will bunch up, jam, and fail to create any meaningful tension.
Mistake: Leaving Too Much Slack
If you start ratcheting with several feet of loose strap, the spindle will quickly become a thick, overstuffed coil. This can prevent the ratchet from closing properly or achieving the necessary tension before the spindle runs out of space.
Applying This for a Secure Result
Your goal determines how you approach the final tightening.
- If your primary focus is speed and efficiency: Pull the strap as tight as you possibly can by hand before you even begin to crank the ratchet. This ensures you only need a few clicks to achieve full tension.
- If your primary focus is maximum security: As you pull the slack through, ensure the strap is perfectly flat and not twisted. A flat, even wind on the spindle provides the most reliable hold.
- If you are just learning: Before securing a load, practice feeding the strap and cranking the handle a few times. Watching how the strap coils onto the spindle will make the correct feeding path intuitive.
Mastering this simple threading process is the key to using your ratchet straps safely and effectively.
Summary Table:
| Step | Action | Key Detail |
|---|---|---|
| 1 | Open the Ratchet | Pull the handle up fully to disengage the lock and expose the spindle slot. |
| 2 | Feed the Strap | Insert the free end from the underside of the ratchet, pushing it up through the spindle slot. |
| 3 | Remove Slack | Pull the strap hand-tight against the cargo, leaving only a few inches of slack. |
| 4 | Avoid Mistakes | Never feed from the top; avoid starting with excessive slack to prevent jamming. |
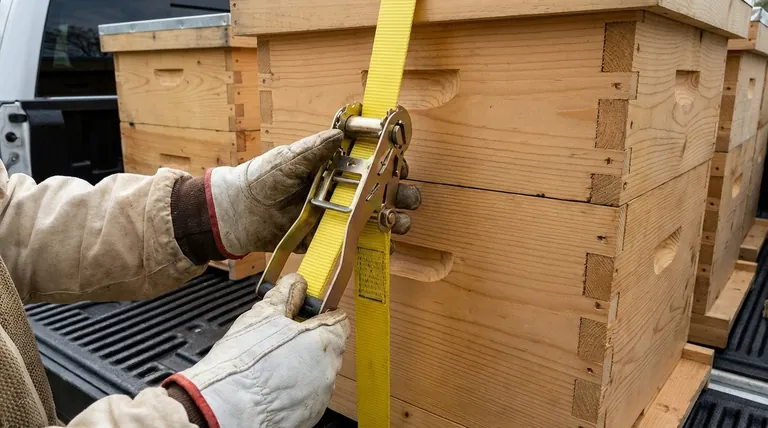
Secure your cargo with confidence using professional-grade ratchet straps from HONESTBEE. We supply durable, reliable beekeeping supplies and equipment, including essential load-securing gear, to commercial apiaries and distributors through our wholesale operations. Ensure every load is safe and secure—contact our experts today to discuss your equipment needs and wholesale pricing!
Visual Guide
Related Products
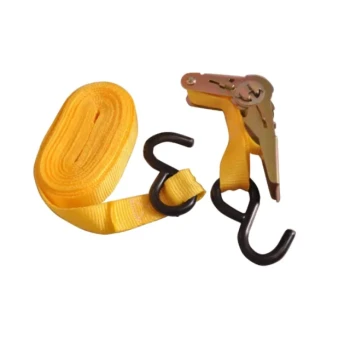
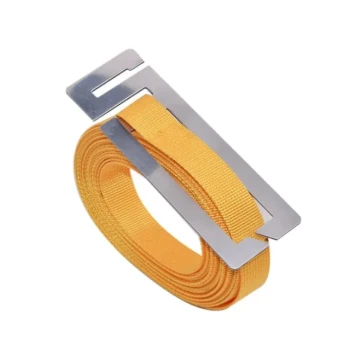
- Versatile Ratchet Hive Strap with S-Hooks for Secure Fastening
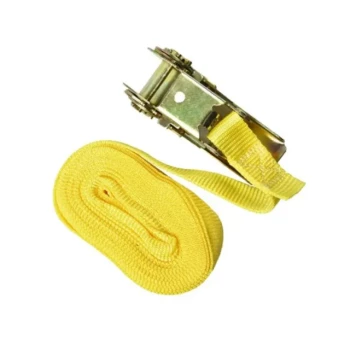
- Endless Loop Ratchet Hive Strap
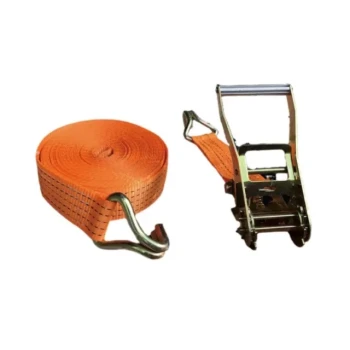
- Heavy Duty Ratchet Hive Strap
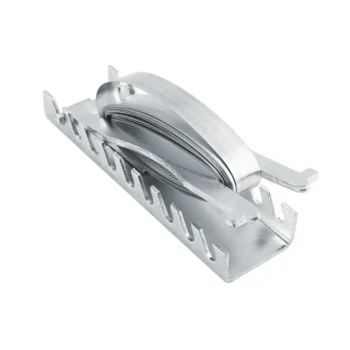
- High Security Emlock Strap System
- Professional Galvanized Hive Strap with Secure Locking Buckle for Beekeeping
People Also Ask
- How is a ratchet strap loosened and removed? Master the 180-Degree Release Technique
- How do ratchet straps compare to cam buckle straps? Choose the Right Tie-Down for Your Load
- How do you operate a ratchet strap to tighten it? Expert Steps for Secure Load Fastening
- Why is the use of ratchet straps or high-strength ropes necessary for hive protection? Secure Your Colony Now
- How does the ratchet mechanism tighten the strap? Unlock the Power of One-Way Tension