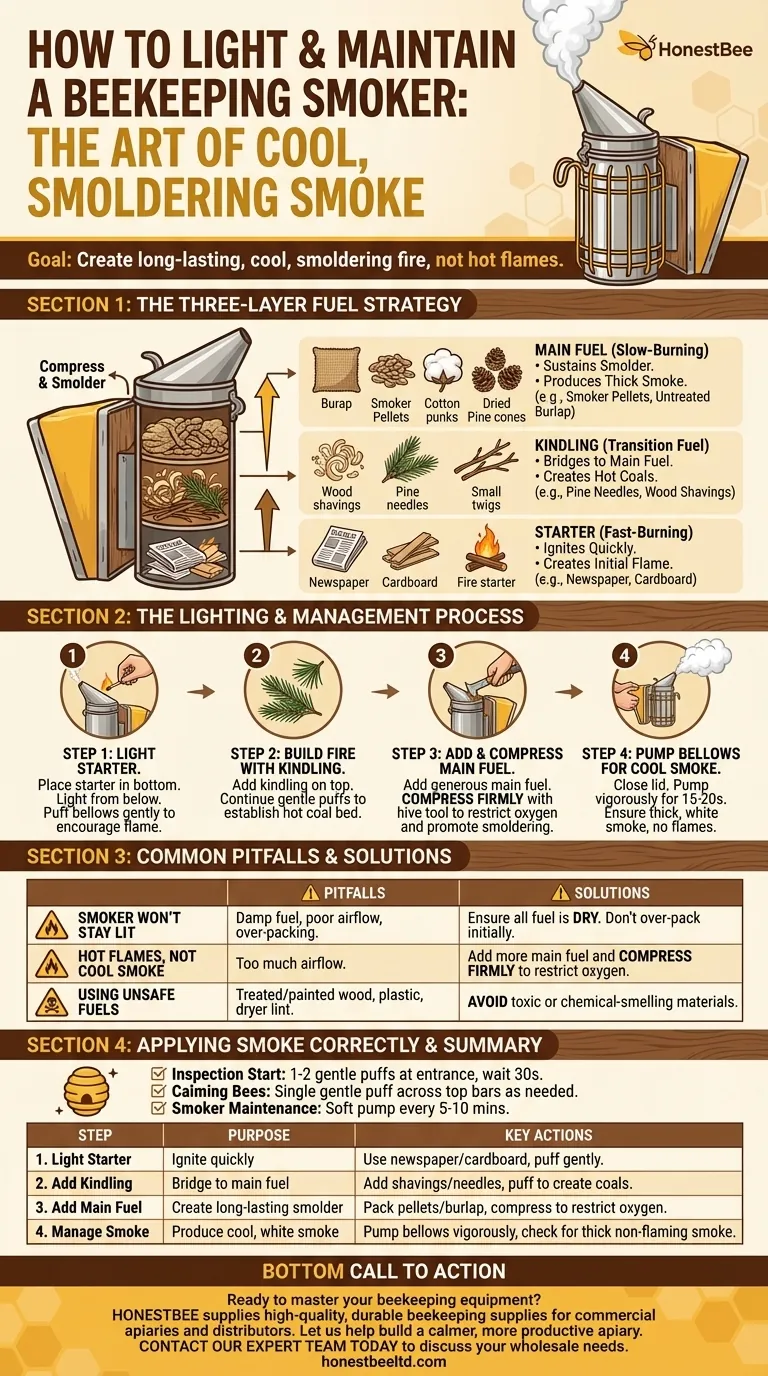
The key to a successful bee smoker is creating a long-lasting, cool, smoldering fire, not a hot, flaming one. This is achieved by layering three types of fuel—a fast-burning starter, a transitional kindling, and a slow-burning main fuel—and then using the bellows to manage airflow and produce thick, white smoke.
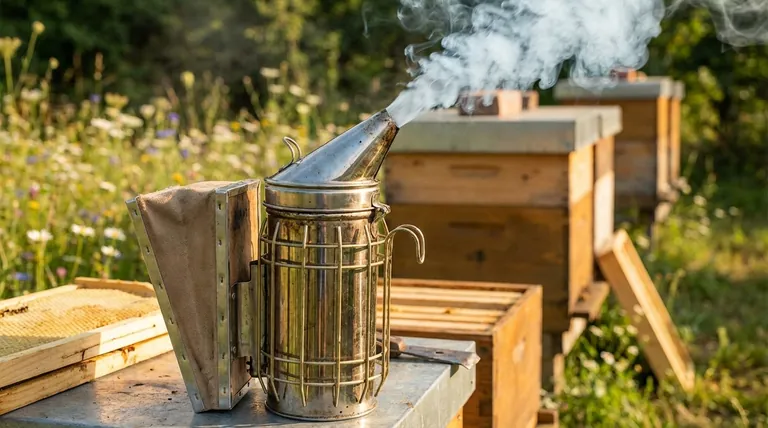
The goal is not simply to create fire, but to engineer a specific type of combustion. A properly lit smoker smolders for a long time, producing the cool, dense smoke needed to effectively calm bees without harming them.
The Three-Layer Fuel Strategy
A reliable smoker fire is built like any other long-lasting fire: in layers. Each layer serves a distinct purpose in igniting the next and sustaining the smolder.
Choosing Your Starter Fuel
Your starter is the foundation. It needs to ignite quickly and easily with a simple match or lighter.
Common and effective starters include crumpled newspaper, cardboard strips, or commercially available fire starters like B.Calm. The purpose of this layer is to create a small, initial flame to catch the next layer of fuel.
Adding Kindling (The Transition Fuel)
Kindling acts as the bridge between your fast-burning starter and your slow-burning main fuel. It needs to catch fire from the starter and burn hot enough to ignite the main fuel source.
Excellent kindling options are dry materials like wood shavings, pine needles, or small twigs. This layer ensures your fire has enough energy to transition into a sustained smolder.
Selecting Your Main Fuel
This is the most important layer for longevity. The main fuel should be dense and burn slowly, producing thick smoke over an extended period.
Ideal main fuels include smoker pellets, untreated burlap, dried pine cones, or cotton punks. This material is added last and packed down to restrict airflow, which encourages smoldering instead of open flames.
The Lighting and Management Process
With your fuels selected, the lighting process is a methodical sequence of building the fire and managing airflow with the bellows.
Step 1: Light the Starter
Place your chosen starter material, such as a piece of crumpled newspaper, into the bottom of the empty smoker cylinder. Light it from the bottom.
Once lit, give the bellows a few gentle puffs to encourage the flames and ensure the entire starter is burning.
Step 2: Build the Fire with Kindling
Begin adding your kindling, such as pine needles or wood shavings, on top of the burning starter.
As you add the kindling, continue puffing the bellows gently. This will help the kindling catch fire and establish a hot coal bed.
Step 3: Add and Compress the Main Fuel
Once your kindling is burning well and you see small flames, it's time to add your main fuel. Add a generous amount on top of the burning kindling.
Use your hive tool to gently compress the fuel down into the smoker chamber. This compression is critical as it reduces oxygen, preventing the fuel from bursting into flames and promoting the desired smolder.
Step 4: Pumping the Bellows for Cool Smoke
After compressing the fuel, close the smoker lid. Now, pump the bellows vigorously for 15-20 seconds.
You should see thick, white smoke coming from the nozzle. If the smoke is thin or you see flames, you may need to add and compress more fuel. The goal is a steady stream of cool, white smoke.
Common Pitfalls to Avoid
Even experienced beekeepers can struggle with their smokers. Understanding these common issues is key to mastering the tool.
The Smoker Won't Stay Lit
This is the most frequent complaint, often caused by damp fuel or poor airflow. Ensure all your fuel is completely dry. Additionally, do not over-pack the smoker initially, as this can smother the young fire before it's established.
Producing Hot Flames, Not Cool Smoke
If you see flames shooting out of your smoker, it is too hot and can harm your bees. This is caused by too much airflow. The solution is to add more main fuel and compress it firmly to restrict oxygen and force it back into a smolder.
Using Unsafe Fuels
Never burn materials that could be toxic to your bees or contaminate your honey. Avoid treated or painted wood, plastics, dryer lint with synthetic fibers, or any material that produces acrid, chemical-smelling smoke.
Applying Smoke Correctly at the Hive
Lighting the smoker is only half the battle. Using it correctly ensures both your safety and the well-being of the colony.
- If your primary focus is starting an inspection: Gently puff one or two clouds of smoke across the hive entrance and wait 30 seconds before opening the hive.
- If your primary focus is keeping bees calm during work: Apply a single, gentle puff of smoke across the tops of the frames as needed to move the bees down and away from your work area.
- If your primary focus is maintaining the smoker: Give the bellows a soft pump every 5-10 minutes during your inspection to ensure it remains lit and ready.
Mastering your smoker is a fundamental skill that transforms hive inspections from a stressful event into a calm, controlled process.
Summary Table:
| Step | Purpose | Key Actions |
|---|---|---|
| 1. Light Starter | Ignite the fire quickly | Use newspaper or cardboard; puff bellows gently |
| 2. Add Kindling | Bridge to main fuel | Add wood shavings/pine needles; puff to create coals |
| 3. Add Main Fuel | Create long-lasting smolder | Pack pellets/burlap; compress to restrict oxygen |
| 4. Manage Smoke | Produce cool, white smoke | Pump bellows vigorously; check for thick, non-flaming smoke |
Ready to master your beekeeping equipment? A reliable smoker is just the start. HONESTBEE supplies commercial apiaries and beekeeping equipment distributors with high-quality, durable beekeeping supplies through our wholesale-focused operations. Let us help you build a calmer, more productive apiary. Contact our expert team today to discuss your wholesale needs and discover how our equipment can enhance your beekeeping success.
Visual Guide
Related Products
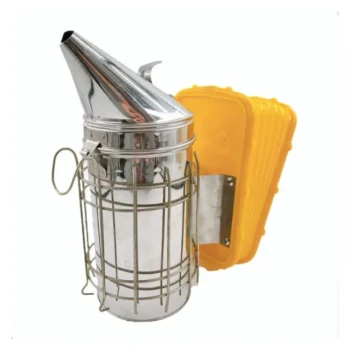
- Stainless Steel Honey Bee Smoker Hive and Honeycomb Smoker for Beekeeping
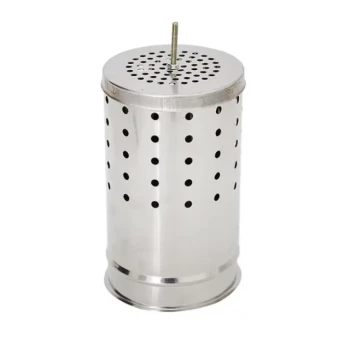
- Miniature Stainless Steel Bee Smoker for Beekeeping
- Professional Bee Smoker with Elongated Spout and Durable Bellows for Beekeeping
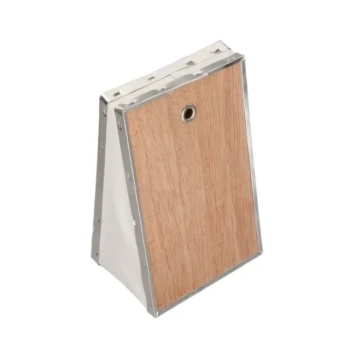
- Electric Bee Smoker European Style Bee Hive Smoker for Beekeeping
- Galvanized Beekeeping Smoker for Honey Bee and Apiculture
People Also Ask
- Why is a smoker important in beekeeping? Essential for Safe and Calm Hive Management
- How should a beekeeper use a smoker when approaching a hive? A Guide to Calm, Safe Inspections
- What type of bee smoker is recommended for a beginner? Top Picks for Easy Hive Management
- What is the best material for a bee smoker? Choose the Right Fuel for a Calm Hive
- When should you add more fuel to the bee smoker? Watch for This Critical Smoke Signal