To tighten a ratchet strap, you first pull any excess slack through the mechanism by hand. Once the strap is snug, you begin cranking the ratchet handle up and down. This motion engages a set of teeth that rotate the central spindle, winding the webbing around it and progressively increasing tension on your cargo.
The core principle of a ratchet strap is not just tightening, but control. Understanding how the mechanism locks and, more importantly, releases is the key to securing cargo safely without damaging your equipment or the items you're transporting.
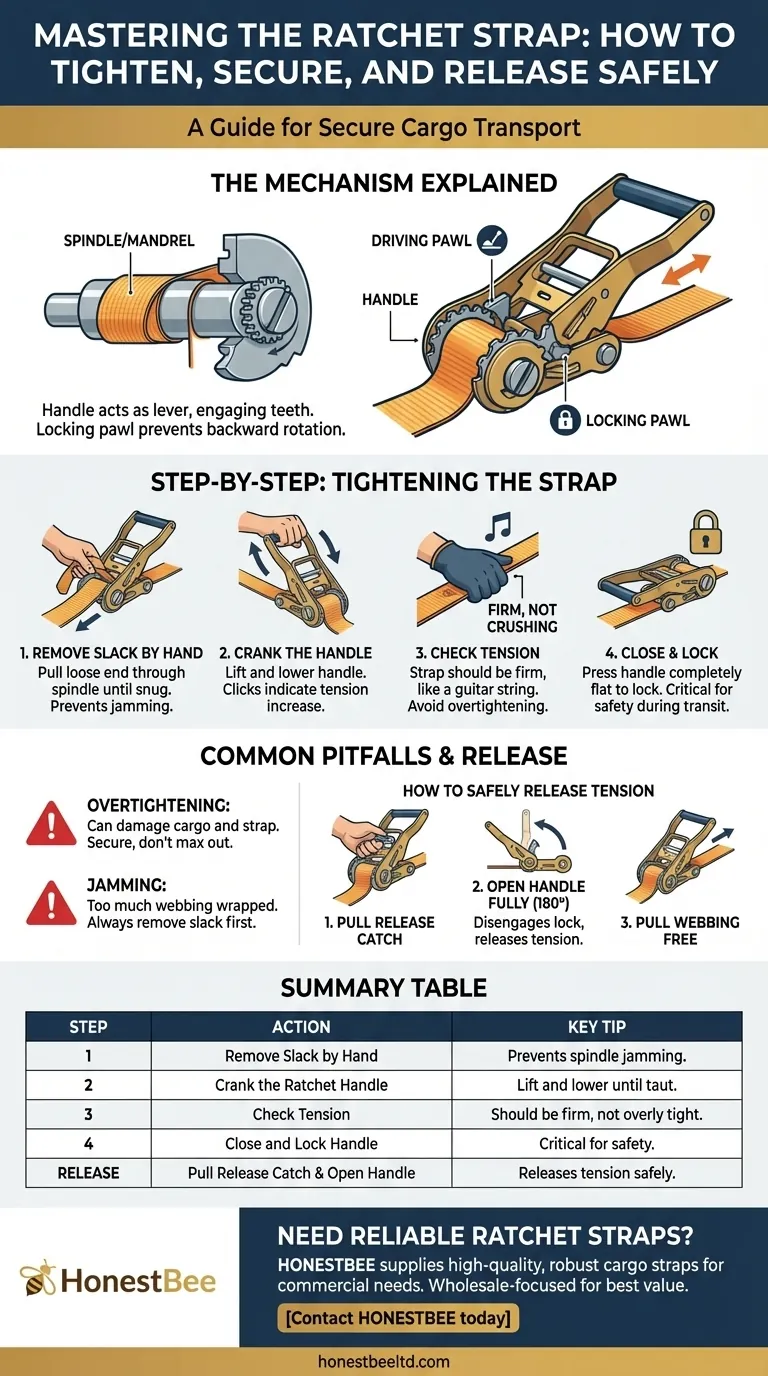
How the Ratchet Mechanism Works
To use a ratchet strap effectively, it helps to understand its simple but powerful mechanics. The entire device is designed to allow movement in only one direction—tightening—until you decide to release it.
The Spindle and Webbing
The heart of the ratchet is the central axle, known as the spindle or mandrel. When you operate the handle, this spindle rotates, wrapping the strap's webbing around itself. This action is what removes slack and applies tension.
The Handle and Locking Pawls
The handle acts as a lever to give you a mechanical advantage. As you crank it, a driving pawl (a small metal catch) engages with the gear teeth on the spindle, forcing it to turn.
Simultaneously, a second, stationary locking pawl prevents the spindle from rotating backward. This is what creates the clicking sound you hear and what holds the tension securely in place between each crank.
The Closed and Locked Position
Once you have achieved the desired tension, you must close the handle completely so it lies flat. This is the locked position. It ensures the pawls are fully engaged and prevents the handle from accidentally snagging or releasing during transit.
Step-by-Step: Tightening Your Strap
Follow these steps for a secure and repeatable process. The goal is to make the strap taut, not to apply the absolute maximum force the mechanism can withstand.
Step 1: Remove Slack by Hand
Before you begin ratcheting, pull the loose end of the webbing through the spindle until the strap is snug around your cargo. Removing slack manually is faster and prevents the spindle from getting over-wrapped with too much webbing, which can cause it to jam.
Step 2: Crank the Ratchet Handle
Begin lifting and lowering the handle. You will hear and feel the clicks as the internal teeth engage and tighten the strap. Each cycle of this motion will increase the tension.
Step 3: Check Tension
Continue ratcheting until the cargo is held firmly in place and does not shift. A properly tightened strap should feel very firm, like a guitar string, but should not be so tight that it deforms or damages the cargo.
Step 4: Close and Lock the Handle
Press the handle down completely until it is flat and in its locked position. This is a critical final step for safety.
Common Pitfalls to Avoid
Using a ratchet strap incorrectly can lead to damaged goods, a broken strap, or a mechanism that is impossible to release. Awareness of these issues is crucial.
The Danger of Overtightening
The mechanical advantage of a ratchet is significant. It is very easy to apply too much force, which can crush fragile items, dent surfaces, or even damage the strap's webbing over time. The goal is secure transport, not maximum tension. Never tighten until the handle can no longer be moved.
Jamming the Spindle
If you wind too much webbing around the spindle, the ratchet can become "over-spooled" and jam. This makes it extremely difficult, and sometimes impossible, to release the tension. Always pull slack by hand first to ensure only a few rotations are needed to secure the load.
How to Safely Release the Tension
Releasing a strap under high tension can be surprising if you're not prepared. The process is simple once you understand how to disengage the lock.
Step 1: Pull the Release Catch
On the top part of the movable handle, you will find a smaller, spring-loaded release lever or catch. Pull this catch to disengage the ratcheting action.
Step 2: Open the Handle Fully
While holding the release catch, open the handle 180 degrees until it is completely flat and in the "open" position. You will feel a distinct point where the main locking pawl disengages from the gear, instantly releasing all tension from the spindle.
Step 3: Pull the Webbing Free
With the mechanism fully open and the tension released, you can now easily pull the strap's webbing out of the spindle to remove it from your cargo.
Making the Right Choice for Your Goal
Apply these principles based on what you are trying to accomplish.
- If your primary focus is fragile cargo: Tighten only until the item is stable, then check the strap after a few minutes of driving to ensure it hasn't loosened.
- If your primary focus is heavy, rigid cargo: Use multiple straps to distribute the force evenly rather than relying on the extreme tension of a single strap.
- If your primary focus is efficiency and long-term use: Always remove slack by hand before ratcheting to prevent the spindle from jamming and to prolong the life of your equipment.
Properly used, a ratchet strap is a tool that provides both security and confidence for any transport job.
Summary Table:
| Step | Action | Key Tip |
|---|---|---|
| 1 | Remove Slack by Hand | Prevents spindle jamming. |
| 2 | Crank the Ratchet Handle | Lift and lower until taut. |
| 3 | Check Tension | Should be firm, not overly tight. |
| 4 | Close and Lock Handle | Critical for safety. |
| Release | Pull Release Catch & Open Handle | Releases tension safely. |
Need durable, reliable ratchet straps for your commercial or distribution needs? HONESTBEE supplies high-quality beekeeping supplies and equipment, including robust cargo straps perfect for securing heavy loads. Our wholesale-focused operations ensure you get the best value for your business. Contact HONESTBEE today to discuss your equipment requirements and secure your cargo with confidence!
Visual Guide
Related Products
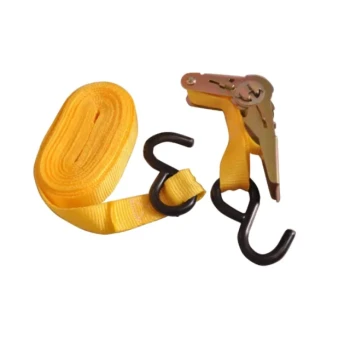
- Versatile Ratchet Hive Strap with S-Hooks for Secure Fastening
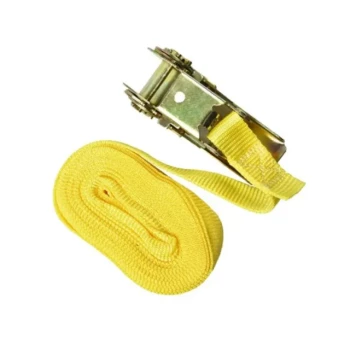
- Endless Loop Ratchet Hive Strap
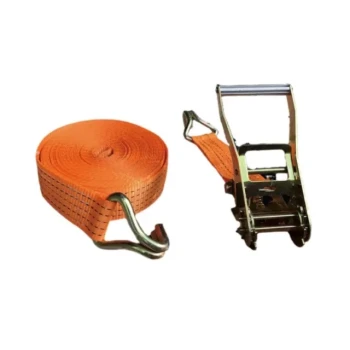
- Heavy Duty Ratchet Hive Strap
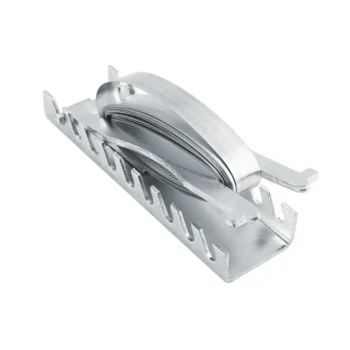
- High Security Emlock Strap System
- Professional Galvanized Hive Strap with Secure Locking Buckle for Beekeeping
People Also Ask
- How is a ratchet strap loosened and removed? Master the 180-Degree Release Technique
- How do ratchet straps work? Master the Mechanism for Maximum Load Security
- How does the ratchet mechanism tighten the strap? Unlock the Power of One-Way Tension
- How do you operate a ratchet strap to tighten it? Expert Steps for Secure Load Fastening
- Why install ratchet straps below the hive top in freezing weather? Prevent a frozen, useless strap.