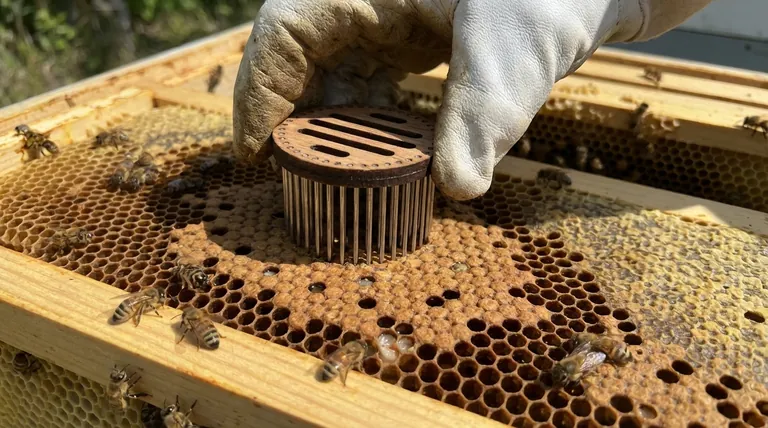
To use a press-in cage for queen installation, you physically press a screen cage over the new queen onto a section of comb containing emerging brood. This protects her from older, potentially hostile bees while allowing newly hatched, naive workers to immediately accept and care for her. Once you observe that she has started laying eggs within the cage, it is safe to remove it, as this confirms the colony has accepted her.
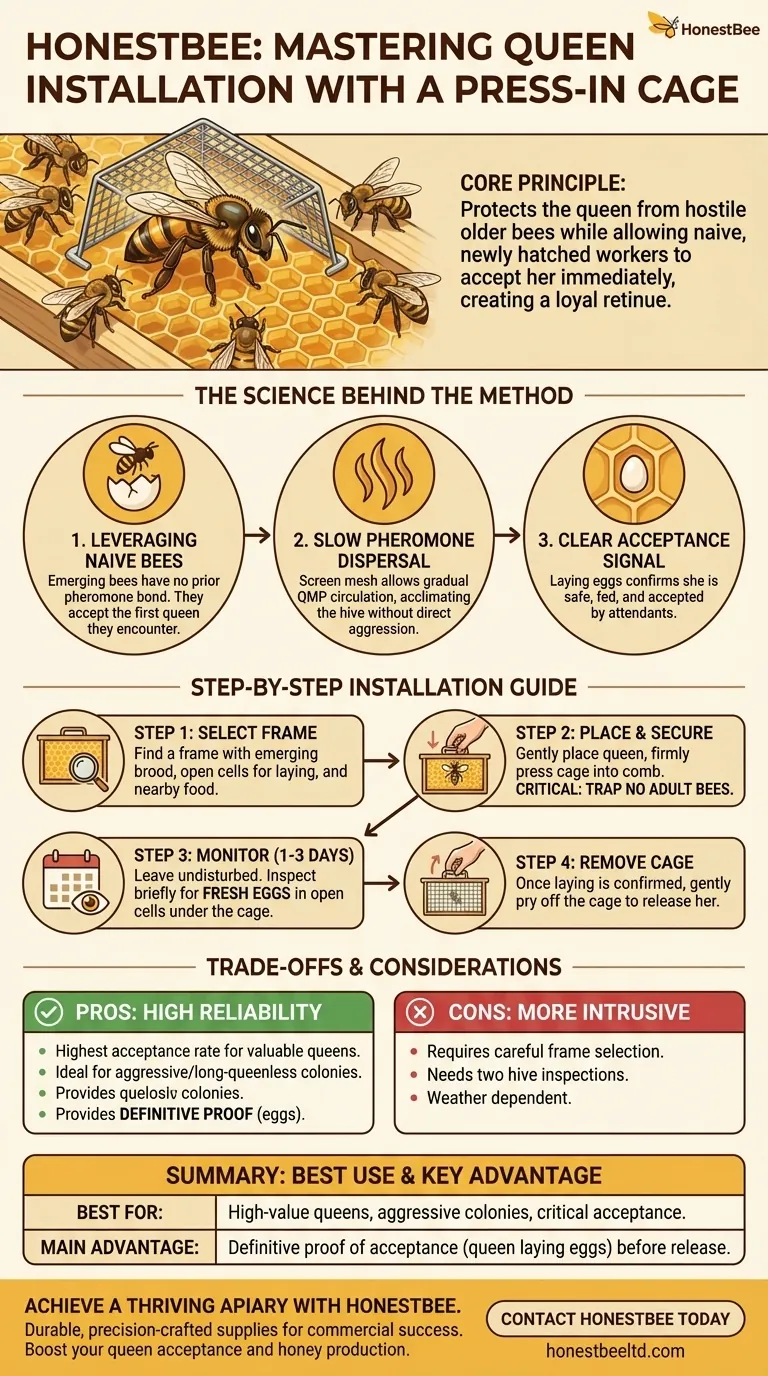
The core principle behind a press-in cage is leveraging the natural behavior of newly emerged bees. These young bees have no prior allegiance and will readily accept the new queen, creating a loyal retinue that facilitates her acceptance by the entire colony.
The Science Behind the Press-In Method
The press-in cage is a highly effective, albeit hands-on, method for queen introduction because it directly addresses the primary challenge: worker bee aggression. It creates a controlled environment that encourages acceptance through biological and social cues.
Leveraging Naive Bees
Newly hatched bees are the key to this method's success. They emerge from their cells without an established pheromonal bond to the previous queen.
Their first instinct is to tend to the queen closest to them. By placing the new queen directly over their cells, you ensure she is the first queen they encounter and serve.
Slow Pheromone Dispersal
The screen mesh of the cage allows the new queen's mandibular pheromone (QMP) to slowly circulate throughout the hive.
This gradual introduction of her scent allows the established worker bees to acclimate to her presence without the opportunity for direct, aggressive contact.
A Clear Signal of Acceptance
Unlike a candy plug that offers an indirect sign of acceptance, the press-in cage provides definitive proof.
A queen will only begin laying eggs when she feels safe and is being adequately fed and tended to by worker bees. The presence of eggs is an unmistakable sign that she has been accepted.
A Step-by-Step Guide to Installation
Proper execution is critical for success. The process revolves around selecting the correct frame and ensuring the queen's safety.
Step 1: Select the Right Frame
Your success hinges on choosing the perfect location. Look for a frame that has a patch of capped brood that is about to emerge.
The ideal area will also have open, empty cells for the queen to lay in and nearby cells of nectar or honey for food. This provides everything she and her new attendants need.
Step 2: Place the Queen and Secure the Cage
Gently place the new queen on the selected patch of comb. Some beekeepers may include one or two of her attendant bees from her shipping container, but this is not essential.
Firmly press the edges of the 4x4 inch cage into the comb. Ensure it is pushed in deep enough to be secure and prevent her escape. Critically, make sure no adult worker bees from the hive are trapped underneath the cage with her.
Step 3: Monitor for Acceptance
Close the hive and leave it undisturbed for one to three days. This gives the brood time to emerge and for the queen to settle in.
After a few days, briefly inspect the frame. Look for fresh eggs in the open cells under the cage. If you see eggs, the introduction was a success.
Step 4: Remove the Cage
Once you have confirmed she is laying, you can gently pry the cage off the comb and remove it from the hive.
The queen will now be free to move throughout the colony, protected by her new retinue of loyal bees.
Understanding the Trade-offs
While highly effective, the press-in cage method is not without its considerations. It is more involved than other common techniques.
Requires Careful Frame Selection
The method's effectiveness is entirely dependent on having a frame with the right combination of emerging brood and open cells. In some hive conditions, finding this perfect spot can be difficult.
More Intrusive
This technique requires opening the hive at least twice in a short period—once to install the cage and once to remove it. This can be more disruptive to the colony than using a standard slow-release candy cage.
Weather Dependent
Because two inspections are required within a few days, your success is tied to having cooperative weather. Postponing the removal of the cage due to rain or cold can cause issues.
Making the Right Choice for Your Goal
- If your primary focus is the highest possible acceptance rate, especially with a valuable queen: The press-in cage method offers one of the most reliable outcomes because it provides undeniable proof of acceptance before release.
- If you are requeening a colony that is known to be aggressive or has been queenless for a while: The protected environment of the cage is ideal for overcoming initial worker hostility.
- If your priority is simplicity and minimal hive disturbance: A standard slow-release candy cage may be a more straightforward approach, as it only requires a single hive opening.
By understanding the colony's biology, you can use the press-in cage as a powerful tool to ensure a safe and successful queen introduction.
Summary Table:
| Key Consideration | Description |
|---|---|
| Best For | High-value queens, aggressive colonies, or when the highest acceptance rate is critical. |
| Main Advantage | Provides definitive proof of acceptance (queen laying eggs) before release. |
| Main Disadvantage | More intrusive, requiring two hive inspections and careful frame selection. |
| Acceptance Signal | The presence of fresh eggs laid by the queen inside the cage. |
Achieve a Thriving, Productive Apiary with HONESTBEE
Successful queen introduction is the cornerstone of a strong, healthy colony. As a commercial beekeeper or distributor, your operation's success depends on reliable, high-quality equipment and expert guidance.
HONESTBEE supplies the durable, precision-crafted beekeeping supplies and equipment you need to succeed. From press-in cages to complete hive management tools, our wholesale-focused operations are designed to support the scale and demands of commercial apiaries and distributors.
Let us help you maximize your queen acceptance rates and boost your honey production.
Contact HONESTBEE today to discuss your specific needs and discover how our products can contribute to your operation's profitability and resilience.
Visual Guide
Related Products
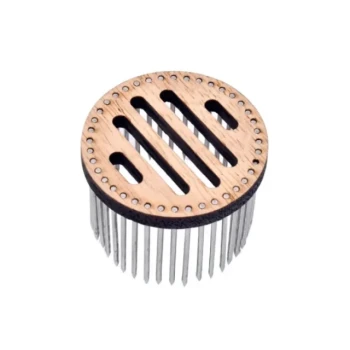
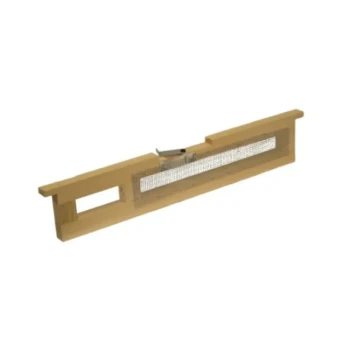
- Premium Wood and Steel Push In Queen Cage
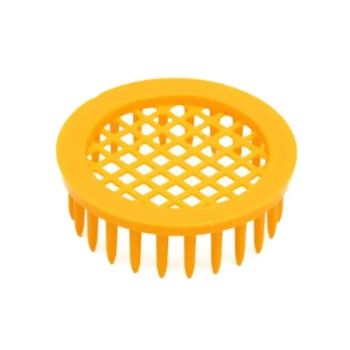
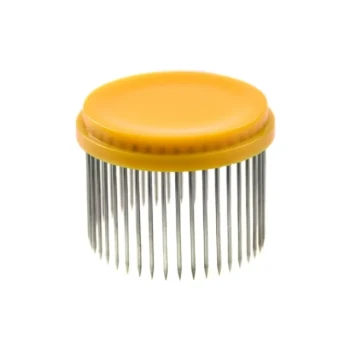
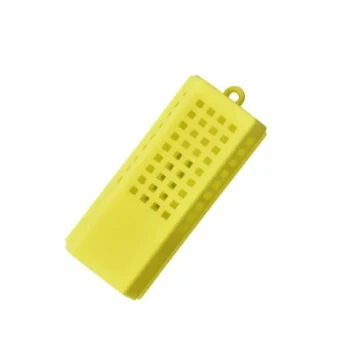
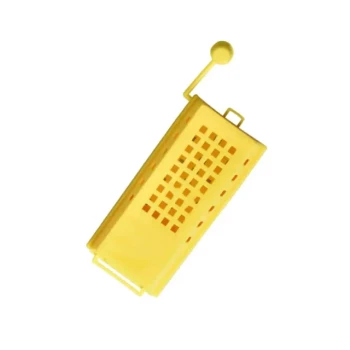
- Durable Plastic Push In Queen Bee Cage
- Professional Round Push-In Queen Cage with Metal Tines
- Wood and Mesh Push-In Queen Cage
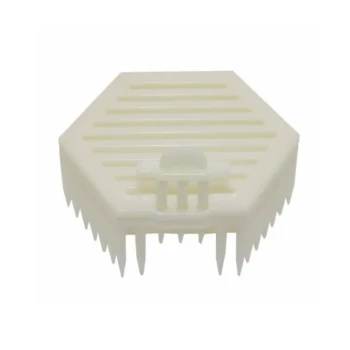
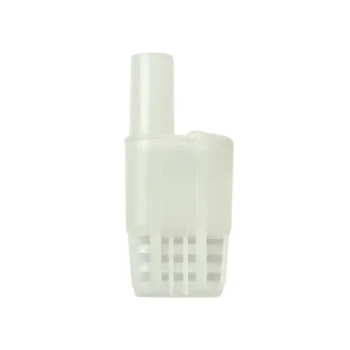
- JZBZ Style Push-In Cell Protector for Professional Queen Rearing Kits
People Also Ask
- What advantages do push-in queen cages offer? Boost Acceptance Rates for Artificially Inseminated Queens
- What is the technical purpose of using an introduction cage? Ensure Safe Queen Bee Integration and Colony Acceptance
- When is a queen introduced with a push-in cage ready for full release? Key Signs for Maximum Colony Acceptance
- What is the step-by-step process for marking a bee using a push-in cage? Safe and Precise Queen Marking Guide
- How can a beekeeper obtain a push-in queen cage? DIY vs. Professional Sourcing Guide