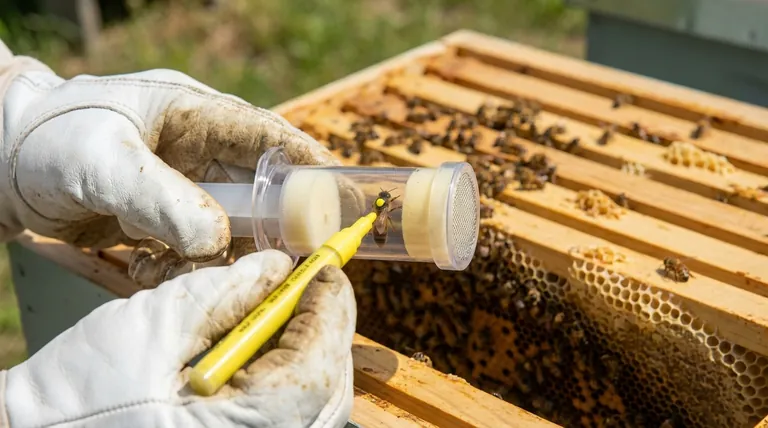
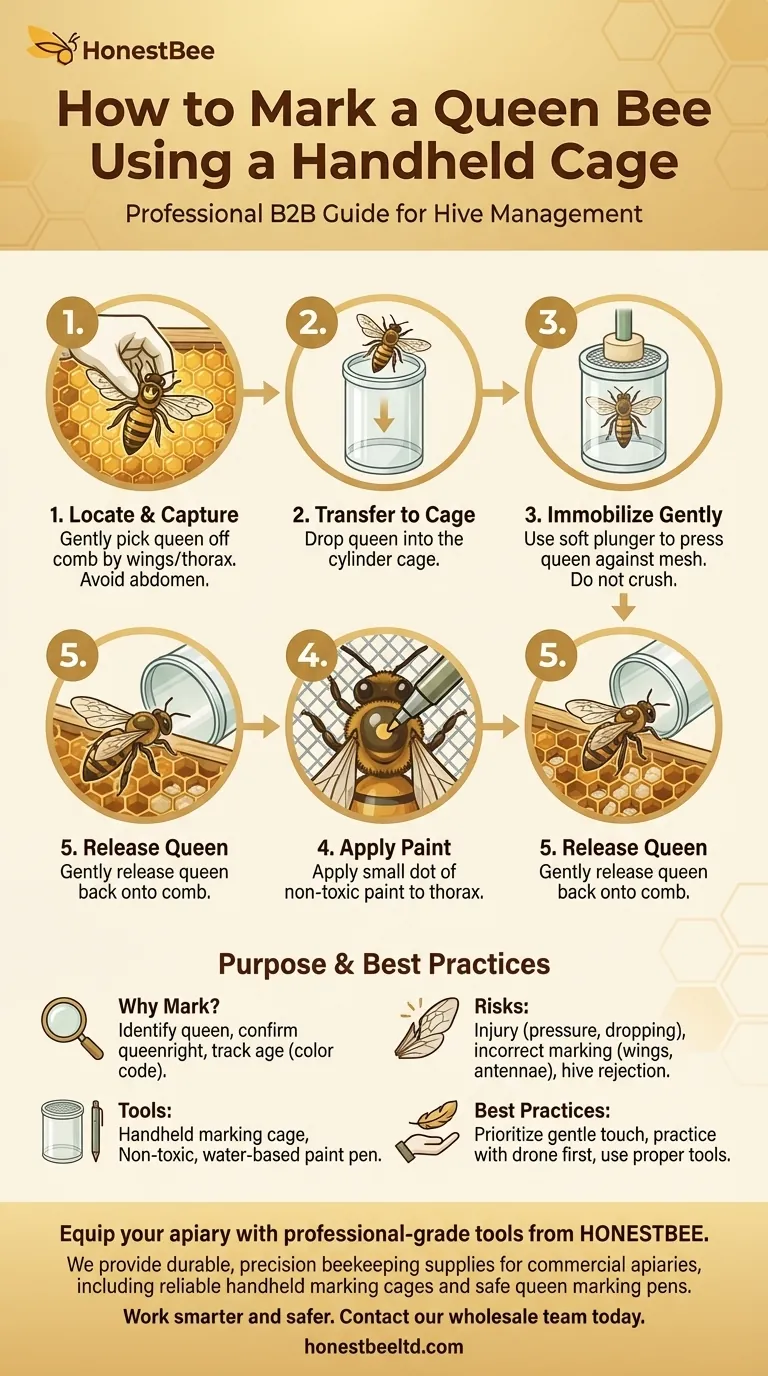
To mark a queen bee using a handheld marking cage, you first locate and gently pick the queen off the comb. You then drop her into the cage's cylinder and use the soft plunger to gently press her against the mesh top. This immobilizes her, allowing you to apply a small dot of non-toxic paint to her thorax before releasing her back into the hive.
The core principle of marking a queen is to secure her safely and momentarily, without causing harm. While the handheld cage is a highly effective tool, the success of the process hinges on the beekeeper’s gentle touch and steady hand.
The Purpose and Tools for Marking
Marking your queen is a fundamental practice in beekeeping. It allows you to quickly locate her during inspections, confirm the hive is queenright, and track her age using a standardized color code.
Understanding the Handheld Cage
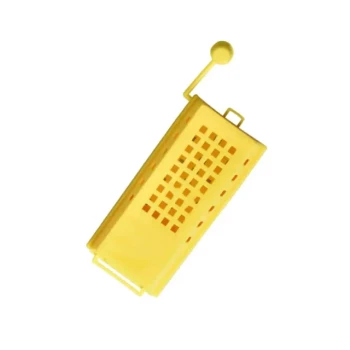
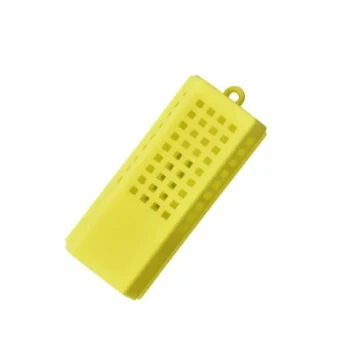
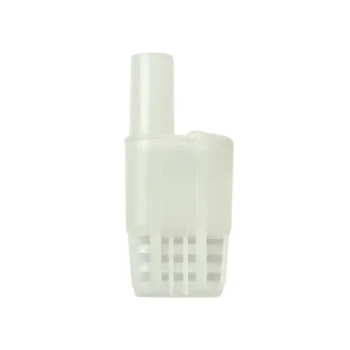
A handheld queen marking cage is a simple but effective device. It typically consists of a clear plastic cylinder open at both ends.
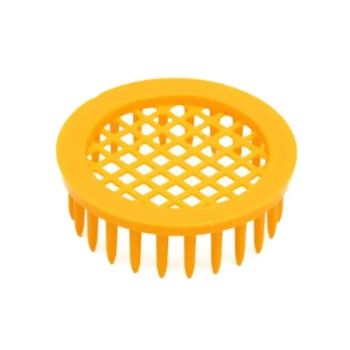
One end is covered with a fine mesh or a series of plastic bars. The other end accepts a plunger, which usually has a soft foam tip.
The design allows you to contain the queen and gently press her against the mesh, providing a stable surface for marking while keeping her secure.
Choosing the Right Marking Pen
Always use a non-toxic, water-based paint pen designed specifically for marking queens. These are available from beekeeping suppliers in the international standard colors that correspond to the year the queen hatched. Using the wrong type of paint can harm or kill the queen.
The Marking Procedure: A Step-by-Step Guide
Executing this process requires calm, deliberate movements. Ensure all your tools are ready and within reach before you begin.
Step 1: Locate and Capture the Queen
First, you must find the queen on a frame. Look for the largest bee, often surrounded by a retinue of attendants.
Once located, gently pick her up. The safest method is to grasp her by both wings or by the sides of her thorax. Avoid grabbing her abdomen, as this can cause injury.
Step 2: Transfer the Queen to the Cage
With the queen held securely, place the frame back in the hive or lean it against the hive entrance.
Bring the marking cage up to your hand and carefully drop the queen into the cylinder. She should fall to the mesh-covered end.
Step 3: Immobilize the Queen Gently
Insert the plunger into the open end of the cylinder. Slowly and gently push the plunger until the foam tip makes contact with the queen's back.
Apply just enough pressure to hold her still against the mesh. The goal is to immobilize, not crush. Her thorax should be clearly visible and accessible through the openings in the mesh.
Step 4: Apply the Paint
With the queen held steady, take your marking pen and apply a single, small dot of paint to the center of her thorax (the middle section of her body, between her head and abdomen).
Do not apply too much paint, and be extremely careful to avoid her wings, head, eyes, or antennae.
Step 5: Release the Queen
After marking, gently retract the plunger. Give the paint a few moments to dry.
Carefully open the cage and allow the queen to walk back onto the surface of a comb, preferably one with open brood. Avoid dropping her, as this can cause alarm in the hive.
Understanding the Risks and Best Practices
While the process is straightforward, mistakes can have serious consequences. Acknowledging the risks is key to preventing them.
The Risk of Injury
The most significant risk is physically harming the queen. Applying too much pressure with the plunger can crush her or damage her legs. Rushing the process or having an unsteady hand can lead to mistakes.
Incorrect Marking
Painting the wrong part of the queen's body can interfere with her senses or ability to fly. Paint on her antennae, for example, can be debilitating.
Hive Rejection
Using the wrong kind of paint or applying too much can leave a strong, foreign scent. In some cases, this can cause the colony to perceive her as an intruder and reject or kill her. This is why using proper, quick-drying queen marking pens is essential.
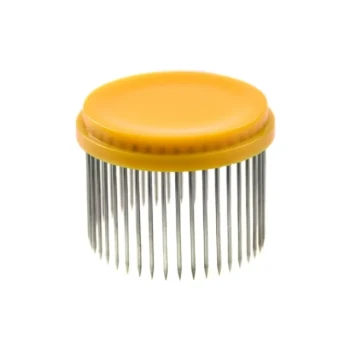
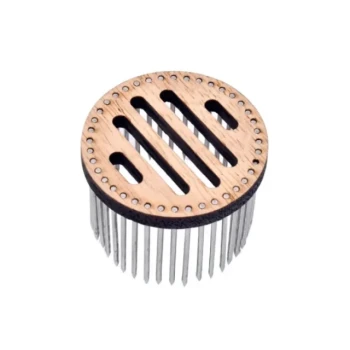
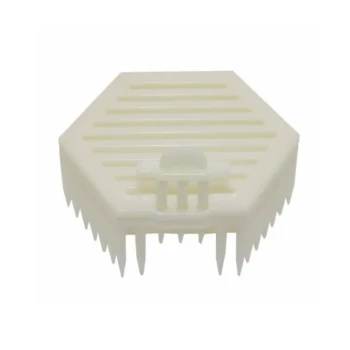
An Alternative: The Press-In Cage
For beekeepers who are not comfortable picking up the queen, a press-in cage is an alternative. This device is placed over the queen directly on the comb and pushed gently into the wax, trapping her against the foundation. This allows you to mark her without ever removing her from the frame.
Making the Right Choice for Your Goal
Your approach to marking should be guided by your comfort level and the goal of ensuring the queen's safety above all else.
- If your primary focus is safety: Practice the movements with a drone bee first to get a feel for the pressure needed. Always prioritize a gentle touch over speed.
- If your primary focus is efficiency: Have your cage and uncapped pen ready before you even begin looking for the queen. A well-organized workflow minimizes the time the queen is handled.
- If you are new or hesitant: Consider using a press-in cage first, as it eliminates the need to pick up the queen by hand and reduces the risk of dropping her.
Mastering this technique is a sign of a confident and capable beekeeper, empowering you with greater insight into the health and status of your colony.
Summary Table:
| Step | Key Action | Purpose |
|---|---|---|
| 1 | Locate & Capture Queen | Safely secure the queen for handling. |
| 2 | Transfer to Cage | Contain the queen without injury. |
| 3 | Immobilize Gently | Hold the queen steady for marking. |
| 4 | Apply Paint | Mark the thorax with a non-toxic dot. |
| 5 | Release Queen | Return the queen safely to the hive. |
Equip your apiary with professional-grade tools from HONESTBEE.
Marking your queens is essential for effective hive management. As a trusted supplier of beekeeping supplies and equipment to commercial apiaries and distributors, we provide the durable, precision tools you need for successful operations—like reliable handheld marking cages and safe, non-toxic queen marking pens.
Let us help you work smarter and safer. Contact our wholesale team today to discuss your equipment needs and discover how our products support the health of your colonies and the efficiency of your business.
Visual Guide
Related Products
- One Hand Yellow Queen Marking Catcher Tube Cage Beekeeper Tool Accessory for Queen Bee
- Queen Bee Marking Tube Cage Bottle Catcher Holder with Clear Plastic Plunger Marker
- Plastic Queen Marking Tube Cage with Plunger for Beekeeping
- Plastic Long Marker Device for Catching and Marking Bees Queen Bee Marking Tube and Cage
- Plastic Queen Bee Catcher Marker Tube Holder for Queen Marking Bottle
People Also Ask
- What are the steps to mark a queen bee? A Safe, 3-Step Guide for Beekeepers
- What physical risks are involved in marking a queen bee? Expert Safety Tips for Successful Hive Management
- What are the specific advantages of using international standard marking tools in queen bee production and management?
- What tools are recommended for marking queen bees? Safely Identify Your Queen with the Right Kit
- What tools are available to assist in safely marking a queen bee? Essential Gear for Professional Beekeepers