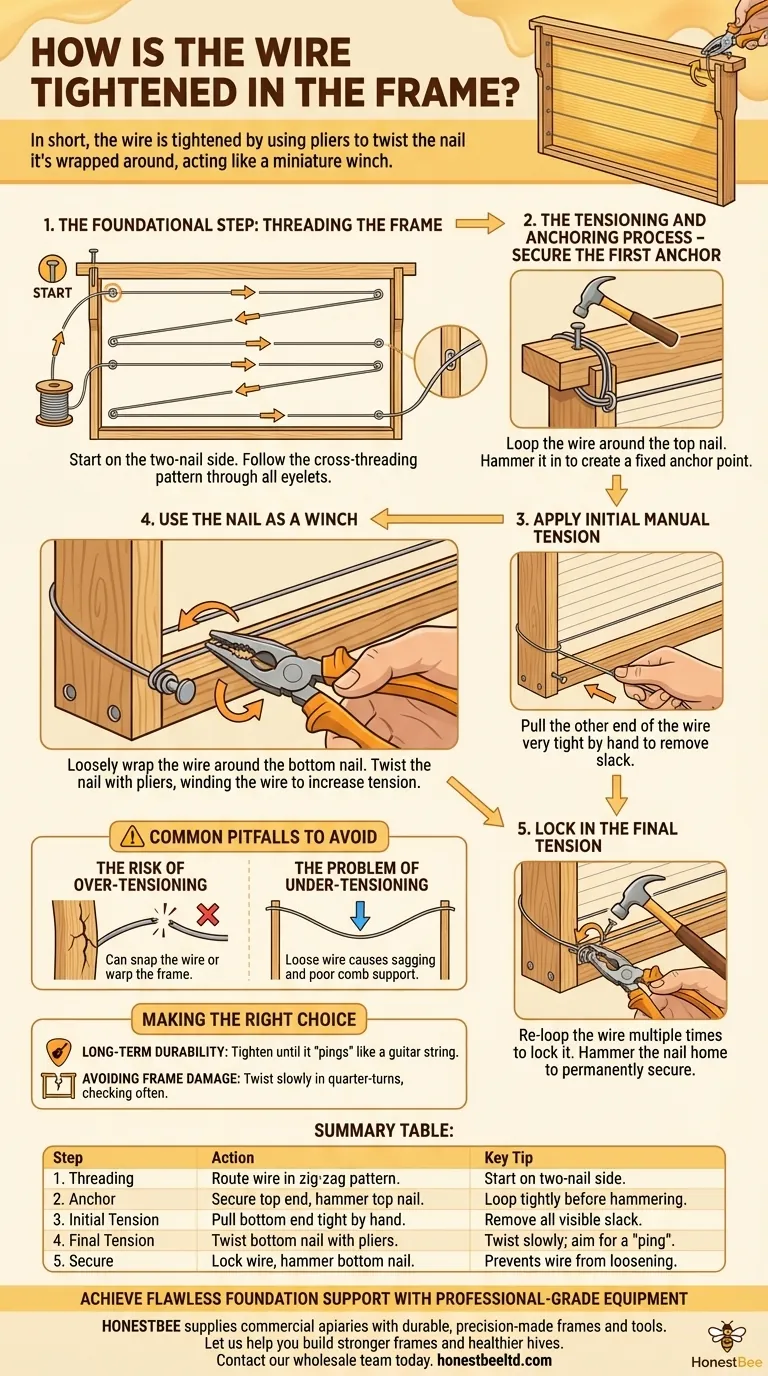
In short, the wire is tightened by using pliers to twist the nail it's wrapped around. This action turns the nail into a miniature winch, pulling the wire taut after it has been threaded through the frame's eyelets and initially pulled tight by hand.
The core principle is not just pulling the wire, but using the leverage of twisting a nail to achieve the final, high tension required. This mechanical advantage is the key to creating a properly taut wire that won't sag.
The Foundational Step: Threading the Frame
Before any tension can be applied, the wire must be correctly routed through the frame to provide even support for the wax foundation.
Start on the Two-Nail Side
The entire process begins on the side of the frame that has two nails, which will serve as your anchor and tensioning points.
Follow the Cross-Threading Pattern
Begin by threading the wire through the first bottom eyelet. Pull it across to the parallel eyelet on the opposite side of the frame.
From there, guide the wire up to the next eyelet on that same side, then pull it back across. This "S" or zig-zag pattern continues until the wire has passed through all eyelets, resulting in four horizontal supports.
The Tensioning and Anchoring Process
With the wire threaded, the next steps involve securing one end and then applying precise tension from the other.
Secure the First Anchor Point
The end of the wire should now be near the top nail. Loop the wire around this top nail several times to get a firm grip.
Hammer the top nail in the rest of the way. This action pinches and secures the wire, creating a fixed anchor point. Any excess wire can be snapped off by bending it back and forth.
Apply Initial Manual Tension
Move to the other end of the wire, which is exiting near the bottom nail. Pull this end very tight by hand to remove all the initial slack from the system.
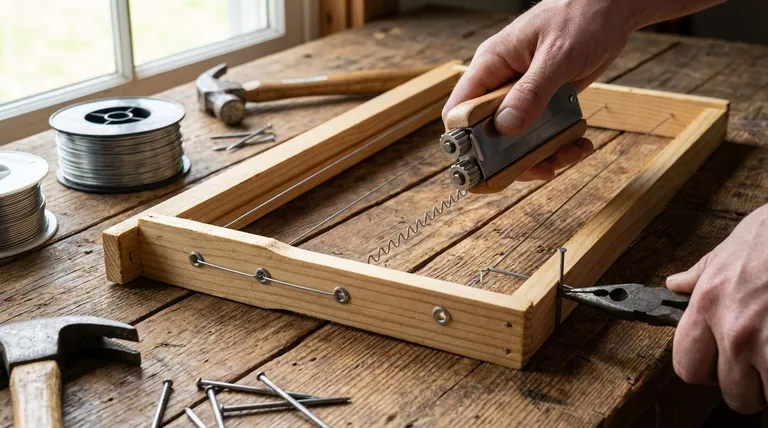
Use the Nail as a Winch
While holding the tension, loosely wrap the wire around the bottom nail. Now, grip the head of this nail with a pair of pliers.
Begin to twist the nail. As the nail turns, it will wind the wire around its shaft, progressively increasing the tension. This provides the mechanical leverage needed for a truly tight wire.
Lock in the Final Tension
Once the desired tension is reached, re-loop the wire around the nail head multiple times to lock it in place. You can then hammer this nail in completely to permanently secure the wire.
Common Pitfalls to Avoid
Achieving the right tension is a balance. Understanding the potential issues is critical for success and for avoiding damage to your equipment.
The Risk of Over-Tensioning
It is possible to apply too much force. An over-tightened wire can snap during the process or, worse, slowly warp the wooden sidebars of your frame over time, compromising its structure.
The Problem of Under-Tensioning
A loose wire is the most common mistake. If the wire is not taut enough, it cannot properly support the wax foundation, which will lead to sagging, bowing, or warping within the hive.
Making the Right Choice for Your Goal
The final tension should be based on a clear objective for the frame's performance.
- If your primary focus is long-term durability: The wire should be tightened until it "pings" or hums like a low-pitched guitar string when plucked, ensuring the foundation will remain perfectly flat for years.
- If your primary focus is avoiding frame damage: Apply tension by twisting the nail in slow, deliberate quarter-turns, checking the tension frequently to prevent accidental warping or wire breakage.
Mastering this simple mechanical technique transforms a basic wooden frame into a durable and reliable support for your colony's comb.
Summary Table:
| Step | Action | Key Tip |
|---|---|---|
| 1. Threading | Route wire in a zig-zag pattern through all eyelets. | Start on the side with two nails. |
| 2. Anchor | Secure the top end of the wire by hammering the top nail. | Loop wire tightly before hammering. |
| 3. Initial Tension | Pull the bottom end of the wire tight by hand. | Remove all visible slack. |
| 4. Final Tension | Use pliers to twist the bottom nail, winding the wire. | Twist slowly; aim for a 'ping' sound. |
| 5. Secure | Lock the wire and hammer the bottom nail home. | Prevents the wire from loosening. |
Achieve Flawless Foundation Support with Professional-Grade Equipment
Mastering wire tension is crucial, but it starts with a well-made frame. Warped sidebars or poor-quality eyelets can undermine your best efforts.
HONESTBEE supplies commercial apiaries and beekeeping equipment distributors with durable, precision-made frames and wiring tools through our wholesale-focused operations. We provide the reliable foundation your beekeeping operation depends on.
Let us help you build stronger frames and healthier hives.
Contact our wholesale team today to discuss your equipment needs and volume pricing.
Visual Guide
Related Products
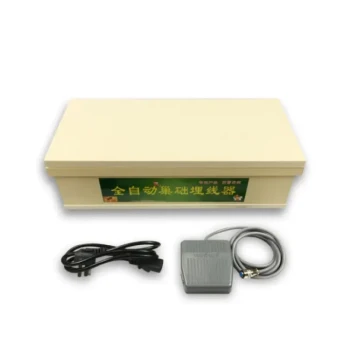
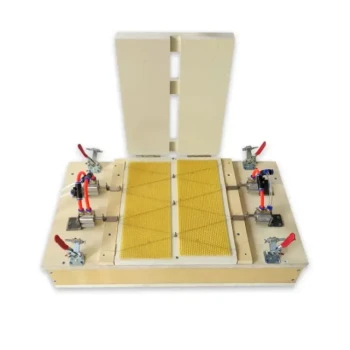
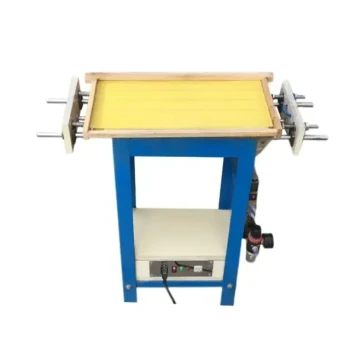
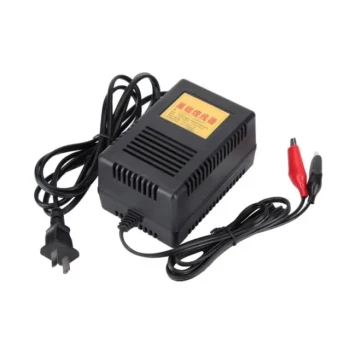
- HONESTBEE Adjustable Voltage Wire Embedder with Digital Display
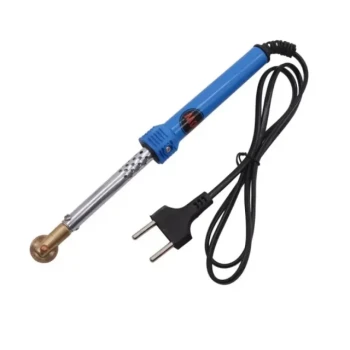
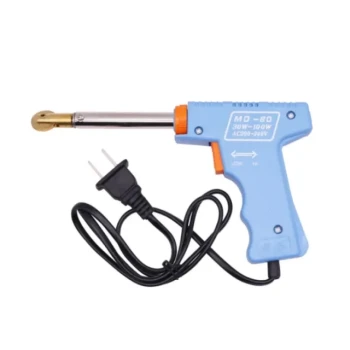
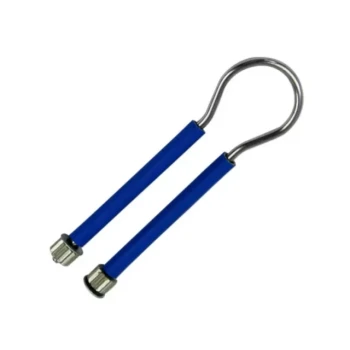
- HONESTBEE Soldering Iron Style Spur Wheel Wire Embedder
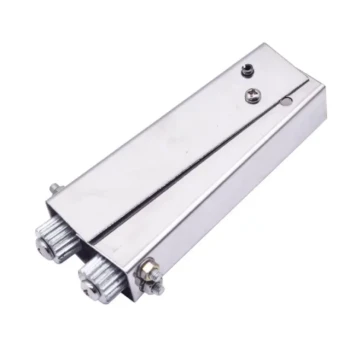
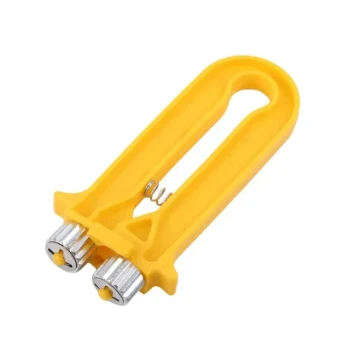
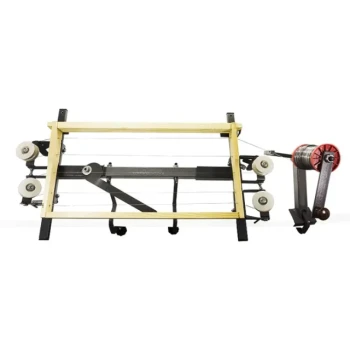
- HONESTBEE Heavy Duty All Metal Frame Wire Crimper Tool
- Professional Adjustable Timer Electric Wire Embedder
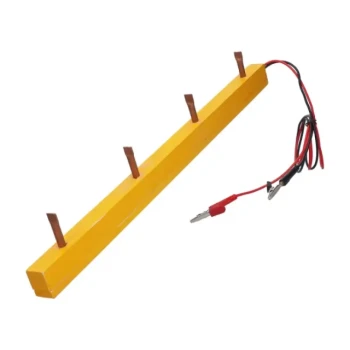
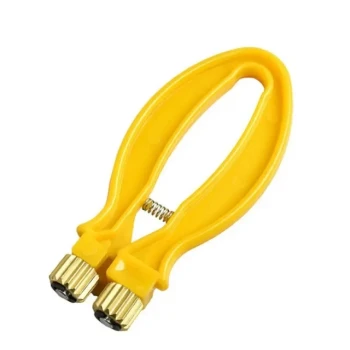
- HONESTBEE Wooden Bar Copper Prong Wire Embedder for Battery Operation
People Also Ask
- Why is the strategic placement of beehives required in hybrid sunflower seed production? Maximize Yield with Honeybees
- Why must honeybee colonies be selected based on specific breed standards for nutritional studies? Key to Data Integrity
- How can combs be further strengthened? Embed Wires for Durable, High-Yield Hives
- How does geographic location and temperature affect the timing of honeybee delivery? Ensure Successful Installation
- What is an embedder in beekeeping? Essential Tool for Strengthening Wax Foundation & Hive Frames