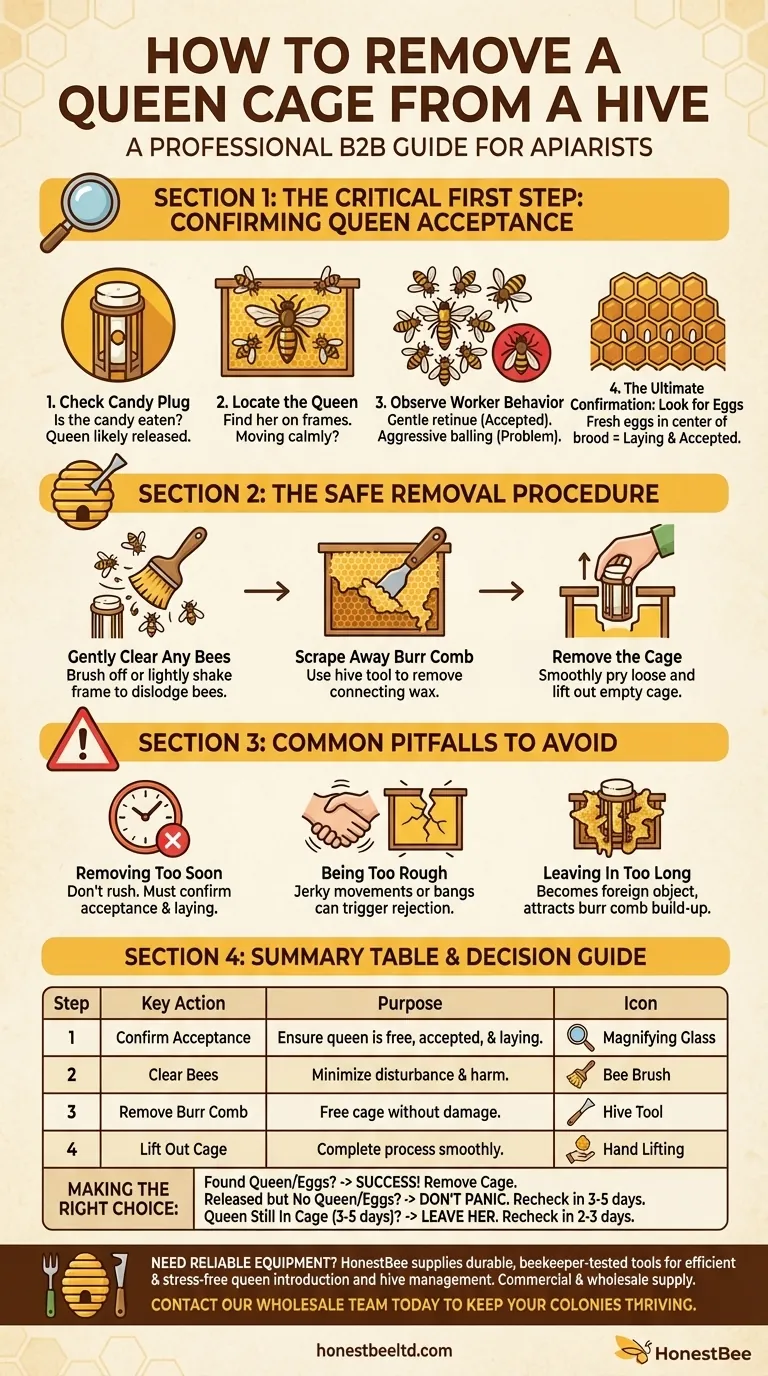
To remove the queen cage from a hive, you must first confirm the queen has been released and accepted by the colony. Once confirmed, you can gently remove any bees from the cage with a brush or a light shake, use a hive tool to scrape away any attached comb, and then lift the cage out of the frame.
The physical act of removing the cage is simple. The critical task is first verifying that the queen is free, accepted by the bees, and ideally, has begun laying eggs. This confirmation is the true goal of your hive inspection.

The Critical First Step: Confirming Queen Acceptance
Before you even think about touching the cage, your priority is to assess the queen's status. Disturbing the hive to remove the cage before the queen is integrated can disrupt or reverse the acceptance process.
Check the Candy Plug
The first and most obvious sign is the candy plug. Inspect the cage to see if the bees have eaten through the candy, creating an exit. If the candy is gone, the queen has likely been released into the hive.
Locate the Queen Herself
Your next task is to find the queen on the frames. She will be larger than the worker bees, with a longer, more tapered abdomen. Seeing her moving calmly among the other bees is a positive sign.
Observe Worker Bee Behavior
Pay close attention to how the workers are interacting with her. If they are gently touching her with their antennae and forming a loose circle (a "retinue") around her, they have accepted her. If they are piling on top of her aggressively (an action known as "balling"), they are trying to kill her, and you have a serious problem.
The Ultimate Confirmation: Look for Eggs
The definitive sign of successful queen introduction is evidence that she is performing her duties. Look in the center of the brood frames for tiny, white eggs, which look like grains of rice standing on end inside the cells. If you see fresh eggs, she has been accepted and is laying.
The Safe Removal Procedure
Once you have confirmed the queen is free and accepted, you can proceed with removing the empty cage. This should be done with smooth, deliberate motions to minimize disturbance.
Gently Clear Any Bees
A few worker bees may still be inside the cage or on its surface, cleaning up the last bits of candy. Use a bee brush to gently sweep them off, or give the frame a short, gentle shake to dislodge them back into the hive.
Scrape Away Burr Comb
The bees will often build "burr comb" or "brace comb" connecting the queen cage to the surrounding frames. Use your hive tool to carefully scrape this wax away before attempting to lift the cage out.
Remove the Cage
With the area clear of bees and excess comb, you can now gently pry the cage loose and remove it from the hive.
Common Pitfalls to Avoid
Success in beekeeping often comes from knowing what not to do. Rushing the process or misinterpreting signs can set the colony back significantly.
Removing the Cage Too Soon
Never remove the cage simply because a certain number of days have passed. If you remove it before confirming the queen is accepted and laying, you lose your last chance to easily re-verify her status on the next inspection.
Being Too Rough
Sudden, jerky movements or loud bangs on the hive can cause the bees to become defensive and may even trigger them to reject a newly introduced queen. Always work calmly and gently.
Leaving the Cage In Too Long
While less critical than premature removal, leaving the empty cage in for many weeks is not ideal. It becomes a foreign object that the bees will continue to build burr comb around, making future inspections more difficult.
Making the Right Choice for Your Goal
The timing of your inspection and removal depends on what you find. Use these scenarios as your guide.
- If you check after 3-5 days and the queen is still in the cage: Leave her there. The bees may need more time. Check again in another 2-3 days.
- If the queen has been released but you cannot find her or any eggs: Do not panic. Close up the hive gently and check again in 3-5 days. Give her time to settle in and begin laying.
- If the queen is free and you see fresh eggs: This is a complete success. You can confidently remove the cage during this inspection.
Completing a successful queen introduction is a foundational milestone in managing a healthy and productive colony.
Summary Table:
| Step | Key Action | Purpose |
|---|---|---|
| 1. Confirm Acceptance | Check for eaten candy plug, find the queen, observe worker behavior, and look for eggs. | Ensure the queen is free, accepted, and laying before disturbing the hive. |
| 2. Clear Bees | Gently brush or shake bees from the cage. | Minimize disturbance and avoid harming bees during removal. |
| 3. Remove Burr Comb | Use a hive tool to scrape away wax attaching the cage. | Free the cage without damaging frames or comb. |
| 4. Lift Out Cage | Gently pry and remove the empty cage from the hive. | Complete the process smoothly, leaving a clean hive setup. |
Need reliable equipment for your queen introduction process? A successful hive starts with high-quality tools. HONESTBEE supplies durable, beekeeper-tested equipment—from hive tools to full hive setups—to commercial apiaries and distributors. Ensure every procedure, from queen installation to honey harvest, is efficient and stress-free. Contact our wholesale team today to discuss your supply needs and keep your colonies thriving.
Visual Guide
Related Products
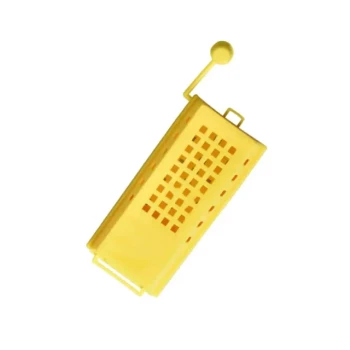
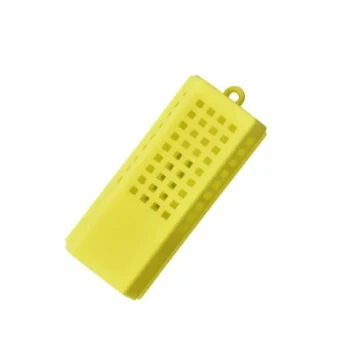
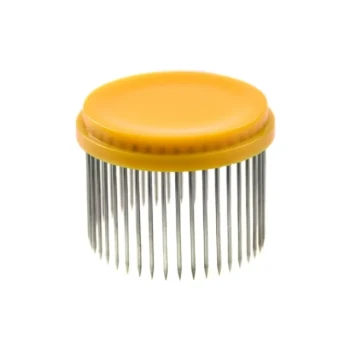
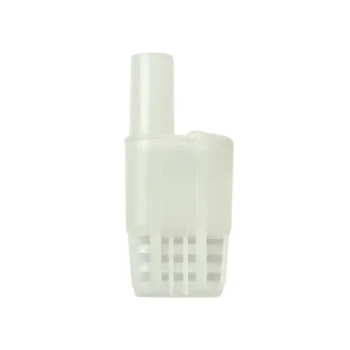
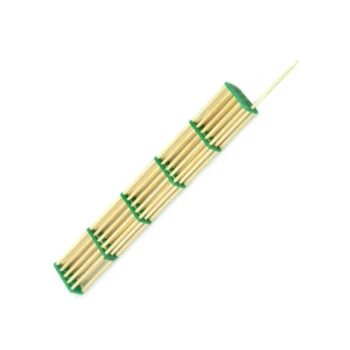
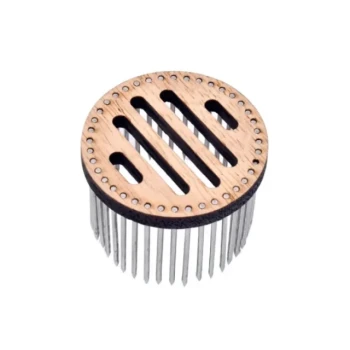
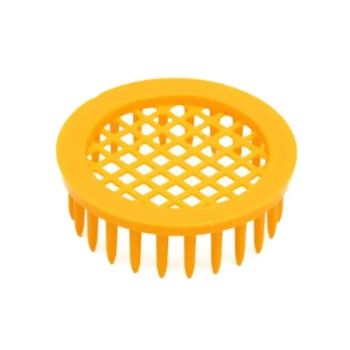
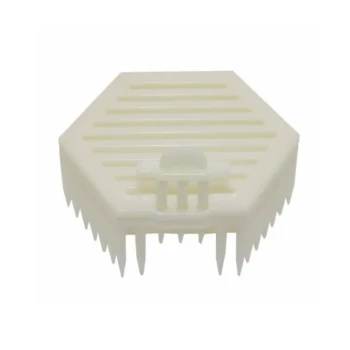
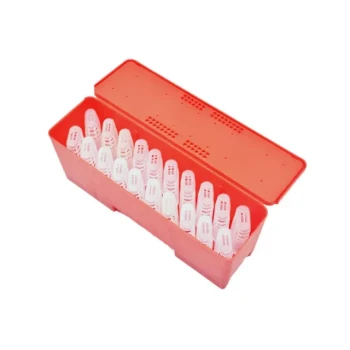
- Durable Galvanized Steel Spring Queen Bee Cage
- Professional Queen Cage with Sliding Gate and Feeder Plug
- Classic Wooden and Mesh California Queen Cage
- Professional Queen Bee Introduction and Transport Cage
- Professional Multi-Functional Queen Bee Cage
People Also Ask
- What is the technical purpose of the dedicated feeding compartment and access channel in a queen bee cage? Pro Guide
- What is the mechanism of action for using temporary queen bee cages? Master Successful Queen Introduction
- Why are specialized queen bee cages used for the banking of mated queen bees? Maximize Commercial Apiary Storage Efficiency
- What are the advantages and disadvantages of introducing a queen bee by embedding the cage? Boost Your Queen Acceptance
- What is the step-by-step process for installing a queen bee's cage onto a frame? Ensure Hive Acceptance Safely