To correctly thread a deep frame, begin wiring on the specific side bar that holds the two 5/8 inch nails. Initiate the process at the bottom-most eyelet, threading the wire across the frame, up the exterior of the opposite side bar, and back across in a serpentine pattern until all four horizontal wires are established.
Core Takeaway Proper wiring provides the essential internal reinforcement for honeycomb foundation. By adhering to a strict bottom-to-top threading pattern, you ensure the wire runs parallel and prevents the foundation from sagging or collapsing under the weight of honey and brood.
The Threading Protocol
Orienting the Frame
Identify the side bar where you previously installed the two 5/8 inch nails. This is your primary anchor side (Side A).
The placement of these nails dictates where your wire must start and end to allow for proper tensioning later.
establishing the First Run
Insert your wire through the first eyelet at the bottom of Side A.
Pull the wire all the way across the frame interior and pass it out through the corresponding parallel eyelet on the opposite side bar (Side B).
The Vertical Transition
Once the wire exits Side B, do not cross back immediately. Instead, run the wire vertically up against the outside of the side bar.
Locate the next eyelet up (the third eyelet from the top) and thread the wire into it.
Completing the Pattern
Pull the wire back across the frame to Side A and out through the corresponding eyelet.
Continue this alternating "snake" pattern—going across the frame, up the exterior side, and back in—until all eyelets have been threaded.
The final result must be four parallel wires stretching horizontally across the deep frame.
Common Pitfalls to Avoid
Internal Crossing
Never run the wire diagonally along the inside of the frame between eyelets.
The wire must travel vertically along the outside edge of the side bars. Internal diagonal wires will prevent the wax foundation from sitting flat within the frame.
Incorrect Starting Point
Resist the urge to start at the top eyelet.
The reference procedure specifically mandates starting at the bottom. This ensures that when the threading is complete, the loose end arrives at the correct position for the final tie-off nail.
Making the Right Choice for Your Goal
To ensure your frames last for years in the hive, follow these specific guidelines:
- If your primary focus is structural durability: Ensure the wire runs strictly along the outside of the frame during vertical transitions to prevent the wire from cutting into the honeycomb area.
- If your primary focus is efficient assembly: Master the bottom-to-top rhythm so your final wire end naturally lands near the upper tension nail, streamlining the tying-off process.
Correct threading is the invisible skeleton of a healthy hive; get the geometry right, and the bees will do the rest.
Summary Table:
| Step | Action | Key Detail |
|---|---|---|
| 1. Orientation | Identify Side A | Locate the side bar with two 5/8 inch anchor nails. |
| 2. Initiation | Bottom Eyelet | Start threading at the bottom-most hole of Side A. |
| 3. Pattern | Serpentine Run | Thread across, run vertically on the outside, then thread back. |
| 4. Structure | 4 Parallel Wires | Ensure all wires are horizontal and parallel with no internal crossing. |
| 5. Completion | Final Tie-off | End at the top eyelet to secure the wire to the tension nail. |
Elevate Your Apiary's Productivity with HONESTBEE
At HONESTBEE, we understand that the strength of your hive begins with the quality of your equipment. Whether you are managing a large-scale commercial apiary or operating as a regional distributor, we provide the industrial-grade solutions you need to succeed.
From high-precision hive-making and honey-filling machinery to a full spectrum of wholesale beekeeping tools and essential consumables, our portfolio is designed to streamline your assembly process and maximize structural durability.
Ready to scale your operations with premium hardware and expert support?
Contact HONESTBEE Today to explore our comprehensive wholesale offerings and discover how we can reinforce your business from the foundation up.
Related Products
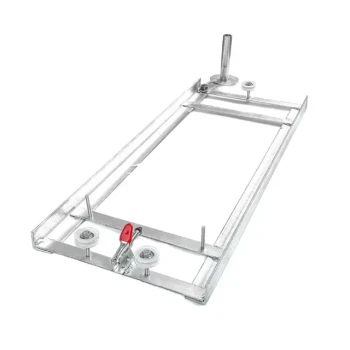
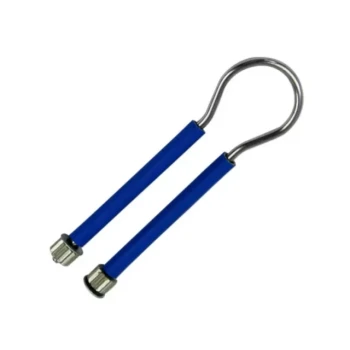
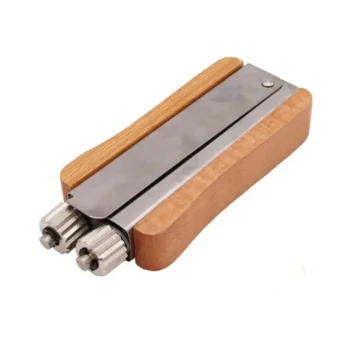
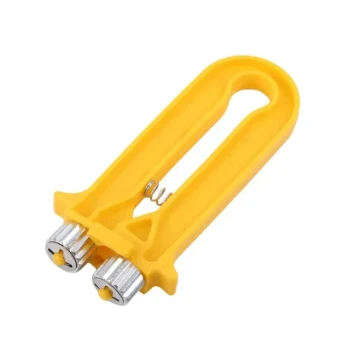
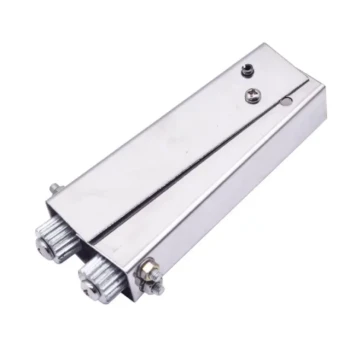
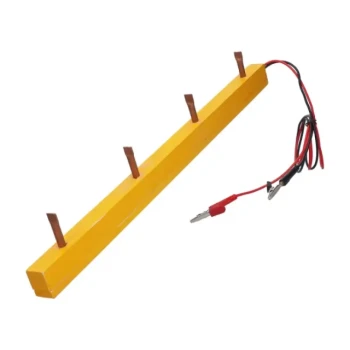
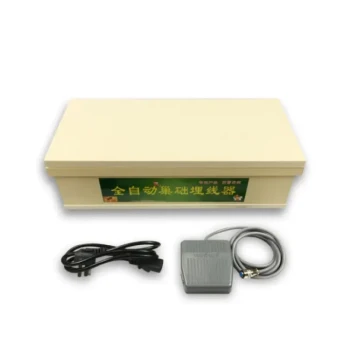
- HONESTBEE Professional Frame Wiring Board and Jig
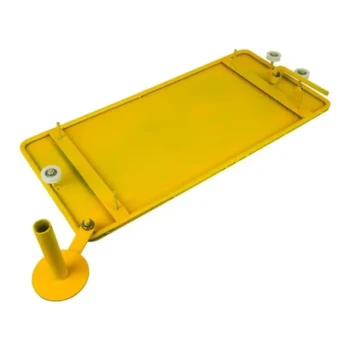
- HONESTBEE Durable Frame Wiring Board with Integrated Tensioner
- Stainless Steel Bee Hive Frame Wire for Beekeeping
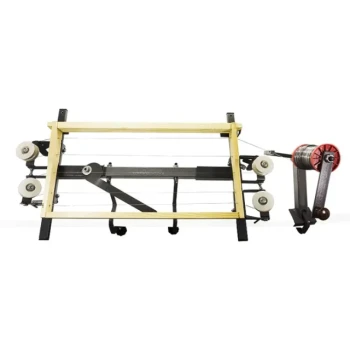
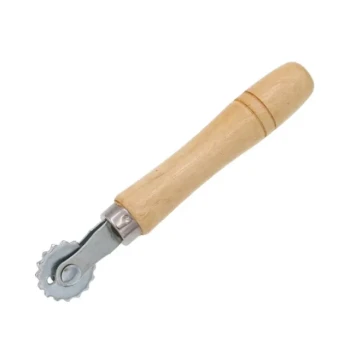
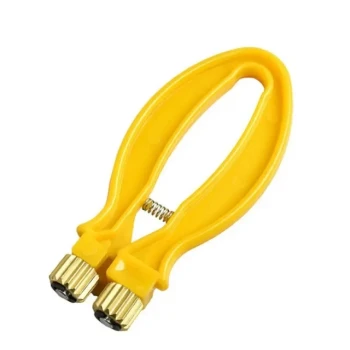
- Professional Bee Frame Wiring Tool with Integrated Tensioning System by HONESTBEE
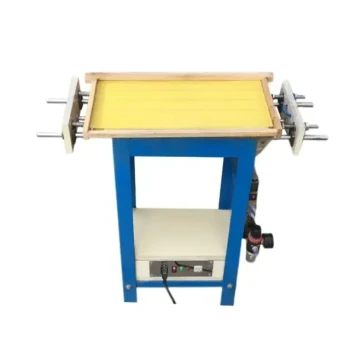
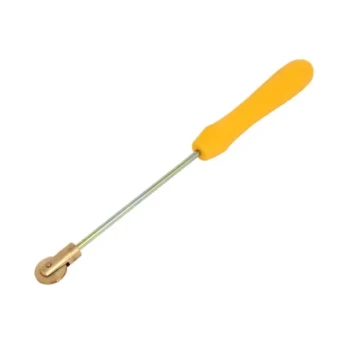
- Professional Pneumatic Wire Embedder for Beehive Frames
People Also Ask
- What tools and materials are required for wiring a beehive frame? Essential Equipment for Stronger Honeycomb
- What is minimalist bee frame wiring? Learn the Risks and Benefits for Beekeeping
- How do you use a bee frame wiring jig? Master Professional Tensioning for Stronger Hives
- What is the purpose of the frame wiring jig? Speed Up Bee Frame Wiring in Under 90 Seconds
- What are some alternative materials for wiring beehive frames? Comparing Fishing Line vs. Stainless Steel