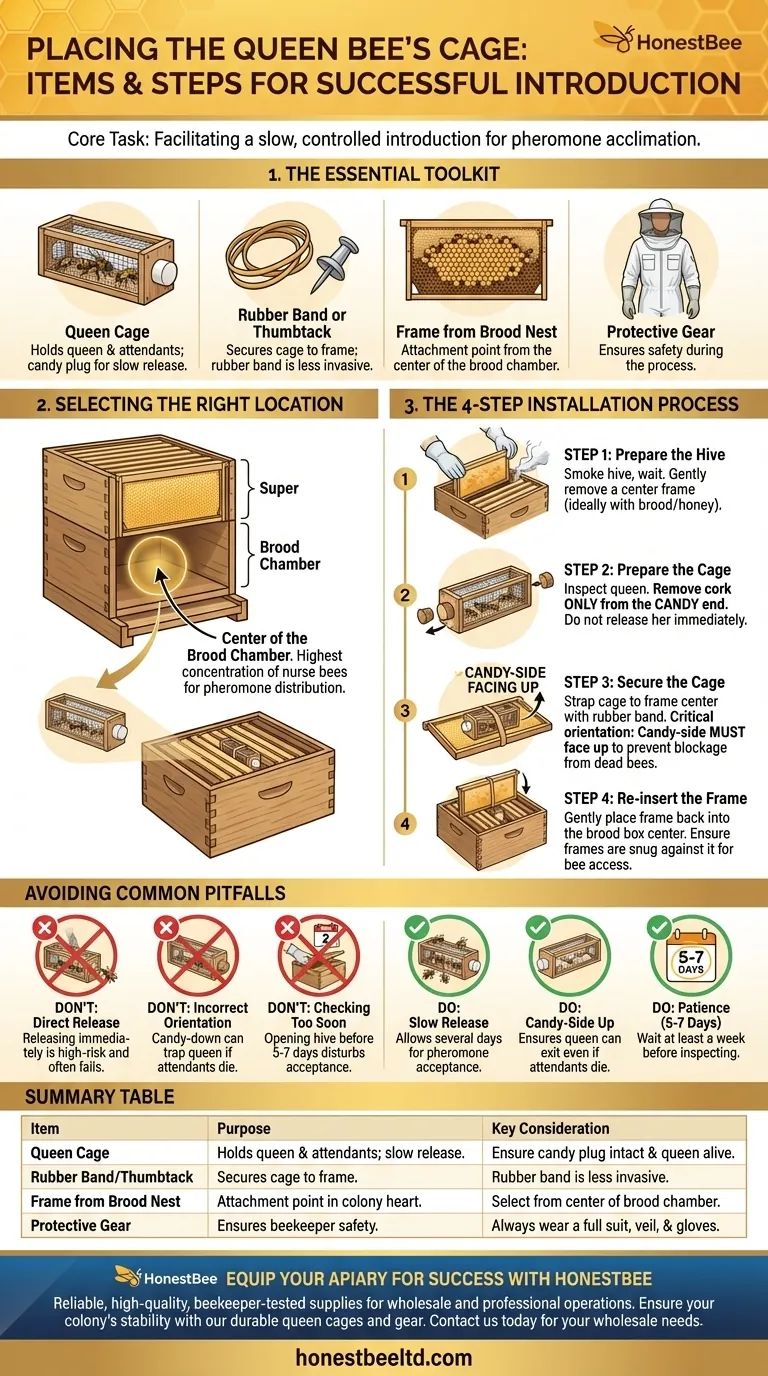
To place a queen bee's cage in a hive, you need a very short list of items: the caged queen, a way to secure it like a rubber band or thumbtack, and your standard protective gear. The cage should be attached to a frame pulled from the center of the hive's main brood chamber. This simple process is the most critical step in ensuring the colony accepts its new queen.
The core task is not simply placing an object in a box. It is about facilitating a slow, controlled introduction that allows the colony's worker bees to acclimate to the new queen's unique pheromones before she is released.
Preparing for a Successful Introduction
Successfully introducing a queen hinges on careful preparation and understanding why each step is taken. The goal is to make the transition seamless for the colony, minimizing stress and the risk of rejection.
The Essential Toolkit
Your required items are simple, but each serves a specific purpose.
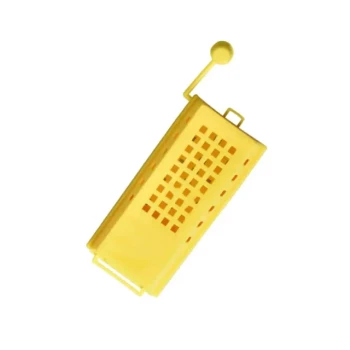
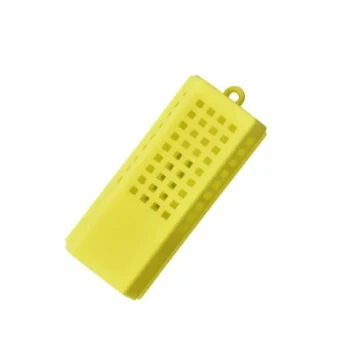
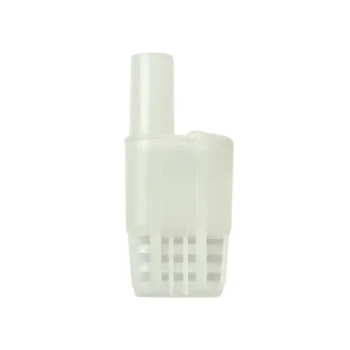
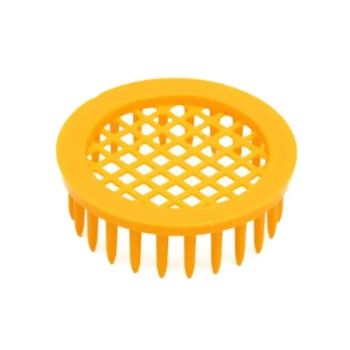
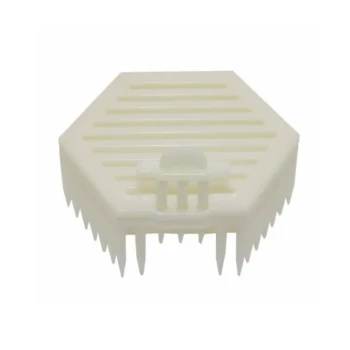
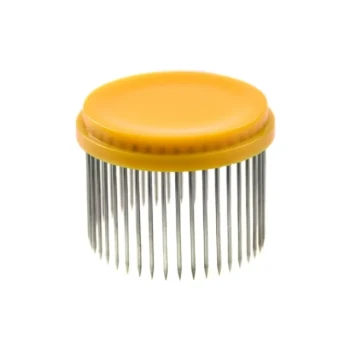
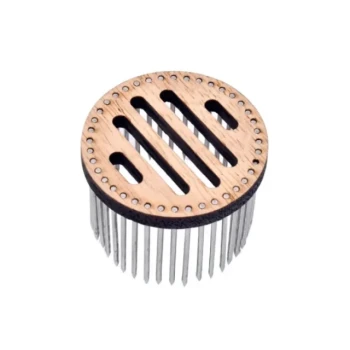
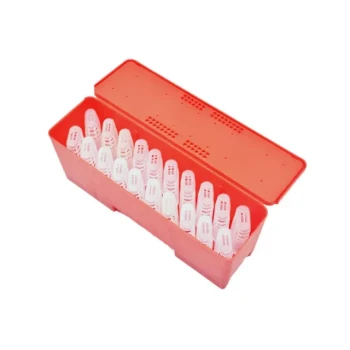
- The Queen Cage: This small box contains the queen and a few attendant bees. One end is blocked with a white, sugary substance known as "candy," which acts as a time-release mechanism.
- Rubber Band or Thumbtack: This is used to securely fasten the cage to a frame. A rubber band is often preferred as it is less invasive to the wooden frame.
- A Frame from the Brood Nest: You will temporarily remove one frame from the center of the lowest hive box (the brood chamber) to attach the cage.
- Protective Clothing: Always use your bee suit, veil, and gloves. The hive will be open, and ensuring your safety is paramount.
Selecting the Right Location
The placement of the queen cage is not random. It must be positioned in the heart of the colony's activity to be effective.
You will place the cage in the center of the brood chamber, which is typically the bottom-most box of the hive. This area has the highest concentration of nurse bees and brood, ensuring the new queen's scent is distributed throughout the most active part of the colony.
The Installation Process
With your tools ready and location chosen, the installation itself is straightforward. Precision and a gentle hand are key.
Step 1: Prepare the Hive
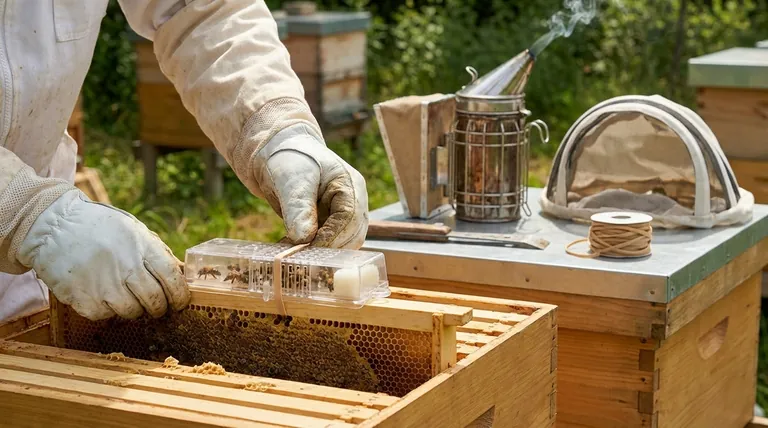
Gently smoke the entrance of the hive and wait a minute. Open the hive lid and inner cover, applying a little more smoke across the top of the frames. Slowly and carefully remove a frame from the very center of the brood box. This frame should ideally contain some uncapped brood and honey.
Step 2: Prepare the Cage
Before entering the hive, inspect the queen cage. Ensure the queen is alive and moving. You will see a small cork or plastic tab on one or both ends. Remove the cork only from the end with the white candy plug. Do not remove the cork from the empty end, as this would release the queen immediately, likely causing the hive to reject and kill her.
Step 3: Secure the Cage to the Frame
Using a rubber band, strap the queen cage to the center of the frame you removed. The cage should be positioned with the candy-side facing up.
This orientation is critical. If the candy end faces down, any attendant bees that die in the cage could fall and block the exit, trapping the queen even after the candy has been eaten.
Step 4: Re-insert the Frame
Gently place the frame with the attached cage back into the empty slot in the center of the brood box. Make sure the frames on either side are pushed snugly against it, giving the worker bees full access to the mesh sides of the cage. The bees will now begin to feed the queen through the screen and slowly eat through the candy plug, releasing her over several days.
Understanding Common Pitfalls
A successful queen introduction involves avoiding a few common but critical mistakes.
Direct Release vs. Slow Release
A "direct release" means opening the cage and letting the queen walk out immediately. This is an advanced and high-risk technique that should be avoided. The slow-release method using the candy plug is the standard because it gives the hive several days to accept the queen's pheromones, dramatically increasing the odds of success.
Incorrect Cage Orientation
Placing the cage with the candy plug facing down or sideways is a frequent error. As mentioned, dead attendant bees can block the exit. Always orient the candy-side up toward the top of the hive.
Checking on the Hive Too Soon
Once the cage is installed, close the hive and leave it alone for at least 5-7 days. Opening the hive too early can disturb the delicate acceptance process. The colony needs uninterrupted time to get used to their new monarch. After a week, you can perform a quick inspection to confirm she has been released and is laying eggs.
Making the Right Choice for Your Goal
Your approach is straightforward, but your goal dictates the context. The fundamental technique remains the same.
- If your primary focus is requeening an existing hive: This process is essential for replacing a failing, old, or aggressive queen. Patience is your greatest tool; allow the slow-release process to work.
- If your primary focus is installing a new package of bees: The procedure is identical, but you are introducing the queen to bees that are not yet an established colony. Place her in the center of the new hive frames to serve as the nucleus for the new colony.
Following this methodical process gives your hive the best possible chance to thrive under its new queen.
Summary Table:
| Item | Purpose | Key Consideration |
|---|---|---|
| Queen Cage | Holds the new queen and attendant bees; has a candy plug for slow release. | Ensure the candy plug is intact and the queen is alive before installation. |
| Rubber Band or Thumbtack | Secures the cage to a frame within the hive. | A rubber band is less invasive to the frame wood than a thumbtack. |
| Frame from Brood Nest | Provides the attachment point in the heart of the colony. | Select a frame from the center of the brood chamber for best pheromone distribution. |
| Protective Gear | Ensures beekeeper safety during the hive inspection and installation. | Always wear a bee suit, veil, and gloves when working with an open hive. |
Equip Your Apiary for Success with HONESTBEE
A successful queen introduction starts with reliable, high-quality equipment. Whether you are a commercial apiary managing hundreds of hives or a beekeeping equipment distributor sourcing for your customers, HONESTBEE supplies the durable, beekeeper-tested supplies you need for critical operations like requeening.
We understand that the stability of your colony depends on the tools you use. Our wholesale-focused operations ensure you get the best value on essential items, from secure queen cages to protective gear, supporting the health and productivity of your bees.
Ready to strengthen your beekeeping operations with professional-grade supplies? Contact HONESTBEE today to discuss your wholesale needs and how we can support your business growth.
Visual Guide
Related Products
- Durable Galvanized Steel Spring Queen Bee Cage
- Professional Queen Bee Introduction and Transport Cage
- Professional Queen Cage with Sliding Gate and Feeder Plug
- Classic Wooden and Mesh California Queen Cage
- Professional Multi-Functional Queen Bee Cage
People Also Ask
- What materials are required to install a queen bee's cage into a hive? Essential Tools for Successful Queen Integration
- What is the mechanism of action for using temporary queen bee cages? Master Successful Queen Introduction
- How long does it typically take for bees to adjust to a new queen? Master the 2-7 Day Requeening Window
- What is the technical purpose of the dedicated feeding compartment and access channel in a queen bee cage? Pro Guide
- What are the advantages and disadvantages of introducing a queen bee by embedding the cage? Boost Your Queen Acceptance