The first thing to do with beeswax cappings is to collect them in a way that allows the residual honey to drain out. Cappings are saturated with high-quality honey, and this initial separation step is critical to maximizing your harvest. Once drained, the remaining beeswax is a premium product ready to be cleaned and rendered for various uses.
Your primary goal when handling beeswax cappings is a two-part process: first, passively recover every last drop of honey, and second, prepare the leftover beeswax for cleaning. This ensures no part of the valuable harvest is wasted.

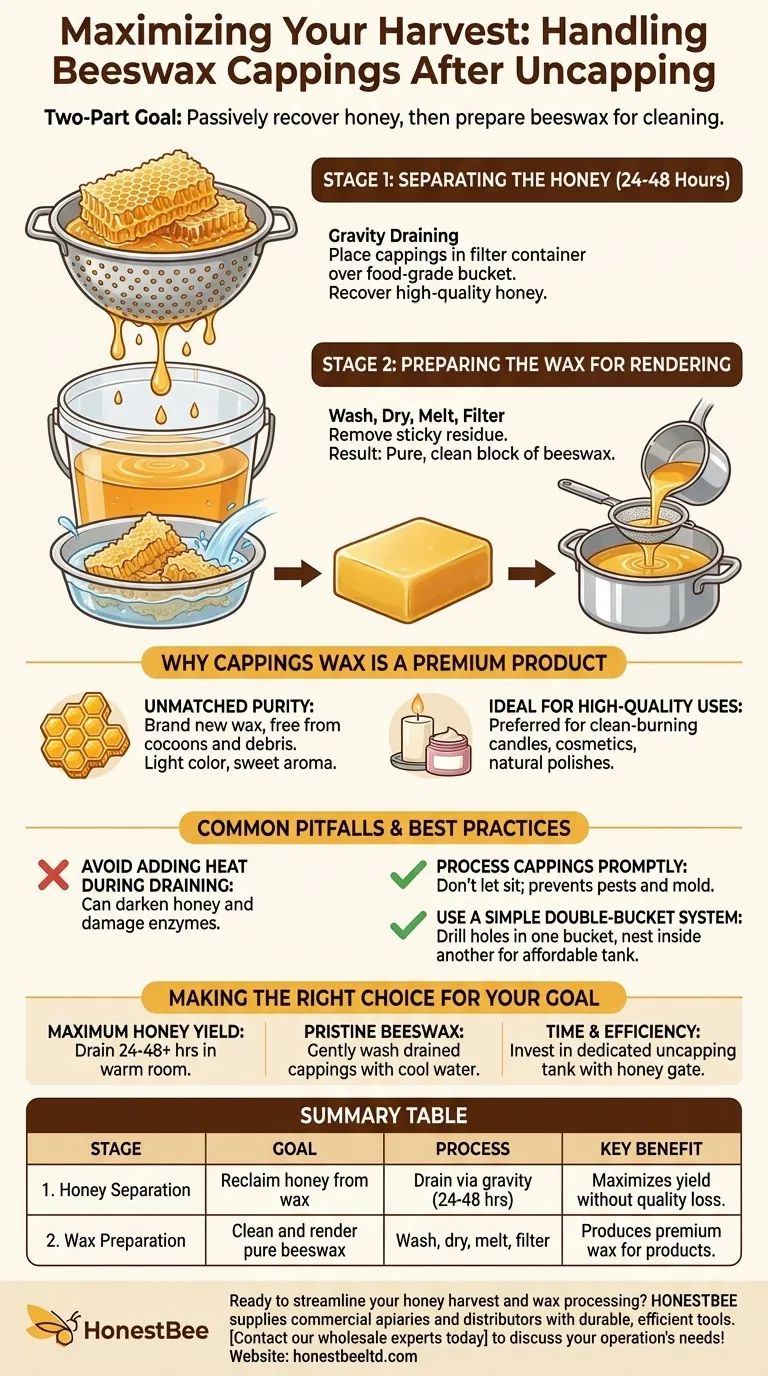
The Two-Stage Process for Handling Cappings
Properly managing your cappings is a straightforward process that separates the two valuable products they contain: honey and wax. The key is to perform these stages in the correct order.
Stage 1: Separating the Honey
The cappings you slice or scratch from the frame are soaked in honey. The first and most important step is to reclaim it.
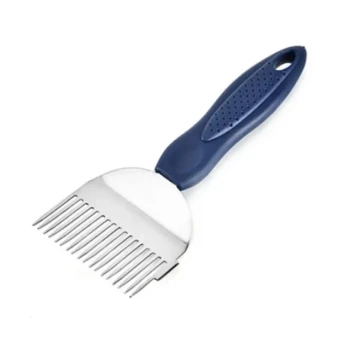
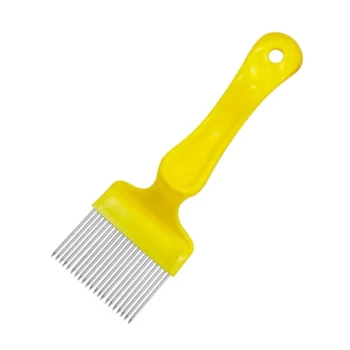
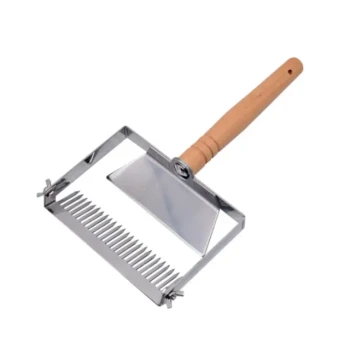
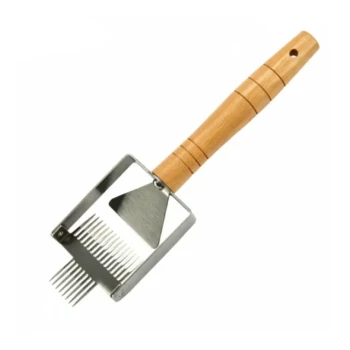
This is best accomplished using gravity. Place the fresh cappings into a container with a filter or perforated bottom, such as a colander, a sieve, or a dedicated uncapping tank.
Position this container over a clean, food-grade bucket or tank. Over the next 24 to 48 hours, the honey will slowly drip from the wax and collect below. The honey recovered this way is perfectly good and should be added to the rest of your harvest.
Stage 2: Preparing the Wax for Rendering
Once the honey has finished draining, you are left with a block of sticky, honey-scented beeswax. This wax is now ready to be processed.
This next phase typically involves washing the wax with water to remove the last of the sticky honey residue. After washing and drying, the wax can be melted and filtered to remove any impurities, resulting in a clean, pure block of beeswax.
Why Cappings Wax Is a Premium Product
The wax from cappings is not the same as the wax from old brood comb. It is considered the highest quality wax the hive produces, which is why it's worth the effort to process it.
Unmatched Purity
Cappings wax is brand new wax, created by the bees specifically to seal finished honey. It has not been used to raise brood or store pollen.
Because of this, it is free from the cocoons, propolis, and other debris that accumulate in older combs. This purity gives it a desirable light color and a clean, sweet aroma.
Ideal for High-Quality Uses
The clean nature of cappings wax makes it the preferred choice for products that require high purity.
Common applications include making candles that burn cleanly, crafting cosmetics like lip balms and lotions, or creating natural wood polishes.
Common Pitfalls and Best Practices
While the process is simple, a few common mistakes can reduce the quality of your final products. Adhering to best practices ensures the best possible outcome for both your honey and your wax.
Avoid Adding Heat During Draining
Let gravity do the work at room temperature. Applying heat to speed up the honey draining process can darken the honey's color and damage its delicate enzymes and aromas.
Process Cappings Promptly
Don't let your honey-laden cappings sit in a bucket for weeks. They can attract pests and, because of the moisture content, can be susceptible to mold. Plan to process them within a few days of uncapping.
Use a Simple Double-Bucket System
You don’t need expensive equipment to get started. A highly effective draining system can be made by drilling small holes in the bottom of one food-grade bucket and nesting it inside another solid one. This creates a simple and affordable uncapping tank.
Making the Right Choice for Your Goal
Your specific workflow can be fine-tuned based on what you value most.
- If your primary focus is maximum honey yield: Allow the cappings to drain for at least 24-48 hours in a warm (but not hot) room to ensure every possible drop is collected before you process the wax.
- If your primary focus is pristine beeswax: After draining the honey, gently wash the cappings with cool water to remove all residual honey, which can cause the wax to darken when melted.
- If your primary focus is time and efficiency: Consider investing in a dedicated uncapping tank that combines a collection tub, a sieve for the cappings, and a honey gate for easy draining into a final container.
By treating your cappings as a valuable resource, you honor the work of your bees and maximize the rewards of your harvest.
Summary Table:
| Stage | Goal | Process | Key Benefit |
|---|---|---|---|
| 1. Honey Separation | Reclaim honey from wax | Drain cappings via gravity for 24-48 hours | Maximizes honey yield without quality loss |
| 2. Wax Preparation | Clean and render pure beeswax | Wash, dry, melt, and filter drained cappings | Produces premium wax for candles, cosmetics, and more |
Ready to streamline your honey harvest and wax processing? HONESTBEE supplies commercial apiaries and beekeeping equipment distributors with the durable, efficient tools needed for every step—from uncapping tanks to wax melters. Let us help you maximize your yield and product quality. Contact our wholesale experts today to discuss your operation's needs!
Visual Guide
Related Products
- Beeswax Foundation Sheets Beehive Foundation for Wholesale
- Assembled Wooden Bee Frames with Beeswax Foundation Ready to Use by HONESTBEE
- Honey Wax Separating Wax Press with Metal Screw Wax Separator Machine
- Economy Manual Beeswax Embossing Mill Wax Foundation Machine Roller
- Professional Honey Uncapping Roller for Efficient Harvesting
People Also Ask
- What are the technical advantages of beeswax foundations and feeding tools? Optimize Your Bee Breeding Phase
- What are the primary benefits of using beeswax foundation sheets? Maximize Yields and Efficiency for Commercial Apiaries
- What are the specific advantages of regular comb replacement? Boost Hive Health with New Beeswax Foundations
- What are the negative consequences of using old or contaminated beeswax in foundations? Protect Your Hive Today
- What are the characteristics of the beeswax sheets made for beekeeping? Boost Hive Efficiency with Precision Wax Foundation