The fundamental process of assembling a Langstroth beehive frame involves joining the two sidebars to the top bar, ensuring the wedge cleat groove is on the inside. Once the top is secure, the frame is flipped, and the bottom bar is glued and inserted into the grooves on the sidebars. The final, critical step is to fasten all joints with nails or staples to ensure the frame remains square and durable under the weight of honey.
The goal of frame assembly is not just to connect wood pieces, but to create a perfectly square and rigid structure. This precision is essential for proper hive function, easy inspections, and preventing costly problems for your bee colony.
The Purpose of a Well-Assembled Frame
A beehive frame may seem like a simple wooden rectangle, but it is a critical piece of technology for modern beekeeping. It provides the foundational structure for the entire colony's work.
Structure for Comb and Brood
The frame’s primary purpose is to hold the foundation upon which bees build their wax comb. This comb is where the queen lays her eggs (brood) and where the colony stores honey and pollen.
Enabling Hive Management
Properly built frames with correct "bee space" around them allow beekeepers to easily lift individual frames for inspection. This is crucial for checking the queen's health, looking for signs of disease, and assessing honey stores without destroying the hive's structure.
A Step-by-Step Guide to Frame Assembly
Building a strong, square frame is a straightforward process that pays dividends for the life of your hive. Rushing this step can lead to frames that fall apart or encourage bees to build comb in undesirable ways.
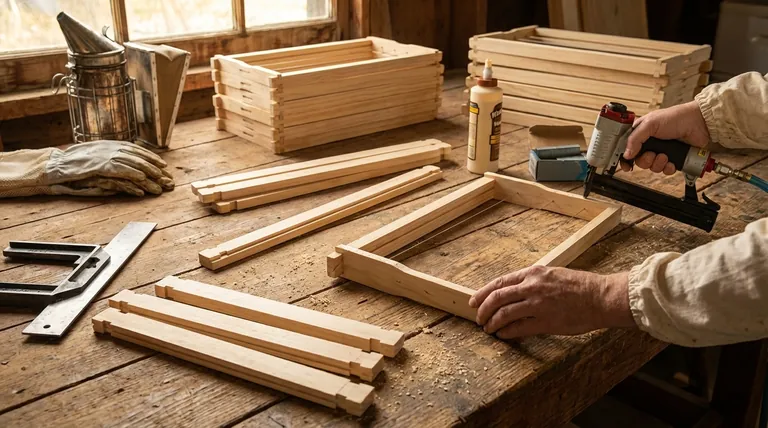
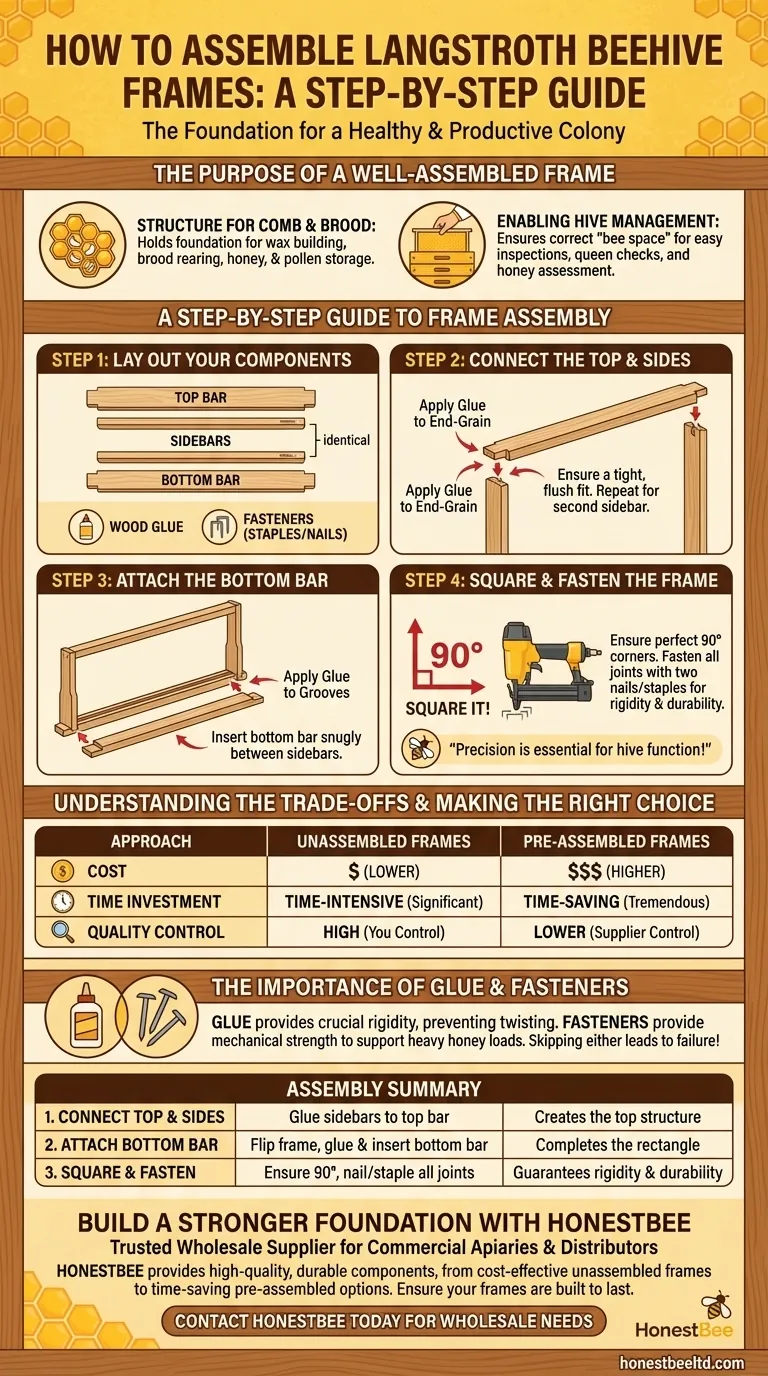
Step 1: Lay Out Your Components
Before you begin, identify your four wooden parts for each frame: one top bar, two identical sidebars, and one bottom bar. A quality wood glue and a pneumatic stapler or small nails are also required.
Step 2: Connect the Top and Sides
Begin by applying a small amount of wood glue to the end-grain of one sidebar. Insert it into the groove on one end of the top bar.
Ensure a tight, flush fit. Repeat this process for the second sidebar on the other end of the top bar.
Step 3: Attach the Bottom Bar
Flip the partially assembled frame upside down. Apply glue into the grooves at the bottom of each sidebar.
Carefully insert the bottom bar, ensuring it fits snugly between the two sidebars.
Step 4: Square and Fasten the Frame
This is the most critical step. Use a framing square or a flat surface to ensure the frame is perfectly 90 degrees at all corners.
Once square, use a pneumatic stapler, brad nailer, or small hammer and nails to secure every joint. Two fasteners per joint is the standard for creating a rigid, long-lasting frame.
Understanding the Trade-offs
Your approach to frames involves balancing cost, time, and long-term performance.
Unassembled vs. Pre-Assembled
Unassembled frames are more cost-effective and allow you to control the quality of the build. However, they require a significant investment of time, especially for large operations.
Pre-assembled frames save a tremendous amount of time, which is especially valuable for new beekeepers. The trade-off is a higher cost and potentially lower quality control than a frame you build yourself.
The Importance of Glue and Fasteners
Simply fitting the joints together is not enough. Frames must withstand the stress of being pried apart during inspections and support the immense weight of honey, which can exceed eight pounds.
Wood glue provides crucial rigidity, preventing the frame from twisting or warping. Nails or staples provide the mechanical strength to ensure joints do not pull apart over time. Skipping either of these steps will result in frame failure.
Making the Right Choice for Your Goal
- If your primary focus is saving time: Purchase pre-assembled frames from a reputable supplier to get your hives set up quickly.
- If your primary focus is cost-effectiveness: Buy unassembled frames in bulk and dedicate time to assembling them correctly with both glue and fasteners.
- If your primary focus is maximum durability: Assemble your own frames, using a quality exterior wood glue and securing every joint with staples or nails to ensure they last for years.
Building your equipment correctly from the start is a foundational investment in the health of your colony and the ease of your beekeeping journey.
Summary Table:
| Assembly Step | Key Action | Purpose |
|---|---|---|
| 1. Connect Top & Sides | Glue sidebars into top bar grooves. | Creates the top structure. |
| 2. Attach Bottom Bar | Flip frame, glue and insert bottom bar. | Completes the rectangle. |
| 3. Square & Fasten | Ensure 90° corners, nail/stapl e all joints. | Guarantees rigidity and durability. |
Build a stronger foundation for your apiary with HONESTBEE.
Properly assembled frames are critical for hive health and efficient management. As a trusted wholesale supplier for commercial apiaries and equipment distributors, HONESTBEE provides the high-quality, durable components you need. We offer a full range of beekeeping supplies, from unassembled frames for cost-effective operations to pre-assembled options to save you time.
Let us help you equip your beekeeping business with reliable, long-lasting equipment. Contact HONESTBEE today to discuss your wholesale needs and ensure your frames are built to last.
Visual Guide
Related Products
- JZBZ Langstroth Queen Rearing Frame for Beekeeping
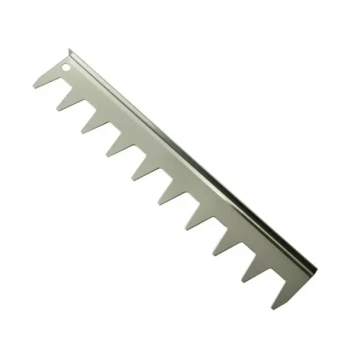
- Stainless Steel 9 Frame Hive Spacer Durable Precise for Commercial Beekeeping
- Wooden Bee Hive Frames for Beekeeping and Wholesale
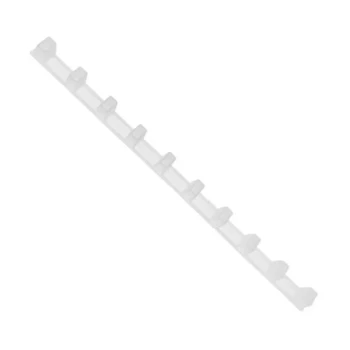
- Durable Plastic Frame Spacer
- Langstroth Honey Bee Box Hive Boxes for Different Depths
People Also Ask
- How do queen rearing frames and grafting needles function together? Master the Doolittle Method for High-Quality Queens
- What role do professional queen rearing frames play? Master Genetic Selection & Colony Replenishment
- How does the positioning of cell bars within a queen rearing frame affect royal jelly production? Optimize Your Yield
- What are queen rearing frames and what is their purpose? Boost Your Apiary's Productivity and Queen Success
- What is the purpose of queen rearing frames? Master Controlled Queen Production for Your Apiary