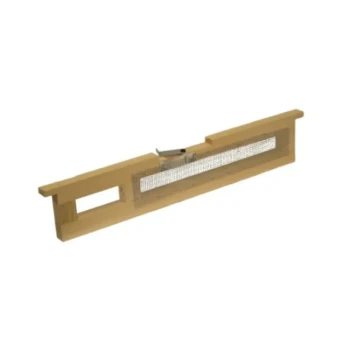
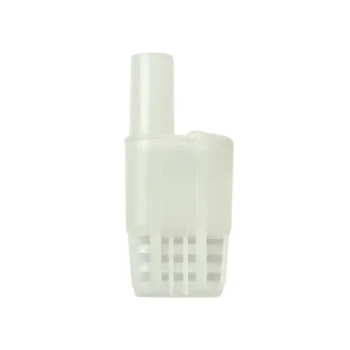
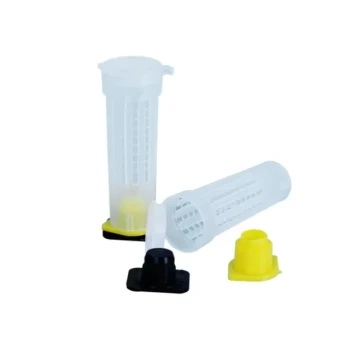
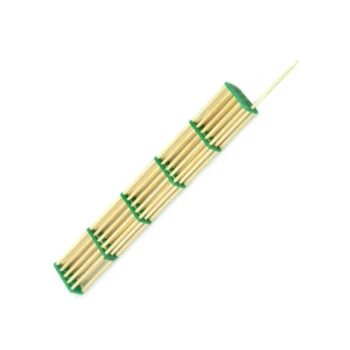
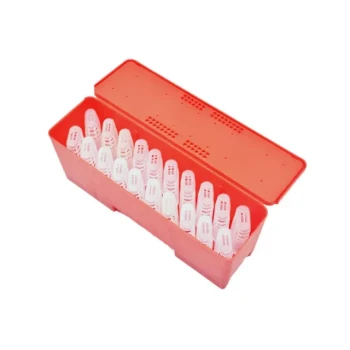
Prepare queen introduction cages by removing only the outer protective cap, keeping the attendant bees inside, and maintaining the cages correctly until insertion. The exposed candy release point allows colony workers to feed the queen and gradually release her after becoming familiar with her pheromones. Before installation, cages should be protected from temperature extremes, insecticides, dehydration, and accidental queen escape.
The goal is controlled, gradual release. Remove the outer cap before insertion, but preserve the cage, candy, and attendant bees so the queen remains protected while the colony acclimatizes to her presence.
Why Cage Preparation Determines Acceptance
The Cage Creates a Transition Period
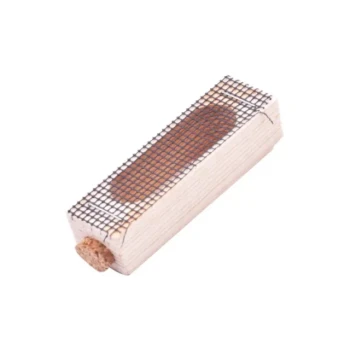
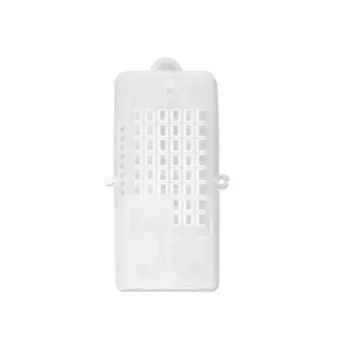
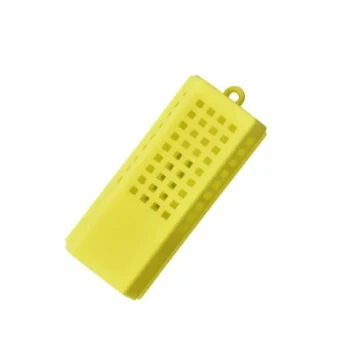
A queen cage separates the new queen from potentially aggressive worker bees during the most vulnerable stage of introduction. Its mesh permits workers to contact and feed her while her pheromones spread through the colony.
This is similar to introducing a new management signal gradually rather than changing colony conditions abruptly. The workers have time to recognize the queen before they can physically reach her.
The Candy Controls Release
The candy-filled exit provides a delayed-release mechanism. Once the outer cap is removed, worker bees can chew through the candy and release the queen over several days.
The candy should remain intact during preparation. Do not puncture or remove the candy unless the introduction protocol specifically requires immediate manual release.
Attendant Bees Should Normally Remain Inside
Cages commonly arrive with several attendant bees that care for the queen during transport and temporary holding. They should remain in the cage during standard introduction.
Removing attendants can create unnecessary handling and escape risk. Any alternative procedure should be based on the cage supplier’s instructions and the specific colony-management protocol.
How to Prepare Cages Before Insertion
Inspect the Shipment Immediately
Confirm that the queen is alive, the cage is undamaged, and the candy exit is present and properly covered by its outer cap. Check that the mesh is not blocked and that the attendants are active enough to support the queen.
Separate damaged or questionable cages from the normal introduction batch and document the issue for the supplier or distributor. Consistent inspection is particularly important when managing commercial volumes.
Remove the Outer Protective Cap
Before placing the cage in the colony, remove the outer cap covering the candy exit. This exposes the candy to worker bees while leaving the candy itself in place.
Make the opening carefully so the queen is not shaken or released prematurely. The cage should go into the hive with a controlled exit path, not an open hole.
Keep the Cage Hydrated During Delays
If insertion is delayed, hold the cages in a temperature-controlled area away from insecticides and other chemical exposure. Apply small drops of water to the cage two to three times daily.
Avoid saturating the cage or directly flooding the candy. The objective is to prevent dehydration while preserving the queen’s access to air and the candy’s function.
Open Cages Only in a Contained Area
If a cage must be opened for inspection or another necessary intervention, work near a closed window or another secure enclosure. This makes it easier to recapture the queen if she escapes.
Use calm, deliberate handling and keep the cage close to the work surface. A controlled setup is faster and safer than trying to recover a queen from an open room.
How to Position the Cage in the Colony
Place It Between Central Frames
Install the cage between center frames in the brood area, where workers can reach the mesh and interact with the queen. Use a rubber band, frame hanger, or another secure method to prevent the cage from falling or being crushed.
The screen should remain accessible to the colony. Avoid positioning the cage where comb, propolis, or adjacent frames will block worker contact.
Face the Candy End Upward
Position the candy end upward. This helps prevent dead attendant bees or debris from falling into and obstructing the release opening.
The upward orientation also makes the release point easier to inspect during later colony checks.
Avoid Excessive Disturbance
Use minimal smoke when installing or inspecting the cage. Rough handling, prolonged exposure, or repeated frame manipulation can increase stress and interfere with the introduction process.
The colony should be queenless or otherwise prepared according to the apiary’s replacement protocol before the cage is inserted. A healthy colony with adequate food, water, ventilation, and no unmanaged disease or pest pressure provides a better acceptance environment.
How to Monitor Release and Acceptance
Allow Time for Acclimatization
Do not expose the queen to the colony immediately after installation. The candy should provide a gradual release period, allowing the workers to become familiar with her pheromones.
A common management practice is to leave the cage undisturbed for approximately five days before assessing worker behavior. Exact timing depends on colony strength, weather, cage design, and supplier instructions.
Read Worker Behavior at the Cage
Calm workers moving across the mesh, touching the queen with their antennae, or offering food are favorable signs. Workers that cling tightly to the mesh, bite at it, or behave aggressively indicate that acceptance may not yet be complete.
If aggressive behavior persists, leave the candy barrier in place longer and avoid forcing release. The purpose of inspection is to assess acceptance, not to accelerate the schedule.
Confirm Release and Colony Function
After the expected release period, verify that the queen has left the cage and that the colony is behaving normally. A later inspection should confirm evidence of egg-laying and a functioning brood pattern.
Avoid unnecessary early inspections. Repeated disturbance can damage comb, injure the queen, or disrupt the colony before the introduction has stabilized.
Understanding the Trade-offs
Do Not Confuse Introduction With Queen Banking
For queen banking, the objective may be to keep queens confined so resident bees cannot release them. In that situation, a piece of heavy-duty tape may be used over the candy tube or cork according to the banking procedure.
That approach is different from ordinary colony introduction, where the outer protective cap is removed to permit gradual release. Applying tape during a normal introduction can prevent the queen from being released.
Delayed Release Improves Control but Extends Handling
Keeping the queen protected during acclimatization generally reduces the risk of immediate rejection. However, it requires accurate timing, adequate hydration, and disciplined follow-up.
Leaving the cage in place too long without inspection can delay queen establishment. Removing the barrier too early can expose the queen before the colony has accepted her.
Supplier Instructions Take Priority for Specialized Cages
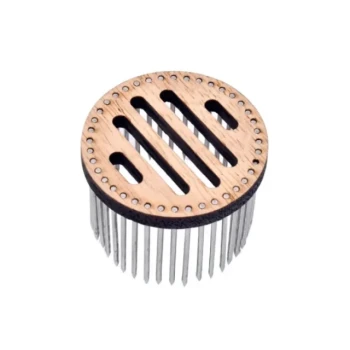
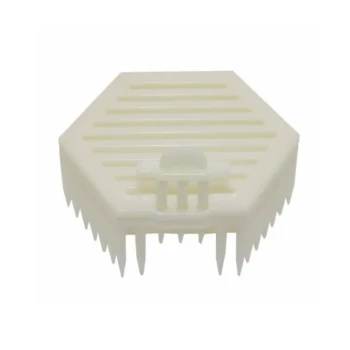
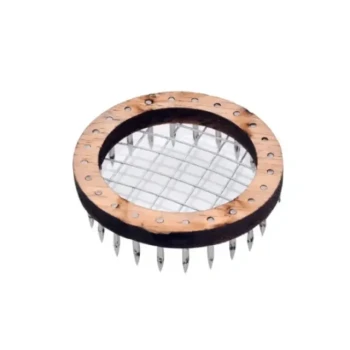
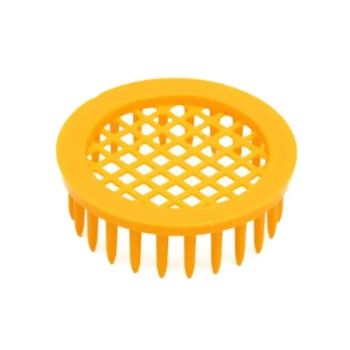
Standard introduction cages, banking cages, and push-in cages do not operate identically. Push-in cages, for example, may be placed directly over comb containing emerging brood, food, and open cells, then removed after the bees have had time to accept the queen.
Apiaries and resellers should maintain clear product-specific instructions rather than applying one handling method to every cage type.
Avoid Unnecessary Attendant Removal
Some protocols recommend removing attendants in a contained bag before introduction, but this conflicts with the standard practice of keeping attendants with the queen. Removing them adds handling risk and should not be treated as a universal preparation step.
For routine cages supplied with attendants, retaining them is the more conservative procedure unless the manufacturer or specialist protocol explicitly directs otherwise.
Making the Right Choice for Your Goal
Use a consistent receiving, preparation, and installation procedure across the apiary.
- If your primary focus is high queen acceptance: Remove the outer cap, keep the attendants inside, position the cage securely between central frames, and allow gradual candy release.
- If your primary focus is short-term cage holding: Maintain temperature control, protect cages from insecticides, and provide small water drops two to three times daily until installation.
- If your primary focus is commercial distribution: Inspect every shipment on arrival, segregate damaged cages, preserve supplier handling instructions, and organize rapid delivery so holding time is minimized.
- If your primary focus is queen banking: Prevent unintended release with the approved blocking method, such as heavy-duty tape over the candy access point, and use banking-specific procedures.
- If your primary focus is operational consistency: Train staff to distinguish protective caps, candy plugs, corks, and banking barriers before any cage is placed in a colony.
High queen survival depends on controlled release, careful handling, suitable colony preparation, and reliable product logistics from receipt through insertion.
Summary Table:
| Step | Action | Key Points |
|---|---|---|
| Inspect | Check queen, cage, candy, and attendants | Ensure alive, undamaged, mesh clear; separate damaged cages |
| Prepare | Remove outer cap, keep candy intact | Expose candy for workers; don't puncture or remove candy |
| Hydrate | If delayed, apply small water drops 2-3x daily | Avoid saturating; place in temp-controlled, insecticide-free area |
| Install | Place between central frames, candy end up | Allow worker access; secure cage to prevent falling |
| Monitor | Observe worker behavior and release | Calm workers = good; aggressive = wait; expect release in ~5 days |
| Confirm | Verify queen release and egg-laying | Check later; avoid early disturbances |
Ensure high queen acceptance with premium queen introduction cages and professional guidance from HONESTBEE. Our comprehensive wholesale supply for commercial apiaries and distributors includes specialized beekeeping tools and expert support. For reliable sourcing, fast delivery, and dedicated service, contact us today – Request a quote!
Related Products
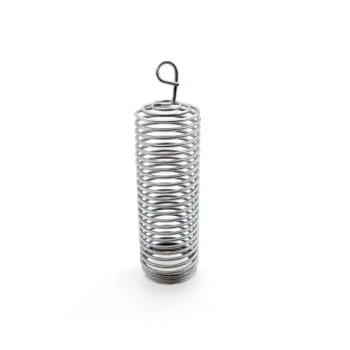
- Durable Galvanized Steel Spring Queen Bee Cage
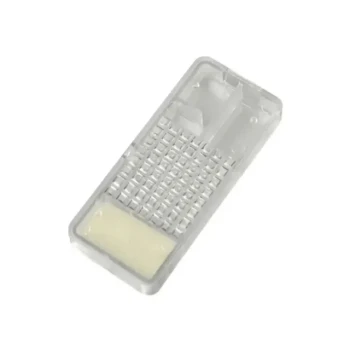
- Professional Queen Bee Introduction and Transport Cage
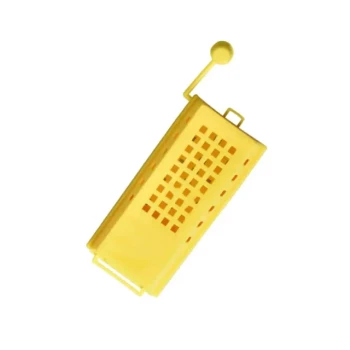
- Professional Queen Cage with Sliding Gate and Feeder Plug
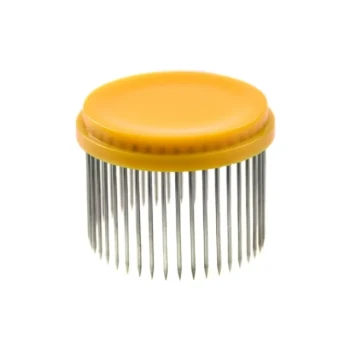
- Professional Round Push-In Queen Cage with Metal Tines
- Premium Wood and Steel Push In Queen Cage
People Also Ask
- Why are specialized queen bee cages used for the banking of mated queen bees? Maximize Commercial Apiary Storage Efficiency
- What is the mechanism of action for using temporary queen bee cages? Master Successful Queen Introduction
- What is the step-by-step process for installing a queen bee's cage onto a frame? Ensure Hive Acceptance Safely
- What is the optimal placement for a queen bee cage? Essential Strategies for Successful Re-queening
- What are the advantages and disadvantages of introducing a queen bee by embedding the cage? Boost Your Queen Acceptance