To properly set up hive frames, you must inspect all components, assemble the top, side, and bottom bars into a square structure, and then securely install the foundation. Once assembled, the frames should be placed in the hive box with even spacing to promote straight comb construction and proper airflow for the colony.
The goal of frame setup is not just assembly; it is about creating a predictable, stable environment for your bees. Meticulous work now prevents significant problems later, making hive inspections easier and supporting the long-term health and productivity of the colony.
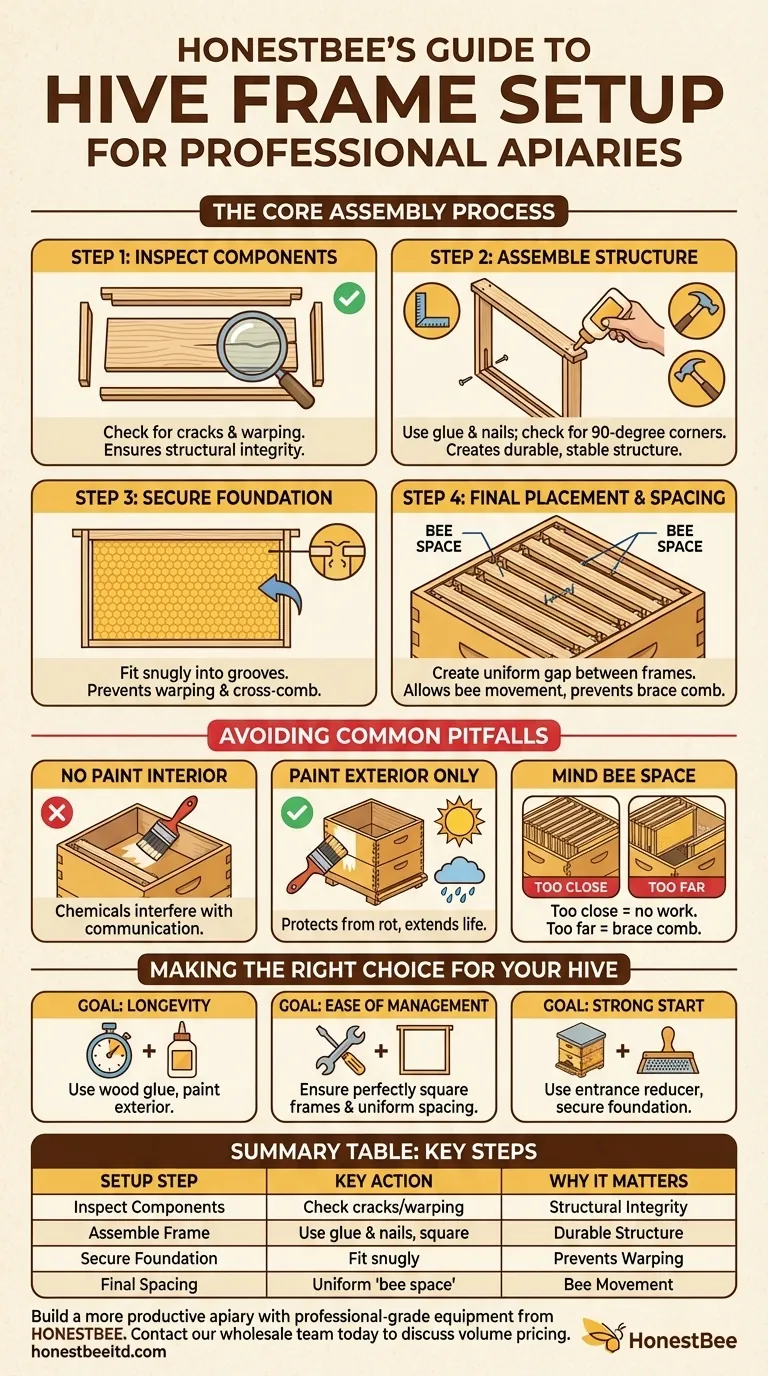
The Core Assembly Process
Proper assembly is the foundation of a manageable beehive. A well-built frame encourages bees to build straight comb, which is essential for easy inspections.
Step 1: Inspect Your Components
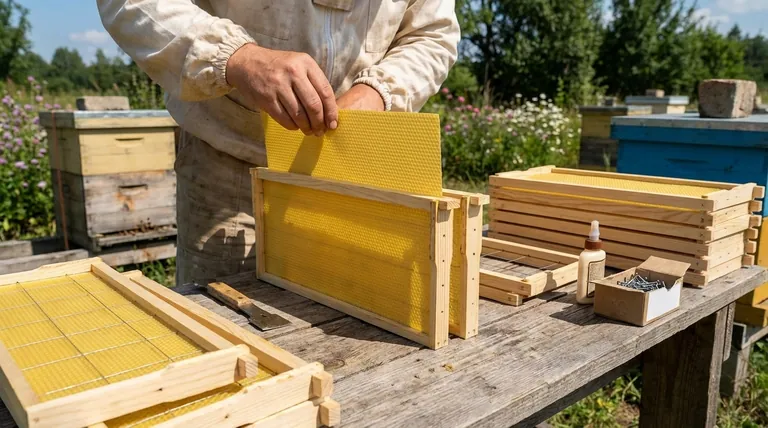
Before you begin, unpack and lay out all your components: the top bar, bottom bar, and two side bars. Carefully check each piece for defects like cracks or significant warping that could compromise the frame's structural integrity.
Step 2: Assemble the Frame Structure
Fit the side bars and bottom bar together with the top bar. Most frames are designed to be self-squaring, but it is always wise to double-check that your corners form 90-degree angles. For maximum durability, use wood glue in the joints in addition to nails or staples.
Step 3: Secure the Foundation
The foundation is the sheet of wax or plastic that your bees will build their comb upon. Slide it into the grooves of the top and bottom bars, ensuring the edges fit snugly within the frame. A loose foundation can warp, leading to cross-comb and a difficult-to-manage hive.
Step 4: Final Placement and Spacing
Insert the completed frames into your hive box (super). Push them together, then gently spread them apart to create even spacing between each frame. This uniform gap, known as bee space, is critical for allowing bees to move and work efficiently.
Understanding Common Pitfalls
Many beekeeping challenges can be traced back to simple mistakes made during the initial hive setup. Avoiding these common errors is crucial.
The "Paint vs. No Paint" Confusion
You should never paint your frames or any interior surface of the hive box. Paint and other chemicals can interfere with the bees' sensitive chemical communication and contaminate the hive environment.
However, you should absolutely paint the exterior of your hive boxes. A good quality primer and exterior paint protect the wood from rain and sun, preventing rot and significantly extending the life of your equipment. Pay special attention to the joints and handles where moisture collects.
Forgetting "Bee Space"
The spacing between frames is not arbitrary. If frames are too close, bees cannot work between them. If they are too far apart, bees will build unwanted "brace comb" in the gaps, effectively gluing your frames together with wax and making inspections nearly impossible without destroying comb.
Overlooking the Entrance Reducer
While not part of the frame itself, using an entrance reducer is a critical setup step for a new colony. A smaller entrance is easier for a young, small colony to defend against robber bees and pests, giving them a secure start as they build their population.
Making the Right Choice for Your Hive
Your approach to setup should align with your long-term beekeeping goals. Meticulous preparation is the single best investment you can make in your hive's future.
- If your primary focus is hive longevity: Use wood glue in all frame joints before nailing them, and apply a quality primer and paint to all exterior hive body surfaces.
- If your primary focus is ease of management: Ensure every frame is perfectly square and that spacing between frames is uniform to prevent propolis buildup and brace comb.
- If your primary focus is a strong start for a new colony: Use an entrance reducer to create a defensible space and ensure the foundation is securely seated in each frame to give bees a solid building surface.
Properly setting up your equipment from day one is the foundation of successful and enjoyable beekeeping.
Summary Table:
| Setup Step | Key Action | Why It Matters |
|---|---|---|
| Inspect Components | Check for cracks/warping | Ensures structural integrity |
| Assemble Frame | Use glue and nails; check for square corners | Creates a durable, stable structure |
| Secure Foundation | Fit snugly into top/bottom bar grooves | Prevents warping and cross-comb |
| Final Spacing | Create uniform 'bee space' between frames | Allows bee movement, prevents brace comb |
Build a more productive and manageable apiary with professional-grade equipment from HONESTBEE.
Proper frame setup is the first step to a successful season. For commercial apiaries and distributors, consistent, high-quality equipment is non-negotiable. HONESTBEE supplies durable, precision-made hive frames and beekeeping supplies through wholesale-focused operations, helping you build a stronger foundation for your business.
Contact our wholesale team today to discuss your equipment needs and volume pricing.
Visual Guide
Related Products
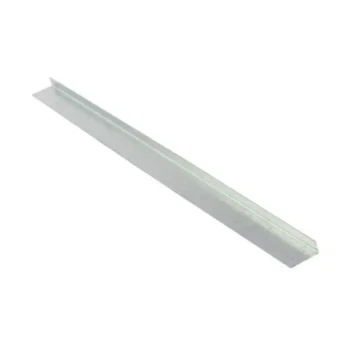
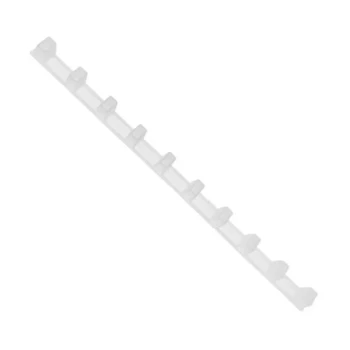
- Wooden Bee Hive Frames for Beekeeping and Wholesale
- Plastic Bee Frame Beekeeping Hive Frames for Wholesale
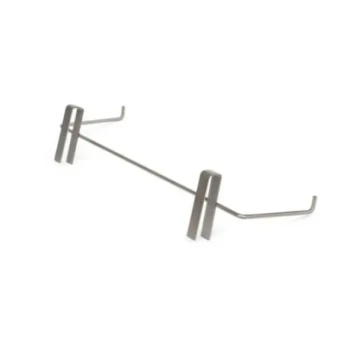
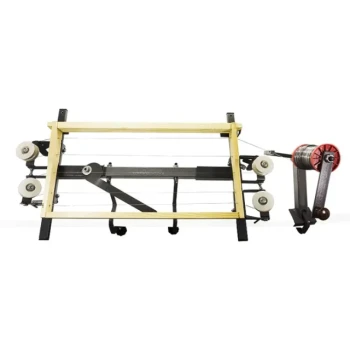
- Professional Galvanized Steel Frame Rest for Beehives
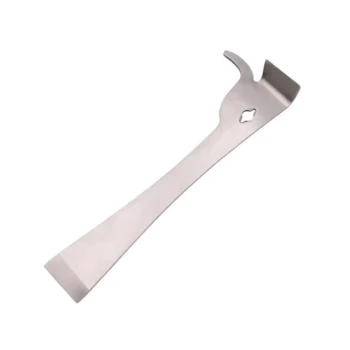
- Heavy-Duty Stainless Steel Clip-On Frame Perch
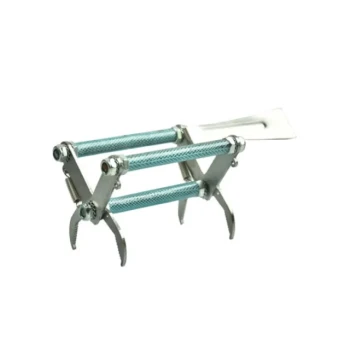
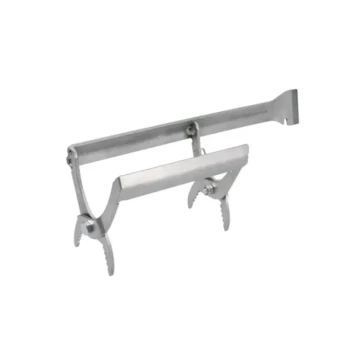
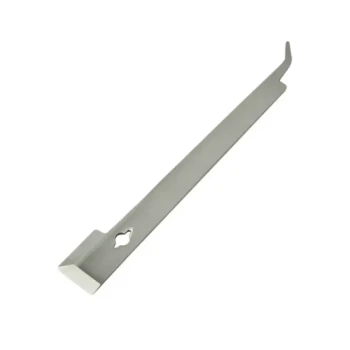
- Precision Stainless Steel Frame Cleaner for Hive Grooves and Corners
People Also Ask
- How do wooden and plastic hive frames compare in terms of durability? Wood vs. Plastic Longevity & Repairability
- How should beehive frames be maintained to prolong their lifespan? 5 Pro Tips for Durable Beekeeping Equipment
- What are frames and combs used for in beekeeping? The Foundation of Modern Hive Management
- How does balancing the number of frames impact hive productivity? Optimize Your Apiary's Biological Output
- What are the main considerations when choosing between wooden and plastic bee hive frames? Optimize Your Apiary's Efficiency