At its most basic level, installing an entrance reducer involves placing it in the hive's bottom entrance, and maintenance requires keeping it clear of debris. However, simply performing these actions misses the strategic purpose of this critical tool. Using an entrance reducer effectively is about understanding your colony's needs and adjusting the hive's defensibility and workflow in response to the changing seasons.
The entrance reducer is not a "set it and forget it" component. It is a dynamic management tool used to balance a colony's need for defense against its need for ventilation and foraging access, requiring adjustments throughout the year.
The Strategic Purpose of an Entrance Reducer
An entrance reducer's primary function is to shrink the size of the hive's main entrance. A smaller doorway is far easier for a colony to guard, serving several critical purposes for hive health and security.
Defending Against Robbers
A small entrance creates a defensible chokepoint. Guard bees can more effectively repel robbing honeybees from other hives or predatory wasps that are attempting to steal honey, a common threat during late summer and fall when natural nectar sources become scarce.
Deterring Pests and Predators
During the fall and winter, a reduced entrance is the primary defense against mice seeking a warm, food-filled place to nest. The smallest opening on a standard reducer is typically small enough to block mice while still allowing bees to pass.
Aiding in Climate Control
In colder climates, a smaller opening helps the colony maintain its internal temperature and humidity. It reduces drafts and minimizes the space the bees must patrol, allowing them to focus energy on keeping the winter cluster warm.
When to Use (and Not Use) an Entrance Reducer
The decision to use an entrance reducer—and which size opening to use—is dictated by the season and the strength of the colony.
Essential Use: Fall and Winter
As temperatures drop and nectar becomes scarce, robbing pressure increases dramatically. An entrance reducer set to its smallest opening is essential for virtually all hives throughout the fall and winter to prevent robbing and keep out rodents.
Strategic Use: Spring and New Colonies
For a newly installed package or a small nucleus hive, an entrance reducer is crucial. These small populations have fewer guard bees and are highly vulnerable. Start with a medium or small opening and enlarge it as the colony's population grows and they begin to actively forage.
When to Remove: Peak Summer Nectar Flow
A large, booming colony during a strong summer nectar flow needs a wide-open entrance. A reducer at this time creates a "traffic jam" for foraging bees, hinders ventilation, and can contribute to the hive overheating. In most cases, the reducer should be removed completely during this period.
Understanding the Trade-offs
Using an entrance reducer is an act of balancing competing needs. Mismanaging it can cause more harm than good.
The Core Conflict: Defense vs. Efficiency
The fundamental trade-off is security versus productivity. A small, secure entrance limits the rate at which foragers can come and go. A wide-open entrance maximizes foraging efficiency but leaves the colony vulnerable if it isn't strong enough to defend the entire space.
The Risk of Forgetting: Creating Traffic Jams
A common mistake is leaving a reducer on for too long as a colony expands in the spring. If you see bees fanning and bearding excessively at the entrance on a warm day, or a "traffic jam" of returning foragers, the opening is likely too small and needs to be enlarged or removed.
The Danger of Blockages
A small entrance can become clogged with dead bees, especially in winter. It is critical to check the entrance regularly during cold weather to ensure it remains clear. A blocked entrance can suffocate a colony.
Making the Right Choice for Your Colony
Your decision should always be based on direct observation of your specific hive and the current season.
- If you have a new package, nuc, or weak hive: Start with the smallest or medium opening to give the colony a defensive advantage while it builds its population.
- If you have a strong, established hive in summer: Remove the reducer completely to maximize airflow and foraging efficiency during the peak nectar flow.
- If you are preparing any hive for fall and winter: Install the reducer with the smallest opening to protect against robbing and mice.
Effective beekeeping is about observing your colony's behavior and adapting your strategy to support its needs.
Summary Table:
| Key Decision Factor | Recommended Action |
|---|---|
| New Package, Nuc, or Weak Hive | Install reducer with smallest/medium opening. |
| Strong Hive in Peak Summer | Remove reducer completely. |
| Fall & Winter Preparation | Install reducer with smallest opening. |
Equip your apiary for success with HONESTBEE.
Properly managing your hive's entrance is just one part of a successful operation. Whether you're a commercial apiary managing hundreds of hives or a distributor supplying fellow beekeepers, having reliable, high-quality equipment is non-negotiable.
HONESTBEE supplies the durable beekeeping supplies and equipment you need to protect your investment and maximize hive health. From entrance reducers to full hive systems, our wholesale-focused operations are designed to meet the demands of your business.
Let's discuss your equipment needs. Contact our team today to learn more about our product catalog and wholesale pricing.
Visual Guide

Related Products
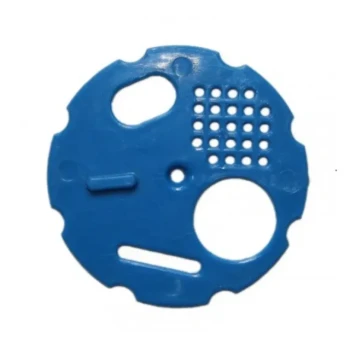
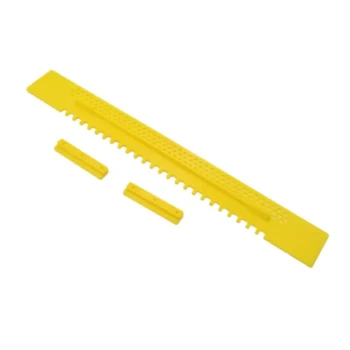
- Steel Round Disc Entrance Reducer for Flexzion Bee Hive Nuc Box Gate
- Beehive Entrance Reducer Guardian Metal Hive Entrance for Bees
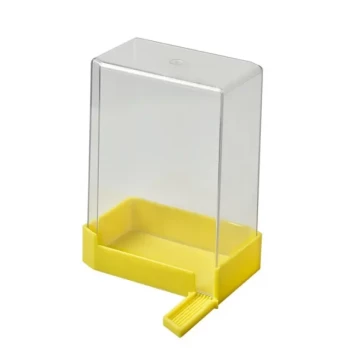
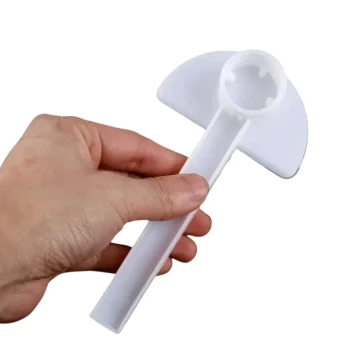
- Professional Hive Front Entrance Bee Feeder
- HONESTBEE Entrance Bee Feeder Efficient Hive Front Liquid Feeding Solution for Beekeeping
- HONESTBEE Entrance Bee Feeder Professional Hive Nutrition Solution for Beekeeping
People Also Ask
- Why is it critical to maintain a smaller entrance for a newly established bee hive? Boost Colony Growth and Security
- Why is a smaller entrance size beneficial for a beehive? Boost Hive Defense & Productivity
- How do beehive entrance reducers defend against Small Hive Beetle? Strengthen Your Colony's Defensive Choke Point
- What is the function of an entrance reducer for a beehive? Essential Guide for Profitable Beekeeping Distribution
- What methods can be used to reduce a beehive entrance for the winter? Ensure Colony Survival & Thermal Efficiency