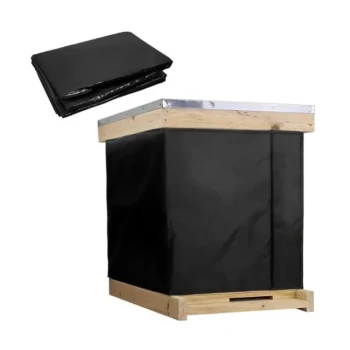
Specialized starter colonies function as high-intensity nutritional engines for developing queen bees. These are high-density, often queenless units populated heavily with nurse bees, specifically designed to flood newly grafted larvae with royal jelly during the first 24 hours of development.
The biological potential of a queen bee is established immediately after grafting. Starter colonies are engineered to trigger an extreme feeding response, ensuring larvae receive the maximum nutrition necessary for high-quality development.
The Mechanics of the Starter Colony
The Necessity of High Density
Starter colonies rely on extreme population density.
By packing a high number of bees into a confined space, beekeepers create an environment where resources are immediately available.
This density is not random; it is heavily skewed toward strong nurse bees, the demographic responsible for feeding larvae.
The Critical First 24 Hours
The primary function of the starter colony is restricted to a very specific window: the first 24 hours post-grafting.
This period is fundamental to the development of high-quality queens.
The colony ensures that from the moment a larva is introduced, it is accepted and fed without delay.
Nutritional Saturation
The ultimate goal of this configuration is nutrition.
The high ratio of nurse bees to larvae ensures an abundant supply of royal jelly.
This "flooding" of nutrition allows the larvae to float in food, signaling the biological switch to develop into a reproductive queen rather than a worker.
Triggering the Rearing Impulse
The Role of Queenlessness
Most starter colonies are deliberately kept queenless.
The absence of a laying queen triggers a powerful biological emergency response to rear a replacement.
This impulse drives the nurse bees to direct all their energy toward the introduced artificial queen cells.
Interaction with Specialized Architecture
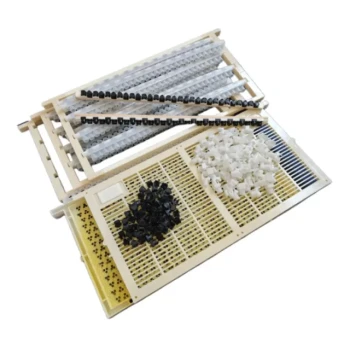
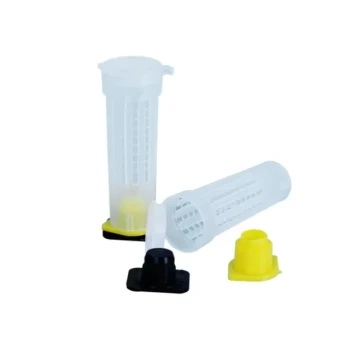
The colony works in tandem with Specialized Queen Cups.
These cups are larger than standard cells and feature a downward-facing orientation.
This geometry mimics the natural environment for queen rearing, providing the colony with the physical access needed to facilitate extensive feeding.
Understanding the Trade-offs
Resource Intensity
Creating a proper starter colony is resource-expensive.
It requires shaking bees from multiple other colonies to achieve the necessary density of nurse bees.
This can temporarily weaken the donor hives if not managed carefully.
Time Sensitivity
Starter colonies are generally temporary configurations.
Because they are often queenless and highly congested, they cannot maintain this state indefinitely without causing stress or laying worker issues.
They are specialized tools for starting cells, not necessarily for finishing the entire pupation cycle.
Making the Right Choice for Your Goal
To utilize starter colonies effectively, you must align their configuration with your specific rearing objectives.
- If your primary focus is Maximum Acceptance: Ensure the colony is strictly queenless and extremely crowded to trigger an immediate emergency feeding response.
- If your primary focus is Queen Longevity: prioritize the inclusion of young nurse bees to maximize the volume of royal jelly provided during the first day.
The specialized starter colony is the single most effective tool for ensuring your queens begin their life with a nutritional advantage.
Summary Table:
| Feature | Function in Starter Colony | Benefit to Queen Rearing |
|---|---|---|
| Population Density | High concentration of young nurse bees | Ensures immediate and abundant larval feeding |
| Queenless State | Triggers an emergency rearing impulse | Maximizes acceptance rate of grafted larvae |
| 24-Hour Window | Provides critical initial nutrition | Sets the biological potential for queen longevity |
| Royal Jelly Supply | Floods cells with high-quality secretions | Signals larvae to develop into reproductive queens |
Elevate Your Apiary's Productivity with HONESTBEE
At HONESTBEE, we understand that high-quality queen rearing is the backbone of a successful commercial operation. Whether you are managing large-scale commercial apiaries or supplying the industry as a distributor, our comprehensive range of beekeeping tools is designed to optimize your results. From specialized queen cups and grafting tools to advanced honey-filling and hive-making machinery, we provide the hardware and consumables you need to scale efficiently.
Why partner with HONESTBEE?
- Wholesale Expertise: Tailored solutions for large-volume distributors and commercial bee farms.
- Full Spectrum Supply: Everything from specialized queen rearing equipment to honey-themed cultural merchandise.
- Industrial Efficiency: High-performance machinery to streamline your production cycle.
Contact us today to explore our wholesale offerings and enhance your beekeeping operations!
References
- Mahir Murat Cengiz, Yaşar Erdoğan. Doğu Anadolu-Türkiye Koşullarında Farklı Bal Arısı (Apis mellifera L.) Genotiplerinin Kışlama Yeteneği ve Koloni Performanslarının Karşılaştırılması. DOI: 10.9775/kvfd.2017.17667
This article is also based on technical information from HonestBee Knowledge Base .
Related Products
- No Grafting Queen Rearing Kit: System for Royal Jelly Production and Queen Rearing
- Nicot Queen Rearing Kit for Beekeeping and Grafting in Nicot System
- Premium Nicot Style Queen Rearing Kit with Hair Roller Bee Cages
- Professional Multi-Functional Queen Bee Cage
- Hexagonal Direct Comb Introduction Queen Bee Cage
People Also Ask
- Are queen rearing systems generally suitable for all honeybee species? Master Efficient Breeding Methods
- What factors determine the necessary hive configuration for an apiary? Optimize Hive Setup for Better Colony Survival
- How do specialized queen rearing kits and queen management tools improve the success rate of bee colony expansion?
- How does a double-screened board function within a queenright banking system? Master Pheromone Management for Your Hive
- How does the genetic identification of honeybee populations influence the selection of beekeeping tools? Precision Gear Guide
