To light and maintain a bee smoker correctly, you must establish a hot fire at the base and then suppress it with fuel to create a smolder. Begin by igniting easily combustible material like crumpled paper or cardboard at the bottom of the chamber, using the bellows to encourage a flame. Gradually layer your primary fuel (such as wood shavings or pine cones) on top, tamping it down to restrict airflow and convert the open flame into cool, thick white smoke.
The Core Objective: Your goal is to produce "cool" smoke, not heat. A properly lit smoker produces a dense, opaque white cloud that is cool to the touch; thin, blue smoke or visible flames indicate the fire is too hot and may injure the bees.
Establishing a Sustainable Burn
Preparing the Chamber
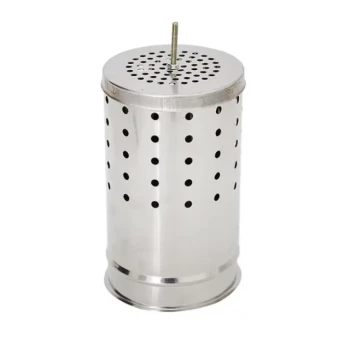
Before lighting, ensure the grate at the bottom of the smoker is clear of old ash and debris. Air must be able to flow from the bellows, under the grate, and up through the fuel. If this airway is blocked, the fire will suffocate regardless of how much you pump the bellows.
Building the Base Fire
Start with a small amount of starter material in the bottom of the canister. Crumpled newspaper, cardboard, or cotton works best here. Light this material and gently pump the bellows to create a bright, active flame.
The "Add and Pump" Cycle
Do not fill the canister immediately. Add a handful of your chosen fuel (wood shavings, pine needles, or pellets) on top of the starter flame. Pump the bellows vigorously until this new layer catches fire and you see white smoke.
Compressing the Fuel
Once the fuel is burning well, use your hive tool to push the material down firmly (tamp it). This compression is critical: it increases fuel density and restricts oxygen, which forces the fire to smolder rather than burn openly. Continue adding fuel, pumping, and tamping until the canister is full.
Maintenance and Storage
Cleaning the Firebox Lip
Over time, burning fuel creates sticky residue (creosote) around the rim of the canister and the inside of the lid. You must scrape this residue off periodically using a hive tool. If the lid cannot seal tightly, air will leak in, causing the fuel to flare up into flames rather than smolder.
Clearing the Grate and Bellows Tube
Periodically empty the smoker of all cold ash and carbon buildup. Pay special attention to the air tube connecting the bellows to the firebox; if this becomes clogged with soot, the smoker will lose pressure.
Proper Storage
Store your smoker and fuel in a dry location. Moisture is the primary reason smokers go out during inspections. If you use pellets or wood shavings, keep them in a sealed container to prevent them from absorbing humidity from the air.
Common Pitfalls to Avoid
The Risk of "Hot Smoke"
Never point a freshly lit smoker directly at the hive without testing it first. Pump a puff of smoke against your hand; if it feels hot, the fire is too close to the top or the smoke is too thin. You need to add more fuel and tamp it down to cool the smoke before using it on bees.
Over-packing vs. Under-packing
There is a delicate balance in how tightly you pack the fuel.
- Packed too loose: The oxygen flows too freely, causing the fuel to burn up quickly and turning the smoker into a flamethrower.
- Packed too tight: The air cannot circulate from the bellows, and the fire will extinguish itself within minutes.
Making the Right Choice for Your Goal
The way you pack your smoker should depend on the duration of your work.
- If your primary focus is a quick check (1-2 hives): Use looser materials like pine needles or wood shavings, which light quickly but burn faster.
- If your primary focus is a long inspection (entire apiary): Establish a hot base and use dense fuel like hardwood pellets, packed firmly, to ensure a burn that lasts for hours without relighting.
A well-maintained smoker is not just a tool for convenience; it is a safety device that protects both the colony and the keeper.
Summary Table:
| Step | Action | Key Objective |
|---|---|---|
| 1. Preparation | Clear grate and air tube of ash | Ensure unobstructed airflow |
| 2. Lighting | Ignite starter material (paper/cardboard) | Establish a strong base fire |
| 3. Loading | Layer primary fuel & pump bellows | Transition from flame to smoke |
| 4. Compressing | Tamp fuel down with a hive tool | Restrict oxygen for a long smolder |
| 5. Testing | Puff smoke against your hand | Ensure smoke is cool and white |
Elevate Your Beekeeping Success with HONESTBEE
At HONESTBEE, we understand that professional beekeeping requires precision tools and reliable equipment. Whether you are managing a large-scale commercial apiary or supplying the next generation of keepers as a distributor, we provide the comprehensive wholesale solutions you need.
Our value to you includes:
- Full Spectrum Hardware: From high-quality smokers and beekeeping tools to advanced hive-making and honey-filling machinery.
- Essential Consumables: A wide array of industry-standard supplies to keep your operations running smoothly.
- Cultural Merchandise: Unique honey-themed merchandise to expand your retail portfolio.
Partner with a supplier that grows with you. Contact HONESTBEE today to discuss our wholesale offerings and how we can support your business goals.
Related Products
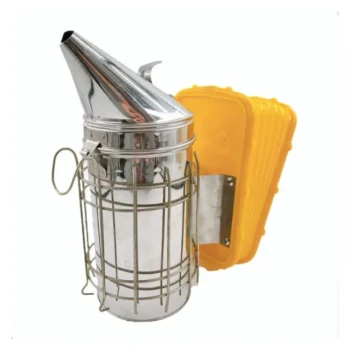
- Professional Bee Smoker with Elongated Spout and Durable Bellows for Beekeeping
- Stainless Steel Honey Bee Smoker Hive and Honeycomb Smoker for Beekeeping
- European Stainless Steel Bee Smoker for Honey Bee Hive
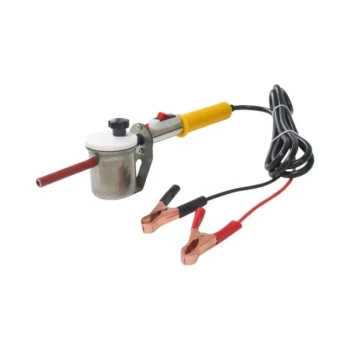
- Premium Traditional Copper Bee Smoker with Bellows
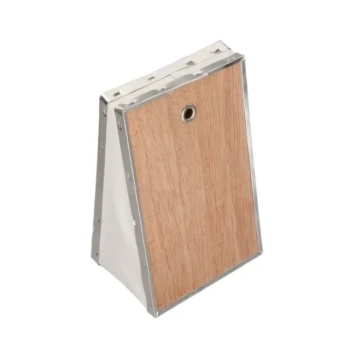
- Heavy-Duty Bee Smoker with Durable Plastic Bellows for Beekeeping
People Also Ask
- Why is the use of professional bee smokers and specialized fuel essential? Protect Honey Purity & Colony Safety
- How do professional bee smokers facilitate bee management? Enhancing Forest Beekeeping Safety and Efficiency
- Why is a professional bee smoker essential for hive maintenance? Master Colony Control & Safety
- What roles do bee smokers and precision tools play in honey harvesting? Master Safety and Quality Control
- What is the mechanism by which a professional bee smoker assists in colony management? Boost Hive Safety and Efficiency