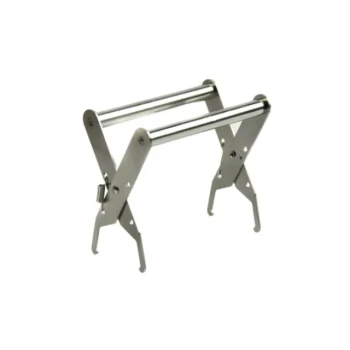
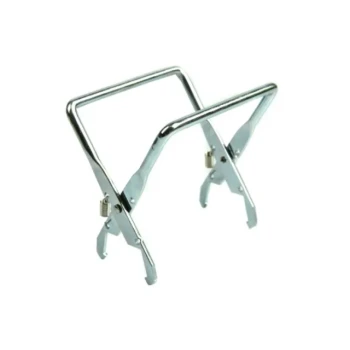
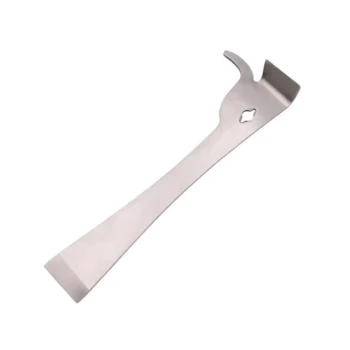
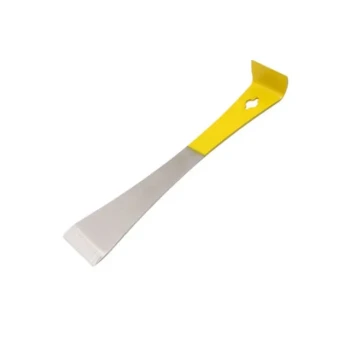
To correctly install a beetle trap, you must place the device between two frames and push it down firmly until it is fully seated. The installation is only correct when the trap is completely flush with the top of the frames, leaving no vertical gap between the trap and the frame bars.
Core Takeaway The effectiveness of the installation relies entirely on depth; the trap must be pushed down until it is level with the frame tops. Leaving any space between the trap and the frames is the most common error to avoid.
Achieving the Correct Fit
Positioning the Trap
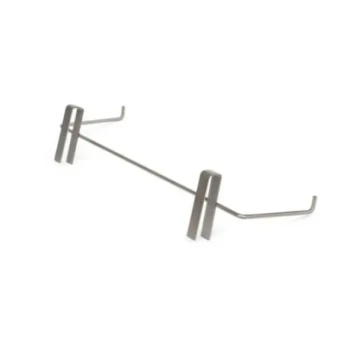
Place the beetle trap in the space between two hive frames.
Ensure the trap is centered and aligned before applying pressure.
The Importance of Being Flush
You must push the trap down until it is completely flush with the top of the frames.
The goal is to ensure the top profile of the trap aligns perfectly with the horizontal plane of the frame tops.
Eliminating Gaps
According to technical guidelines, no space should be left between the bottom of the trap and the top of the frames.
A correct install results in tight contact, ensuring the trap integrates seamlessly into the hive's structure.
Common Pitfalls to Avoid
Insufficient Depth
The most critical error is failing to push the trap down far enough.
If the trap sits higher than the frames, it creates an uneven surface that violates the "flush" requirement.
Overlooking the Gap
Inspect the contact point between the trap and the frame bars carefully.
Even a small space suggests the trap has not been seated correctly and requires adjustment.
Making the Right Choice for Your Goal
Ensuring Proper Installation
- If your primary focus is stability: Ensure the trap is pushed down until it is flush, creating a solid, gap-free fit against the frames.
- If your primary focus is hive organization: Verify there is no space left between the trap and the frame tops to maintain a uniform surface.
Proper alignment today prevents maintenance issues tomorrow.
Summary Table:
| Installation Step | Action Required | Key Requirement |
|---|---|---|
| Positioning | Center the trap between two frames | Alignment and balance |
| Seating | Push down firmly until level | Completely flush with frame tops |
| Verification | Inspect the contact points | Zero vertical gap allowed |
| Adjustment | Apply pressure if sitting high | Maintain a uniform horizontal plane |
Maximize Your Apiary Productivity with HONESTBEE
Proper pest management is the foundation of a thriving commercial apiary. HONESTBEE specializes in supporting commercial beekeepers and distributors with a comprehensive wholesale range of high-performance beekeeping tools and industrial machinery.
Whether you need specialized hive-making equipment, honey-filling machines, or a steady supply of essential industry consumables, we provide the scale and quality required to grow your business.
Ready to upgrade your operation? Contact HONESTBEE today for wholesale inquiries and expert equipment solutions
Related Products
- Black Plastic Beetle Barn Hive Beetle Trap for Beehives
- Reusable Aluminium Beetle Trap for Small Hive Beetles Silver Bullet
- Removable Washable Hive Beetle Trap Attractants for Small Hive Beetles
- Reusable Clear Small Hive Beetle Traps for Beehives Beetle Trapping Tools
- Plastic Beetle Blaster Trap Beekeeping Tools and Supplies
People Also Ask
- What mechanical methods can be used to manage small hive beetles? Effective Physical Solutions for Your Beehive
- What are the main types of hive beetle traps available? A Beekeeper's Guide to Effective Control
- How should powdered substances be used in beetle traps for hive beetle control? Expert Guide for Maximum Colony Protection
- What are the types of hive beetle traps available? Master Your Beetle Control Strategy
- How should beetle traps be placed in the hive? Achieve Perfect Flush Placement for Maximum Control