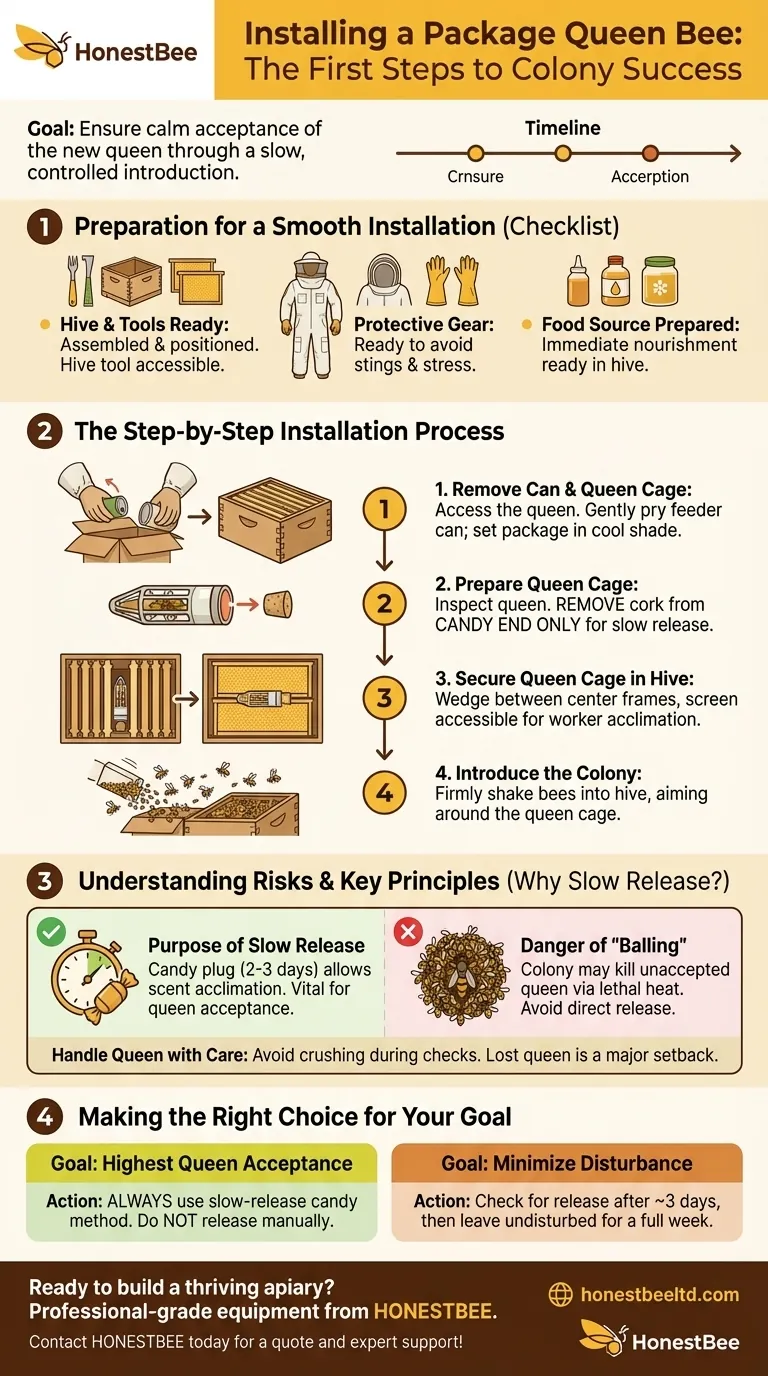
The very first step when installing a package of bees is to carefully remove the can of sugar syrup and the small queen cage from inside the package. This gives you access to the queen so you can place her securely in the hive before introducing the rest of the bees.
The goal of a package installation isn't just to get the bees in the box; it's to ensure the colony calmly accepts their new queen. The entire process is designed around a slow, controlled introduction that minimizes stress and promotes colony cohesion.
Preparing for a Smooth Installation
Before you even touch the bee package, proper preparation is essential for a low-stress experience for both you and the bees. A calm installation sets the foundation for a healthy, productive hive.
Have Your Hive and Tools Ready
Ensure your hive body, bottom board, frames, and cover are fully assembled and positioned in their final location. Keep your hive tool and any other necessary equipment within easy reach.
Prepare Your Protective Gear
Have your bee suit, veil, and gloves ready to go. Even if the bees are docile, it's crucial to be prepared to avoid stings, which can make the process unnecessarily stressful.
Ready the Food Source
The new colony will need immediate nourishment. Have sugar syrup (bee feed) and a pollen substitute prepared and ready to place in the hive as soon as the bees are installed.
The Step-by-Step Installation Process
Installing a bee package is a methodical process. Each step is designed to introduce the queen and her new colony to their home safely.
Step 1: Remove the Syrup Can and Queen Cage
This is your initial action. Gently pry up the feeder can. The queen cage is typically attached to it with a plastic strip or staple. Set the bee package aside in a cool, shaded spot while you handle the queen.
Step 2: Prepare the Queen for Introduction
Inspect the queen cage to ensure the queen is alive and moving. You will see a small cork or cap on one end of the cage and a white sugar candy plug on the other. Remove the cork from the candy end only. This candy acts as a time-release mechanism.
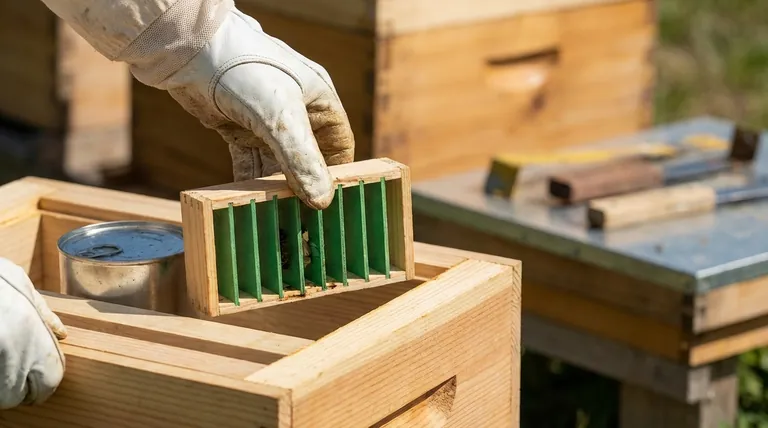
Step 3: Secure the Queen Cage in the Hive
Wedge the queen cage, candy-side up, between two frames in the center of the hive box. The screen on the cage must be accessible to the bees. This placement allows the worker bees to feed and tend to her through the screen while they acclimate to her unique pheromones.
Step 4: Introduce the Colony
With the queen safely in place, you can now install the rest of the bees. Give the package a firm shake to knock the bees to the bottom. Remove the cover and gently pour or shake the bees into the hive, aiming for the space around the queen cage.
Understanding the Risks and Key Principles
The standard installation method is designed to mitigate specific risks, primarily the colony rejecting and killing the new queen.
The Purpose of the Slow Release
The sugar candy plug is the most critical element for queen acceptance. It takes the bees two to three days to chew through it, giving them time to get used to her scent and accept her as their own before she is released. A "direct release" by the beekeeper is risky and often results in the queen being killed.
The Danger of "Balling" the Queen
If a colony does not accept a queen, they will surround her in a tight ball, vibrating their wings to generate lethal heat. This behavior, known as "balling," is why a slow introduction is the standard and safest method.
Handle the Queen with Care
Throughout the process, handle the queen cage gently. When you eventually check to confirm her release, be careful not to crush or "roll" her between frames as you manipulate them. A lost queen is a major setback for a new colony.
Making the Right Choice for Your Goal
Your actions during installation directly impact the long-term success of your hive. The goal is always to establish a stable, queen-right colony.
- If your primary focus is ensuring the highest chance of queen acceptance: Always use the slow-release method with the candy plug and do not release the queen manually.
- If your primary focus is minimizing disturbance after installation: Check on the hive after about three days to confirm the queen has been released, then close it up and leave it alone for a full week to allow her to begin laying eggs.
Following this deliberate process gives your new colony the best possible start for a healthy and productive future.
Summary Table:
| Step | Key Action | Purpose |
|---|---|---|
| 1 | Remove syrup can & queen cage | Access the queen for a safe, controlled introduction. |
| 2 | Prepare the queen cage | Remove cork from candy end for a slow, natural release. |
| 3 | Secure queen cage in hive | Place between center frames for worker bees to acclimate. |
| 4 | Introduce the colony | Gently shake bees into the hive around the queen cage. |
Ready to build a thriving apiary? Ensure every installation is a success with professional-grade equipment from HONESTBEE. We supply commercial apiaries and beekeeping equipment distributors with the durable, reliable supplies needed for smooth hive management. Let's discuss your wholesale needs and how our products can support your operation's growth.
Contact HONESTBEE today for a quote and expert support!
Visual Guide
Related Products
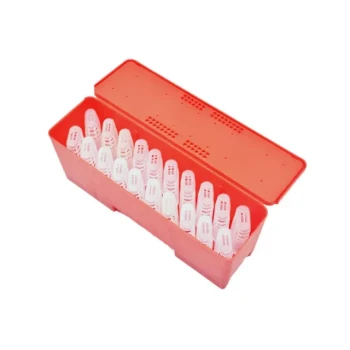
- JZBZ Style Professional Battery Box with 20 Shipping Cages
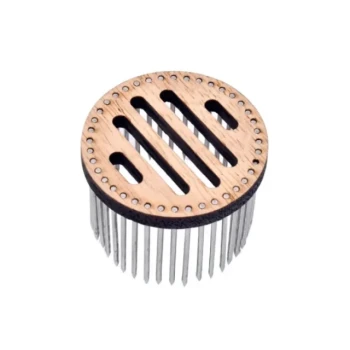
- Jenter Queen Rearing Kit Complete Set for Bee Breeding
- Durable Galvanized Steel Spring Queen Bee Cage
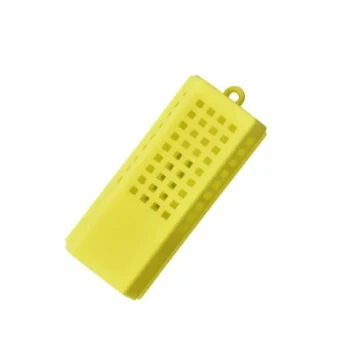
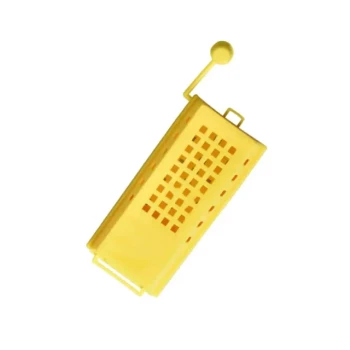
- Professional Queen Bee Introduction and Transport Cage
- Queen Bee Catcher Plastic Bee Marker Bottle with Piston Marking Tube
People Also Ask
- How long should a queen bee stay in the cage before being released? Ensure a Successful Introduction
- How do different materials in queen bee shipping boxes affect temperature? Optimize Bee Health During Transit
- Why are specialized queen bee cages used for the banking of mated queen bees? Maximize Commercial Apiary Storage Efficiency
- What is the technical purpose of the dedicated feeding compartment and access channel in a queen bee cage? Pro Guide
- What protective role do independent attendant bee partition compartments play? Ensure Safe Queen Bee Transit