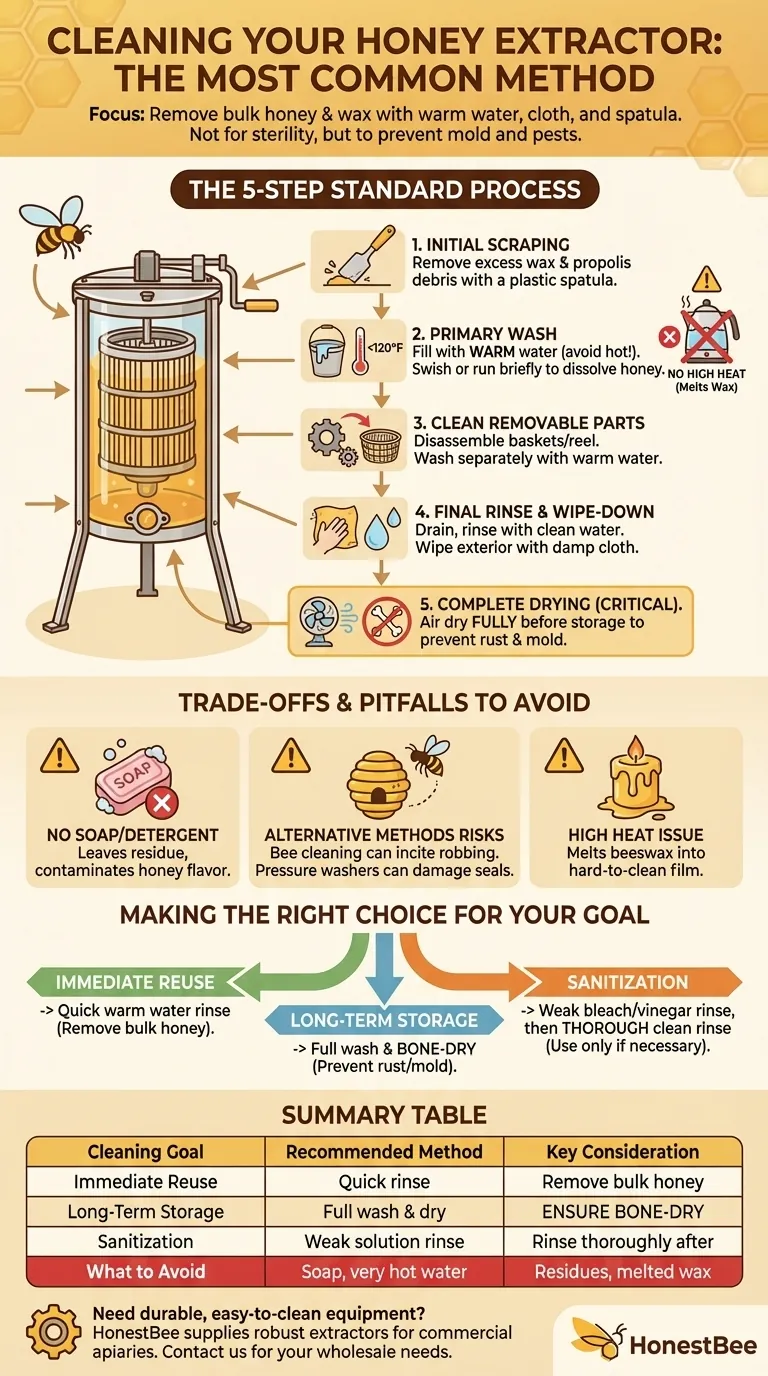
By far the most common method for cleaning a honey extractor is using clean water, a soft cloth or rag, and a simple spatula. This approach focuses on dissolving and removing the bulk of the honey and wax residue without introducing contaminants or damaging the equipment.
The goal of cleaning an extractor is not to achieve a sterile, factory-new condition. It's to remove enough residual honey and wax to prevent mold, pests, and contamination, ensuring the machine is ready and safe for its next use or for long-term storage.
The Standard Cleaning Process
A proper cleaning ensures your extractor functions correctly and that your next honey harvest remains pure. Following these steps systematically will yield the best results.
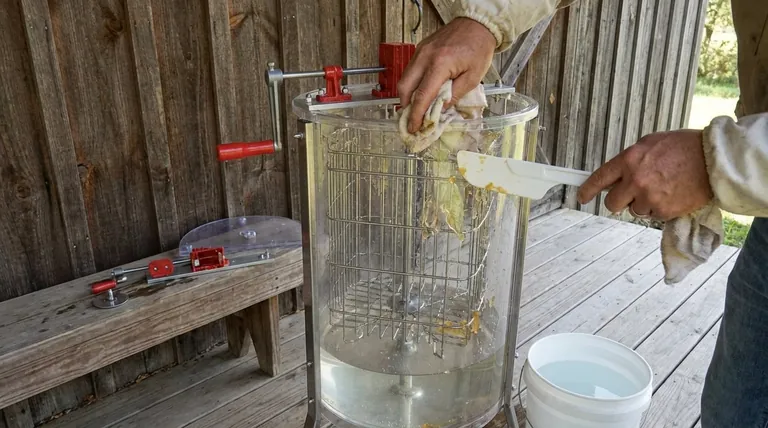
Step 1: Initial Scraping
Before introducing any water, remove as much physical debris as possible. Use a plastic spatula or a dedicated hive tool to scrape excess wax and propolis from the interior walls and the basket frames.
Step 2: The Primary Wash
Fill the bottom of the extractor with a few gallons of warm water. Avoid hot water (above 120°F), as it can melt beeswax, causing it to smear and become much more difficult to remove.
Swish the water around to dissolve the remaining honey. For hard-to-reach areas, you can close the honey gate and briefly run the extractor at a low speed, allowing the water to clean the baskets and walls with centrifugal force.
Step 3: Cleaning Removable Parts
If your model allows, disassemble the extractor by removing the baskets or reel. Wash these parts separately with warm water to ensure all honey residue is gone.
Step 4: Final Rinse and Exterior Wipe-Down
Drain the sticky water and perform a final rinse with clean water to remove any loosened debris. Use a separate damp cloth to wipe down the exterior, removing any dust or honey that may have spilled during operation.
Step 5: Complete Drying
This is the most critical step for storage. Allow the extractor and all its parts to air dry completely. Storing a damp extractor will lead to rust and mold, which can ruin the machine and contaminate future honey harvests.
Understanding the Trade-offs and Pitfalls
Knowing what to avoid is just as important as knowing what to do. Certain common cleaning agents and methods can do more harm than good.
The Soap Dilemma
Using soap or detergent is generally not recommended. Any soap residue left behind can easily contaminate your next batch of honey with unwanted flavors and chemicals.
If you feel soap is absolutely necessary, use a very mild, unscented version and rinse the machine obsessively to ensure no trace remains.
The Problem with High Heat
As mentioned, very hot water is counterproductive. It melts residual beeswax into a thin film that coats the interior surfaces of the extractor, making it significantly harder to clean once it cools and re-hardens.
Alternative Methods
Some beekeepers use other methods, such as letting the bees clean the extractor by placing it outside. This can be effective but must be done carefully to prevent inciting a "robbing frenzy" where bees from other colonies attack your hives. Using a pressure washer is another option, but the high pressure can damage bearings and seals if not used with caution.
Making the Right Choice for Your Goal
Your cleaning approach should match your immediate plans for the extractor.
- If your primary focus is immediate reuse: A simple warm water rinse to remove the bulk of the honey from one harvest is often sufficient before starting another.
- If your primary focus is long-term storage: Follow all the steps meticulously, with an absolute emphasis on ensuring every component is bone-dry before reassembly.
- If your primary focus is sanitization: Consider a final rinse with a very weak bleach or vinegar solution after the main wash, followed by another clean water rinse, before drying.
Ultimately, proper cleaning protects your investment and the quality of your honey.
Summary Table:
| Cleaning Goal | Recommended Method | Key Consideration |
|---|---|---|
| Immediate Reuse | Quick warm water rinse | Remove bulk honey to prevent cross-contamination. |
| Long-Term Storage | Full wash and thorough drying | Prevent rust and mold; ensure all parts are bone-dry. |
| Sanitization | Weak bleach/vinegar solution rinse | Use only if necessary, and rinse thoroughly afterward. |
| What to Avoid | Soap/detergents, very hot water | Can leave residues or melt wax, making cleaning harder. |
Need reliable, easy-to-clean extraction equipment for your apiary? Proper maintenance starts with quality machinery. HONESTBEE supplies durable honey extractors and essential beekeeping supplies to commercial apiaries and distributors. Our wholesale-focused operations ensure you get the robust equipment you need to protect your honey harvests season after season.
Contact our team today to discuss your beekeeping supply needs and keep your operation running smoothly.
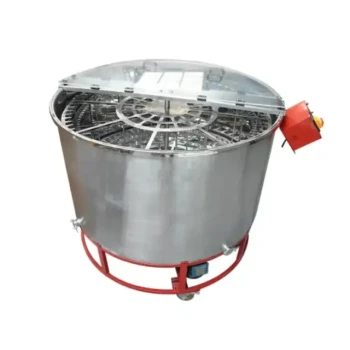
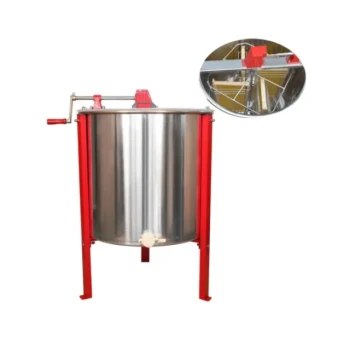
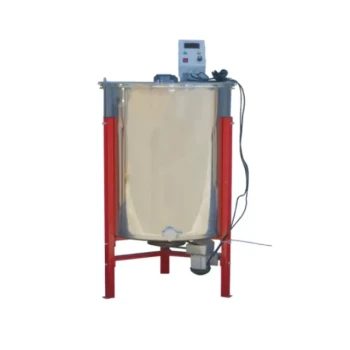
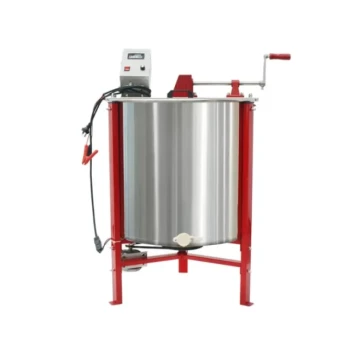
Visual Guide
Related Products
- HONESTBEE 72 Frame Industrial Electric Honey Extractor for Beekeeping
- Commercial Electric 12 Frame Honey Extractor Spinner Motorized Honey Extractor
- HONESTBEE 6 Frame Self Reversing Electric Honey Extractor for Beekeeping
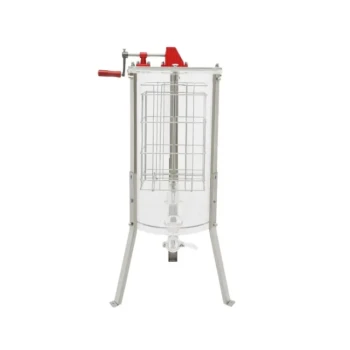
- HONESTBEE 3-Frame Manual Acrylic Honey Extractor
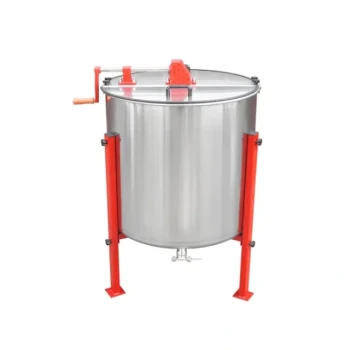
- Stainless Steel Manual 8 Frame Radial Honey Extractor Machine for Beehives
People Also Ask
- How is honey separated from the frames after they are uncapped? Efficient Extraction Methods for High Yields
- What are the recommended methods for removing honey from the honeycomb? Top Extraction Techniques for Maximum Efficiency
- Why is physical isolation of honey extractors necessary to manage Small Hive Beetles? Protect Your Honey Quality
- What are the main benefits of using a honey extractor? Maximize Yields and Protect Your Honeycomb
- Is the honey extractor better than the honey press? Choose the Right Tool for Your Apiary's Success