To thread tinned wire through beekeeping frame eyelets, begin the process at the top of the frame. Thread the wire through the top eyelet on one end bar and pass it directly across to the parallel eyelet on the opposite side. Loop the wire down to the second eyelet from the top, thread it through, and run it back across the frame to the corresponding eyelet on the starting end bar.
The objective of wiring a frame is to create a continuous, tensioned reinforcement grid that prevents the wax foundation from sagging or blowing out during honey extraction.
Establishing the Wiring Pattern
Initiating the Run
According to standard procedure, the wiring path begins at the top eyelet. This ensures that the upper portion of the foundation, which bears the most weight, receives immediate support.
Creating the Horizontal Grid
Once threaded through the first eyelet, the wire must be passed horizontally across the frame. It enters the top eyelet on the opposite end bar to complete the first span.
The Side Loop Return
After exiting the top eyelet on the opposite side, the wire is not cut. Instead, it is looped down the outside of the end bar and threaded into the second eyelet. From there, it is run back across the frame to the original side, creating a continuous zigzag pattern.
Completing the Assembly
Continuing the Sequence
While the initial steps cover the top two rows, this back-and-forth pattern continues for the remainder of the frame. As noted in supplementary procedures, you repeat this process until all eyelets are threaded.
Final Configuration
For a standard deep frame, this procedure typically results in four parallel wires. These wires run horizontally across the frame, providing uniform support for the foundation sheet.
Anchoring the Wire
To secure the tension, the wire is wrapped around 5/8 inch nails placed near the starting and ending eyelets. It is critical to drive these nails into the edge of the end bar before tightening the wire.
Common Pitfalls to Avoid
Inconsistent Tension
The most significant trade-off in manual wiring is the balance between tension and frame distortion. If the wire is too loose, the foundation will warp; if it is too tight, the wooden end bars may bow inward, ruining the frame's squareness.
Kinking the Wire
Tinned wire has high tensile strength but is brittle when bent sharply. Avoid allowing the wire to kink or twist upon itself during threading, as this creates a weak point that is liable to snap under the centrifugal force of an extractor.
Making the Right Choice for Your Goal
To ensure your frames are built for longevity and functionality, apply the following principles:
- If your primary focus is structural durability: Ensure the wire runs are perfectly horizontal and parallel to prevent the wax foundation from buckling during installation.
- If your primary focus is workflow efficiency: Install the 5/8 inch nails next to the top and bottom eyelets before you begin threading the wire to streamline the tying-off process.
A properly wired frame is the invisible skeleton that ensures your comb remains stable through years of hive inspections and honey harvesting.
Summary Table:
| Step | Action | Key Detail |
|---|---|---|
| 1. Initiation | Thread top eyelet | Start at the top to support the heaviest foundation area. |
| 2. Pattern | Horizontal zigzag | Loop down the outside of the end bar to create parallel runs. |
| 3. Tensioning | Hand-tighten wire | Ensure the wire is taut without bowing the wooden end bars. |
| 4. Anchoring | Secure with nails | Use 5/8 inch nails at start and end points to lock tension. |
| 5. Inspection | Check for kinks | Avoid sharp bends to prevent wire breakage during extraction. |
Scale Your Apiary Operations with HONESTBEE
Building durable frames is the foundation of a productive apiary. At HONESTBEE, we specialize in empowering commercial apiaries and distributors with high-performance beekeeping infrastructure. From premium tinned wire and brass eyelets to advanced hive-making and honey-filling machinery, our wholesale solutions are designed for longevity and efficiency.
Whether you are stocking essential consumables or upgrading your facility with specialized hardware, HONESTBEE delivers the quality your business demands.
Ready to streamline your production? Contact us today to explore our comprehensive catalog and discover how our equipment can optimize your honey harvesting workflow.
Related Products
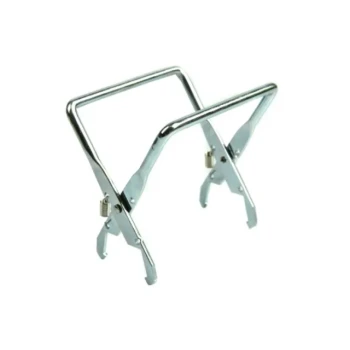
- Stainless Steel Bee Hive Frame Wire for Beekeeping
- Professional Pneumatic Wire Embedder for Beehive Frames
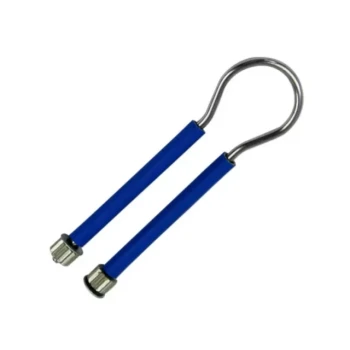
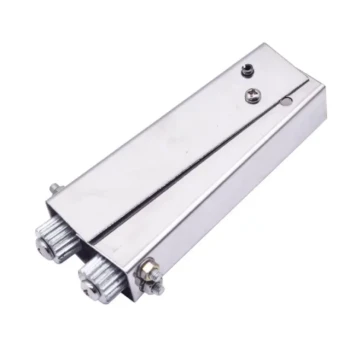
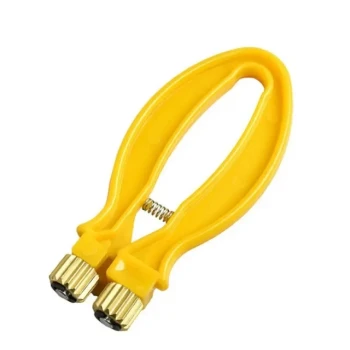
- HONESTBEE Loop Handle Frame Wire Crimper
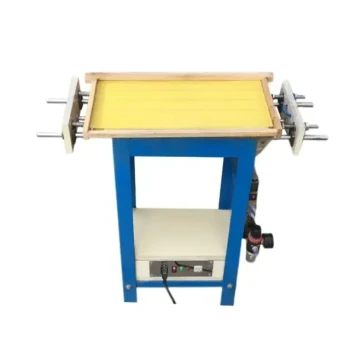
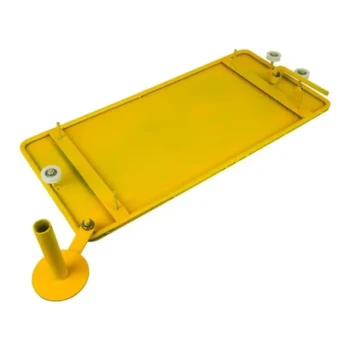
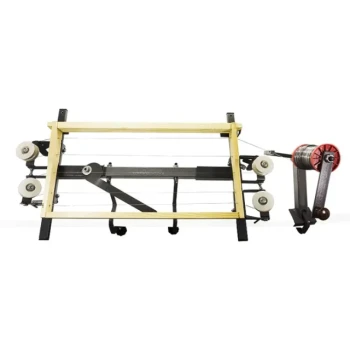
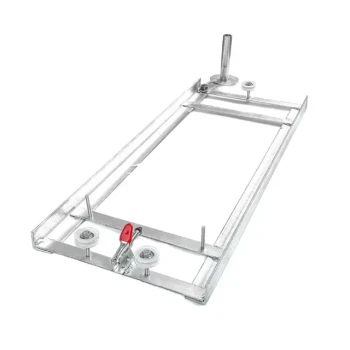
- HONESTBEE Durable Frame Wiring Board with Integrated Tensioner
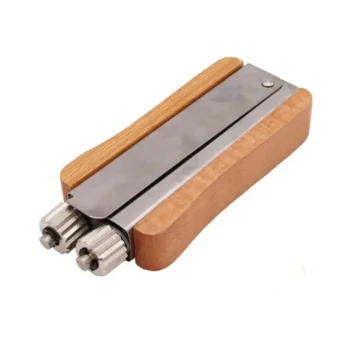
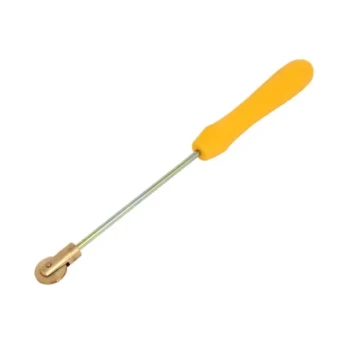
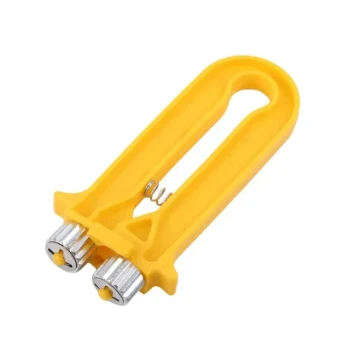
- HONESTBEE Durable Ergonomic Wooden Handle Frame Wire Crimper
People Also Ask
- What tools are needed to wire a beehive frame? Essential Equipment for Durable Frame Construction
- What are the drawbacks of wiring beehive frames? Key Limitations and Structural Trade-offs Revealed
- What are the arguments for and against wiring beehive frames? Balance Durability and Management Flexibility
- How is the wire secured at the top of the frame after being threaded? Master the Clamp and Break Technique
- How is proper tension achieved and maintained when wiring beekeeping frames? Master the Art of the Perfect Ping