Introduce a mated queen during the warmest part of the day, after confirming the colony is queenless, and release her through a sealed sugar-candy barrier rather than direct contact. Suspend the cage vertically between central brood frames with the candy end facing upward, then keep the hive closed and undisturbed for several days while workers acclimate to her pheromones. The best timing is before the colony becomes hopelessly queenless and workers begin laying, generally within the first two to four weeks after queen loss.
The key to acceptance is controlled exposure: verify queenlessness, eliminate competing queen cells, use a properly positioned candy-plug cage, and avoid unnecessary inspections while the colony adjusts.
Prepare the Colony Before Introducing the Queen
Confirm that the Colony Is Queenless
Inspect the brood area for the queen, fresh eggs, and queen cells before installing the replacement. The receiving colony must not contain a queen or developing queen cells that could cause workers to reject the introduced queen.
If the colony’s queenlessness is uncertain, avoid introducing an expensive mated queen immediately. A mistaken diagnosis can lead to fighting, rejection, or the loss of both the purchased queen and the colony’s developing replacement queen.
Use Brood Stage to Judge Timing
Brood condition provides a practical estimate of how long the colony has been without a queen:
- Eggs present: The colony may have lost its queen within roughly three days, because eggs remain viable for only a short period.
- Uncapped larvae present: The colony is further into the queenless period, but intervention may still be possible.
- Only capped brood present: This is generally the final practical opportunity to introduce a new queen before laying workers become a serious risk.
- No suitable brood and signs of laying workers: Acceptance becomes substantially more difficult, and additional colony-management steps may be required before re-queening.
Worker bees commonly begin laying unfertilized eggs approximately two to four weeks after queen loss, although conditions vary. Introduce the new queen before this point whenever possible.
Remove Existing Queen Cells
Carefully remove all queen cells before installing the caged queen. If even one viable queen cell remains, the colony may continue developing its own queen and reject or kill the purchased replacement.
Install the Queen Cage Correctly
Inspect the Cage and Queen
Confirm that the queen is alive and moving normally. Check that dead attendant bees or debris are not blocking the exit path.
If attendants are present and the supplier’s instructions permit their removal, remove them carefully. Avoid rough handling, excessive shaking, or exposing the queen to cold conditions.
Prepare the Candy Exit
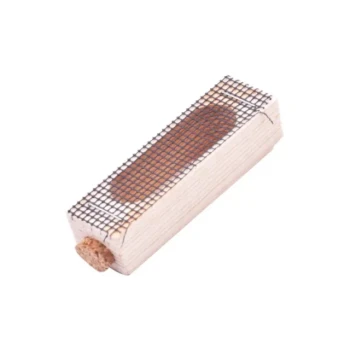
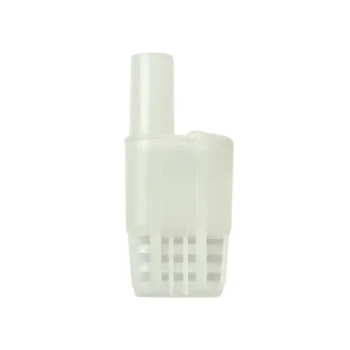
Remove the cork from the end containing the sugar candy or fondant, while leaving the opposite end sealed. The candy barrier should remain in place so workers gradually chew through it rather than gaining immediate, unrestricted access to the queen.
A small hole may be made in the candy only when the manufacturer’s instructions call for it or when release needs to be facilitated. Do not enlarge the opening unnecessarily, because rapid release reduces the acclimation period and can increase rejection risk.
Position the Cage in the Brood Area
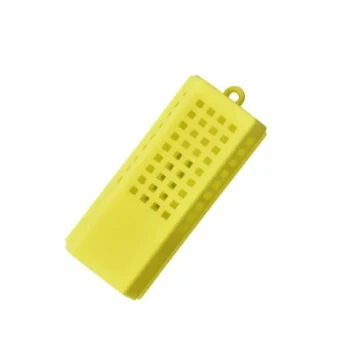
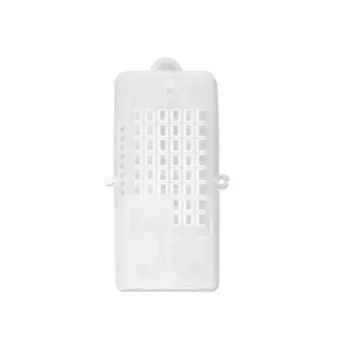
Place the cage vertically between two central brood frames, with the candy end facing upward. This orientation helps prevent dead attendants from falling onto and blocking the exit.
The screen or mesh must remain accessible to worker bees so they can feed the queen and receive her pheromones. If necessary, remove one central frame to create enough space and prevent the cage from being crushed when the frames are returned.
Secure the Cage Without Obstructing It
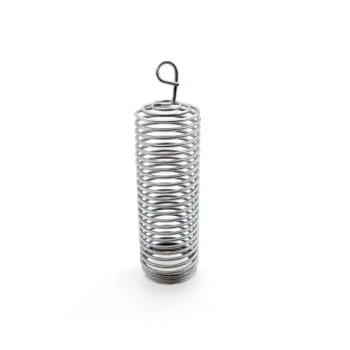
The cage should be held firmly between the frames or suspended from the top bar with a small wire hanger. It must not be wedged so tightly that the mesh is blocked or the queen is exposed to damaging pressure.
Close the hive carefully after installation. The crown board and roof should be secured to minimize disturbance, drafts, and accidental cage movement.
Choose the Right Introduction Timing
Install During the Warmest Part of the Day
The preferred timing is the warmest part of the day, when worker bees are active and the colony can interact with the cage. Warm conditions also reduce chilling risk during the inspection and installation process.
Avoid introducing a queen during cold, wet, or highly disruptive weather unless the colony’s welfare requires immediate action.
Allow Several Days for Acclimation
Workers should have time to feed the caged queen and become familiar with her scent and pheromones before release. The candy plug normally provides this gradual transition over several days.
As a practical management schedule, keep the hive closed for at least several days and avoid routine inspection during the initial acceptance period. Many beekeepers wait approximately five to seven days before opening the hive to verify release and acceptance.
Check the Cage After Two to Three Days Only When Necessary
A brief inspection after two to three days may be appropriate if the candy plug appears unusually hard, the weather has been unsuitable, or the queen’s release is time-critical. If the plug remains substantially intact, a small hole can help the workers complete the release.
Do not repeatedly open the hive simply to check progress. Frequent disturbance can disrupt the acceptance process and increase the risk of damaging the queen.
Recognize Acceptance or Rejection
Signs of Normal Acceptance
Workers should cluster calmly around the cage, touch the queen through the mesh, and offer food. Calm interaction indicates that the colony is responding to her pheromones rather than attempting to attack her.
After release, look for evidence of normal queen activity, including a calm colony and, later, fresh eggs or young brood. The queen may need additional time to settle and begin laying consistently.
Signs of Aggression
Aggressive behavior includes workers biting the cage, stinging through the mesh, tightly balling around it, or displaying persistent agitation. These signs indicate that the queen may not yet be accepted.
If workers are aggressively attacking the cage, remove it and reintroduce the queen after several days once the colony has had more time to become receptive. Recheck for a missed queen or queen cell before trying again.
Understanding the Trade-offs
Faster Release Is Not Always Better
Piercing the candy plug or creating a large opening can shorten the time before the queen exits. However, it also reduces the gradual pheromone-acclimation period that makes caged introduction effective.
For valuable mated queens, the safer default is to leave the candy barrier intact unless release is delayed beyond a reasonable period or the cage supplier specifies otherwise.
More Inspections Can Reduce Success
Inspections are useful for confirming queenlessness and checking final acceptance, but each opening disturbs the colony. Excessive handling can chill brood, displace the cage, or provoke defensive behavior.
Use a planned inspection schedule rather than repeatedly checking the queen. This is particularly important for distributors and commercial apiaries managing many introductions, where standardized procedures improve consistency and reduce avoidable losses.
Cage Design and Handling Matter
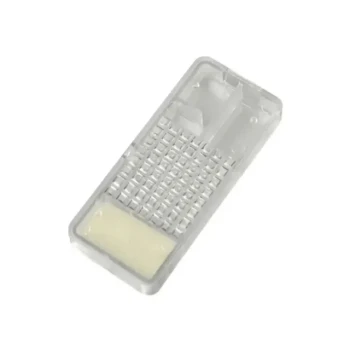
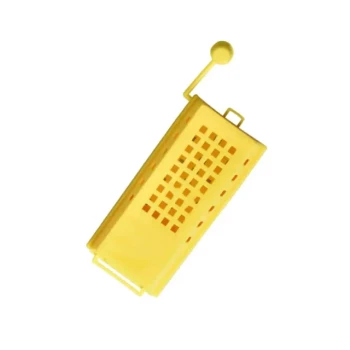
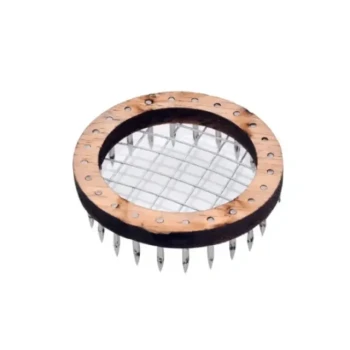
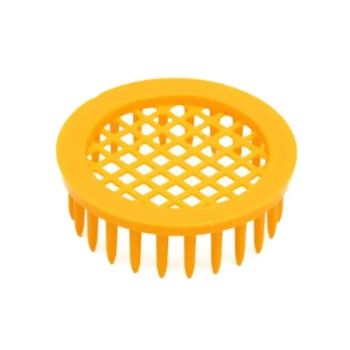
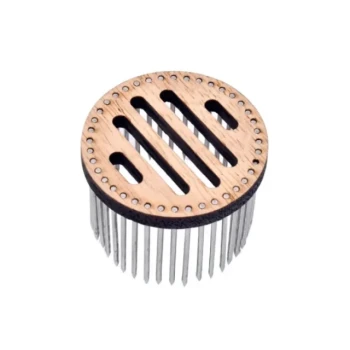
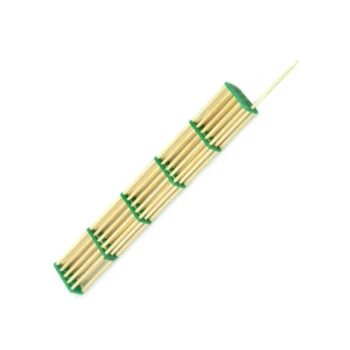
A reliable cage must have unobstructed mesh, a secure candy plug, and a structure that can be positioned without crushing bees or the queen. Poor-quality cages, damaged screens, blocked exits, or weak attachment methods can undermine an otherwise correct introduction procedure.
For commercial purchasing, product consistency, supplier responsiveness, and rapid replacement support are operational considerations—not merely convenience factors—because timing is critical when colonies are already queenless.
How to Apply This to Your Project
Use the following procedure as a practical operating standard:
- If your primary focus is queen acceptance: Confirm queenlessness and remove all queen cells, then introduce the mated queen in a vertically suspended cage with the candy end facing upward.
- If your primary focus is correct timing: Introduce the queen during the warmest part of the day and intervene before laying workers normally develop, generally within two to four weeks after queen loss.
- If your primary focus is minimizing disturbance: Leave the hive closed for several days and conduct one planned inspection around five to seven days after installation.
- If your primary focus is resolving aggression: Remove the cage if workers attack it, recheck for a queen or queen cells, and attempt reintroduction after several days.
- If your primary focus is commercial reliability: Standardize cage specifications, handling instructions, inspection timing, and supplier support across every shipment and apiary.
A controlled, well-timed introduction gives the colony the best opportunity to accept and establish the new mated queen.
Summary Table:
| Factor | Best Practice | Why It Matters |
|---|---|---|
| Timing | Introduce during warmest part of day, within 2–4 weeks after queen loss | Workers are active; before laying workers develop |
| Colony Prep | Confirm queenlessness, remove all queen cells | Prevents rejection and competition |
| Cage Installation | Place vertically between central frames, candy end up | Provides gradual acclimation; prevents blockage |
| Acclimation Period | Leave hive undisturbed for at least 5–7 days | Allows workers to become familiar with queen pheromones |
| Inspection | Only check after 2–3 days if necessary; avoid frequent openings | Reduces disturbance and stress |
| Release Method | Let workers chew through candy plug naturally | Gradual exposure increases acceptance |
HONESTBEE understands that successful queen introduction is critical for your apiary's productivity. We offer premium queen cages and a full range of beekeeping equipment designed for reliable, efficient operations. As your one-stop sourcing partner for commercial apiaries and distributors, we provide quick response times, dedicated service, and ultra-fast delivery to keep your colonies thriving. Optimize your re-queening process with our trusted solutions—contact us today to discuss your wholesale needs and discover how we can support your success.
Related Products
- Durable Galvanized Steel Spring Queen Bee Cage
- Classic Wooden and Mesh California Queen Cage
- Professional Queen Bee Introduction and Transport Cage
- Professional Queen Cage with Sliding Gate and Feeder Plug
- Professional Multi-Compartment Queen Cage with Sliding Lid
People Also Ask
- Why are specialized queen bee cages used for the banking of mated queen bees? Maximize Commercial Apiary Storage Efficiency
- What is the mechanism of action for using temporary queen bee cages? Master Successful Queen Introduction
- What is the step-by-step process for installing a queen bee's cage onto a frame? Ensure Hive Acceptance Safely
- What is the optimal placement for a queen bee cage? Essential Strategies for Successful Re-queening
- What are the advantages and disadvantages of introducing a queen bee by embedding the cage? Boost Your Queen Acceptance