The critical first step in introducing a honeybee colony to a new site is a brief period of stationary adjustment. Before you begin the physical installation, you must place the package or nucleus box directly next to the permanent hive location for a minimum of 20 to 30 minutes. This pause allows the bees to stabilize and adjust to the specific environment of their new home.
Successful acclimation relies on patience; giving the colony a short buffer period near their final destination aids significantly in their orientation to the new site.
The Acclimation Process Explained
To ensure your bees accept their new location, you must prioritize their orientation before moving them into the hive structure.
Placement Strategy
The physical positioning of the bees during this waiting period is crucial. You should place the transport box or nucleus immediately adjacent to the permanent hive stand.
This proximity ensures that the bees are acclimating to the exact sights, smells, and atmospheric conditions of the specific location where they will permanently reside.
Timing the Transfer
Time is a tool for reducing colony stress. You must allow a window of at least 20 to 30 minutes before attempting to move the bees.
During this time, the agitation caused by transport can subside. This creates a calmer state for the bees, making the eventual transfer into the main hive structure smoother and safer for both the beekeeper and the colony.
Common Pitfalls to Avoid
While the protocol is simple, deviations can lead to increased stress or confusion for the colony.
Rushing the Installation
The most frequent mistake is transferring the colony immediately upon arrival.
By skipping the 20 to 30-minute acclimation window, you force the bees to cope with the stress of handling and a new environment simultaneously. This can make the colony more difficult to manage during the installation.
Incorrect Staging
It is ineffective to let the bees acclimate in a location that is not their final destination.
If you leave the box in a garage or a staging area far from the hive stand, the acclimation process is wasted. They must become accustomed to the specific environment of the permanent hive location.
Making the Right Choice for Your Goal
To maximize the success of your installation, follow these guidelines based on your immediate priorities:
- If your primary focus is minimizing colony stress: Ensure the box sits undisturbed for the full 30 minutes to allow the agitation of travel to settle.
- If your primary focus is precise orientation: Verify that the box is placed exactly next to the permanent stand, rather than a general area nearby.
Investing just half an hour in proper acclimation establishes a calm, stable foundation for your colony's transition.
Summary Table:
| Acclimation Phase | Recommended Action | Key Benefit |
|---|---|---|
| Staging Location | Place box immediately adjacent to the hive stand | Ensures accurate environmental orientation |
| Waiting Period | Allow 20 to 30 minutes of stationary adjustment | Reduces agitation and transport stress |
| Climate Adjustment | Expose bees to local sights, smells, and air | Stabilizes the colony before transfer |
| Installation | Move bees into the hive after the buffer period | Promotes a calmer, safer installation process |
Maximize Your Apiary's Success with HONESTBEE
Transitioning a new colony is just the beginning. At HONESTBEE, we specialize in supporting commercial apiaries and distributors with premium beekeeping solutions. Whether you need specialized hive-making machinery, high-efficiency honey-filling machines, or a steady supply of essential industry consumables, our comprehensive wholesale portfolio has you covered.
Ready to scale your beekeeping operations? Partner with us for reliable equipment and expert support. Contact HONESTBEE today to discuss your bulk needs and discover how our professional-grade tools can enhance your productivity.
Related Products
- HONESTBEE Entrance Bee Feeder Professional Hive Nutrition Solution for Beekeeping
- Langstroth Honey Bee Box Hive Boxes for Different Depths
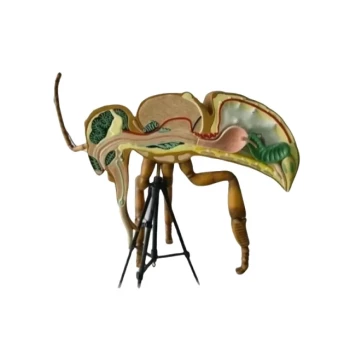
- HONESTBEE Anatomy Bee Model Detailed Anatomical Display for Education and Study
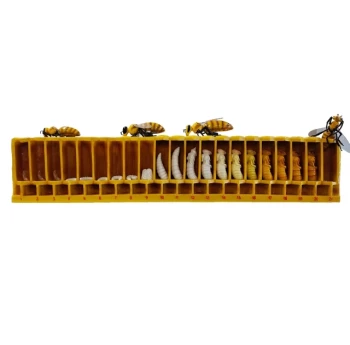
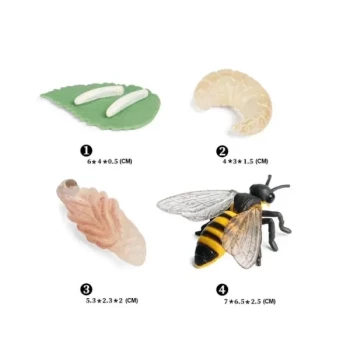
- Honey Bee Lifecycle Model: A Detailed Honeycomb Display of Bee Development
- HONESTBEE Professional Hive Top Bee Feeder Feeding Solution
People Also Ask
- How to make an entrance feeder for bees? A DIY Guide for Safe & Effective Feeding
- What are the advantages and disadvantages of an entrance feeder? Optimize Your Apiary's Feeding Strategy
- What is a recommended alternative use for an entrance feeder instead of providing sugar syrup? - Water Feeding Tips
- What types of bee feeders are available for beginners? Start with the Simple Entrance Feeder
- How does a bee entrance feeder work? A Simple Guide to Convenient Hive Feeding