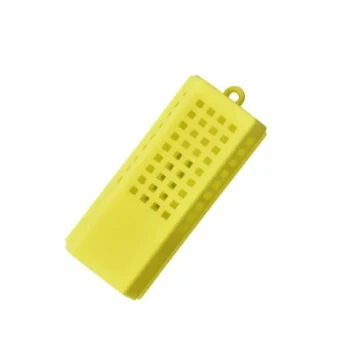
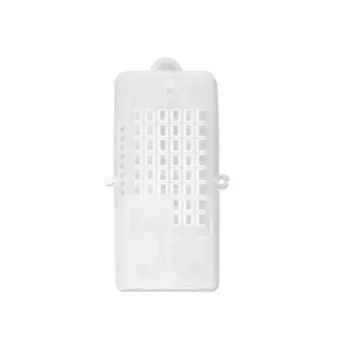
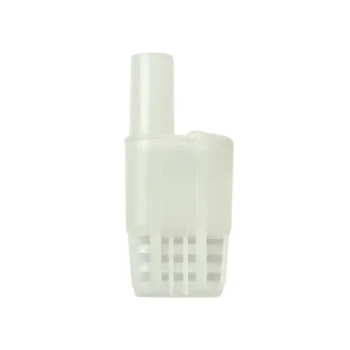
Direct queen introduction requires complete queenlessness, controlled release, and careful follow-up. Remove the old queen and destroy every existing queen cell, then leave the colony queenless for approximately one day. Place the new queen in a candy-sealed cage between central brood frames, using a hive tool to create space and secure the cage, so workers can acclimate before release.
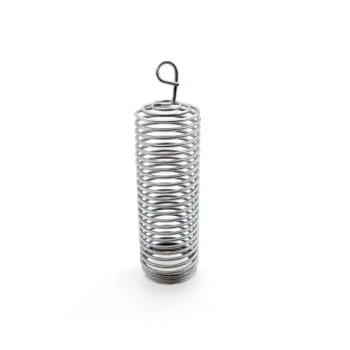
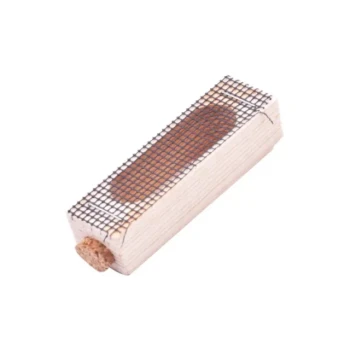
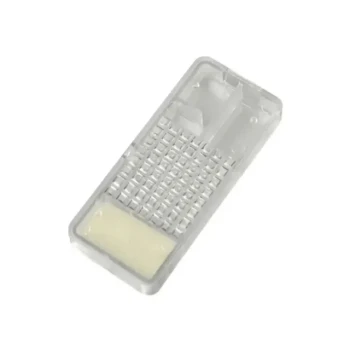
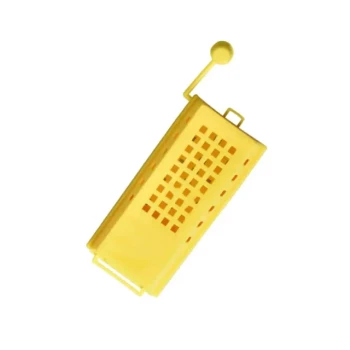
A queen cage is a controlled-access buffer: it protects the new queen while allowing her pheromones to reach the colony. Reliable equipment, correct orientation, and timely inspections are the practical foundations of successful re-queening.
Why Preparation Determines Acceptance
Confirm the Colony Is Queenless
Open the hive with a smoker and inspect the brood area carefully. Remove the old queen, along with any virgin queens or queen cells, because a surviving queen or developing replacement can cause workers to reject or kill the introduced queen.
Leave the colony queenless for about one day before introduction. This allows the colony to recognize the absence of its queen while preserving a practical window for re-queening.
Assess Brood and Colony Condition
Inspect the brood frames for eggs, larvae, and capped brood. The presence of eggs generally indicates that the queen was lost recently, while uncapped or capped brood provides progressively less time before laying workers may develop.
Smaller colonies and nucleus hives generally accept replacement queens more readily than large, established colonies. A strong production hive may therefore be easier to re-queen by first introducing the queen into a suitable nuc and later uniting the colonies.
Prepare the Necessary Equipment
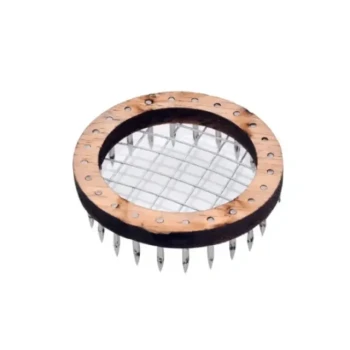
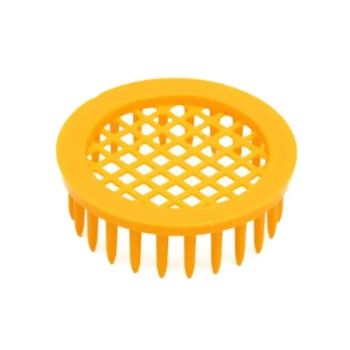
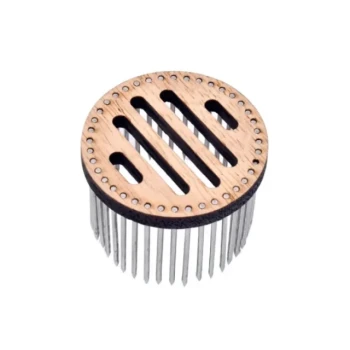
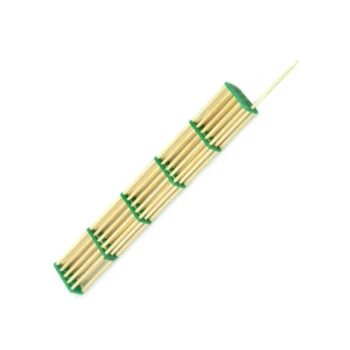
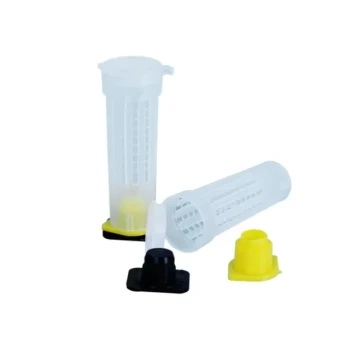
Use a healthy, properly sealed queen cage with a sugar-candy release plug and unobstructed screen openings. You will also need a hive tool, smoker, protective clothing, and a method for securing the cage, such as an integrated hanger or a small wire attachment.
A dependable hive tool supports several precise operations: separating frames, creating cage space, removing queen cells, and making controlled perforations when using a newspaper-assisted method. Its leverage also reduces the risk of crushing bees or damaging comb.
Step-by-Step Direct Introduction
1. Open and Organize the Hive
Apply smoke sparingly and open the brood box. Use the hive tool to loosen the frames without sudden movement, then work methodically through the brood area.
Remove one frame from the center of the brood box if necessary. This creates enough room to install the cage without compressing bees or trapping the queen cage between adjacent frames.
2. Remove the Existing Queen and Queen Cells
Locate and remove the old queen. Inspect both sides of the brood frames and destroy all visible queen cells, including cells that may contain developing replacement queens.
This step is essential because the introduction cage protects the new queen only temporarily. It cannot prevent a resident queen or emerging virgin queen from competing with her after release.
3. Inspect the New Queen Cage
Confirm that the new queen is alive and moving normally. Check that dead attendant bees are not obstructing the exit or covering the screen.
Keep the sealed end of the cage intact and remove only the cork covering the sugar-candy plug. The candy barrier should remain between the queen and the colony so workers can release her gradually.
4. Position the Cage Correctly
Suspend the cage vertically between the two central brood frames, with the candy end pointing upward. This orientation reduces the chance that dead attendant bees will fall onto and block the exit.
Ensure that worker bees can reach the cage screen. The screen allows them to feed the queen and receive her pheromones while she remains physically protected.
Attach the cage securely with its hanger or a small wire fastener. The hive tool can be used to adjust frame spacing and stabilize the attachment, but the cage must not be pressed tightly against comb or left where it can fall onto the hive floor.
5. Use a Newspaper-Assisted Alternative When Appropriate
A frame of capped and emerging brood can be removed and used as the placement frame. Press the caged queen into the frame carefully, wrap the frame in newspaper, staple the newspaper along the top bar, and make several small slits with the hive tool.
Lower the prepared frame back into the colony. The newspaper creates an additional temporary barrier while the slits allow gradual contact and pheromone exchange; the cage continues to protect the queen during the transition.
This method should be applied only when the frame and cage can be secured without damaging the queen or obstructing worker access. The standard suspended cage method is generally simpler when the hive configuration already provides adequate space.
6. Close the Hive Without Disturbance
Replace the frames in their original order and close the hive carefully. Avoid excessive manipulation after installation, because repeated disturbance can increase defensive behavior and interfere with the acceptance process.
Do not release the queen manually unless the cage or colony condition clearly requires intervention. The delayed candy release is the mechanism that gives the colony time to adjust.
How the Equipment Supports Re-Queening
Queen Cages Control the Release
The cage acts as a physical buffer between the introduced queen and defensive worker bees. At the same time, the mesh or openings allow her pheromones to spread through the colony.
Workers gradually become familiar with the queen's scent as they feed her through the screen and chew through the candy plug. This staged contact is safer than placing an unfamiliar queen directly among unacclimated workers.
Hive Tools Enable Accurate Placement
A hive tool provides controlled access to the brood area and allows the beekeeper to create the correct space for the cage. It also helps remove competing queen cells and secure a newspaper-wrapped frame when that method is used.
Ergonomic, durable hive tools improve handling precision during a time-sensitive operation. For distributors and resellers, this makes tool quality part of the re-queening solution rather than a separate accessory concern.
Equipment Quality Protects Valuable Genetics
A damaged cage, blocked exit, weak attachment, or poorly fitting installation can compromise a high-value queen. Reliable queen-introduction equipment reduces the risk of physical injury, premature release, or failed access by worker bees.
For commercial apiaries, one-stop sourcing of cages, hive tools, brood equipment, and related consumables can simplify ordering and improve operational consistency. Rapid fulfillment is particularly important when a colony has already become queenless.
Monitoring After Introduction
Inspect the Cage After Two to Three Days
Inspect after approximately two to three days if conditions require an early check. Confirm that workers are not aggressively biting or clustering around the cage and that the candy plug is being consumed.
If the candy remains largely intact after several days, a small opening may be made in the remaining candy to facilitate release. This should be done cautiously and only after confirming that the queen is not being attacked through the screen.
Confirm Release After Three Days
A follow-up inspection around the third day can establish whether the queen has emerged. Avoid unnecessary handling of the queen herself; look for an empty cage and normal worker behavior.
If workers are aggressively attacking the cage, remove it rather than forcing release. Reintroduce the queen after several days once the colony's defensive response has subsided, provided the queen remains healthy.
Check for Eggs After One Week
Inspect the brood area after about one week for fresh eggs and evidence of normal queen activity. Finding eggs is a stronger confirmation of successful re-queening than simply finding an empty cage.
The queen may need additional time to settle and begin laying, particularly after transport or stressful weather. Continue monitoring brood pattern and colony temperament during subsequent inspections.
Understanding the Trade-offs
Delayed Release Versus Immediate Release
A candy-sealed cage slows the introduction and gives workers time to acclimate. The trade-off is that release may be delayed if the candy is hard, the weather is cool, or the cage is poorly positioned.
Manual release is faster but exposes the queen to immediate rejection. It should not be treated as the default approach for an unfamiliar queen and colony.
Suspended Cage Versus Bottom-Board Placement
Suspending the cage between central frames provides direct worker access and keeps the queen close to the brood area. It also requires adequate frame space and secure attachment.
In mild weather, above approximately 16°C or 60°F at night, the cage may alternatively be placed on the hive bottom board with the screen facing upward and pushed toward the rear with a hive tool. This option is more dependent on weather, hive design, and unobstructed worker access.
Large Colony Versus Nucleus Hive
A small nuc usually presents fewer competing pheromone signals and is more receptive to a replacement queen. Introducing directly into a large colony may be operationally convenient, but the risk of rejection can be higher if queenlessness is incomplete or the colony is strongly defensive.
Commercial operators must balance the efficiency of direct installation against the added control of introducing queens into nucs before expanding them into production colonies.
Speed Versus Verification
Fast order fulfillment and readily available replacement equipment help apiaries respond quickly to queen loss. However, speed does not replace inspection: queenlessness, cage condition, worker behavior, release, and egg-laying must all be verified.
Making the Right Choice for Your Goal
The appropriate procedure depends on colony size, weather, urgency, and the value of the queen being introduced.
- If your primary focus is maximum queen acceptance: Use a healthy queen cage with a candy plug, suspend it between central brood frames with the candy end upward, and allow gradual release.
- If your primary focus is rapid field re-queening: Keep replacement cages and ergonomic hive tools readily available, remove competing queen cells completely, and perform scheduled release and egg-laying checks.
- If your primary focus is commercial apiary efficiency: Source queen cages, hive tools, brood equipment, and consumables through a responsive supplier that can provide consistent quality and fast fulfillment.
- If your primary focus is protecting high-pedigree queens: Introduce them first into appropriately sized queenless nucs when practical, then confirm acceptance and brood production before expanding or uniting colonies.
Successful re-queening comes from combining complete preparation, controlled queen release, precise hive-tool handling, and disciplined follow-up.
Summary Table:
| Equipment | Role in Direct Introduction |
|---|---|
| Queen Cage | Provides controlled release, protects new queen, allows pheromone diffusion |
| Hive Tool | Assists in frame separation, cage placement, removing queen cells |
| Smoker | Calms bees during inspection |
| Protective Gear | Keeps beekeeper safe |
Step-by-Step Overview:
| Step | Action | Key Tools |
|---|---|---|
| 1 | Confirm queenlessness and remove old queen/cells | Smoker, hive tool |
| 2 | Prepare queen cage with candy plug | Queen cage |
| 3 | Install cage between brood frames (candy end up) | Hive tool |
| 4 | Monitor after 2-3 days, then release check | Hive tool |
| 5 | Verify egg-laying after 1 week | Hive tool |
Ready to upgrade your re-queening process with premium queen cages and hive tools? HONESTBEE offers a full range of beekeeping equipment designed for efficiency and reliability. Whether you're a commercial apiary needing bulk supplies or a distributor looking for quality products, we provide one-stop sourcing, rapid delivery, and expert support. Contact us today to get a quote and see how we can help streamline your operations. Get in touch now!
Related Products
- Durable Galvanized Steel Spring Queen Bee Cage
- Classic Wooden and Mesh California Queen Cage
- Professional Queen Bee Introduction and Transport Cage
- Professional Queen Cage with Sliding Gate and Feeder Plug
- Professional Multi-Compartment Queen Cage with Sliding Lid
People Also Ask
- Why are specialized queen bee cages used for the banking of mated queen bees? Maximize Commercial Apiary Storage Efficiency
- What is the mechanism of action for using temporary queen bee cages? Master Successful Queen Introduction
- What is the step-by-step process for installing a queen bee's cage onto a frame? Ensure Hive Acceptance Safely
- What is the optimal placement for a queen bee cage? Essential Strategies for Successful Re-queening
- What are the advantages and disadvantages of introducing a queen bee by embedding the cage? Boost Your Queen Acceptance