Marking a bee using a push-in cage is a delicate procedure that requires trapping the insect directly on the comb to apply a specific identifier safely. The process involves securing the bee beneath the cage, gently pressing down to immobilize the thorax against the mesh, applying a single dot of paint, and releasing the bee immediately to prevent the paint from smearing.
The critical factor is applying just enough pressure to the cage's outer ring to stop the bee's movement without causing physical injury or damaging the underlying capped brood.
Securing the Target
To ensure the safety of the bee, preparation and stability are paramount before you attempt to make contact.
Stabilize the Frame
Begin by placing the hive frame on a completely stable, flat surface. You need both hands free to manipulate the cage and the marking tool without the frame shifting.
Position the Cage
Hover the push-in cage over the target bee. Gently set it down, taking care to ensure the pins of the cage do not pierce or damage any capped brood in the immediate area.
Immobilization and Marking
Once the bee is contained, you must restrict her movement to apply a clean, accurate mark.
Aligning the Thorax
Do not press down immediately. Wait for the bee to position herself so that her thorax (the middle section) is clearly visible through an open space in the cage's threads.
Applying Controlled Pressure
Apply gentle downward pressure on the outer ring of the cage. Press just enough to trap the bee against the comb and stop her from moving, but never so hard that you risk crushing her.
Placing the Mark
Before marking the bee, touch the tip of your marking pen to a solid surface to remove excess drips. Gently apply a small dot of paint to the center of the thorax, strictly avoiding the head and wings.
Common Pitfalls to Avoid
Even with a stable hand, errors can occur that jeopardize the bee's health or the utility of the mark.
The Risk of Paint Smears
A common mistake is leaving the bee trapped after painting. You must lift the cage immediately after applying the dot to release the bee.
Preventing Smearing
If the bee remains trapped while the paint is wet, she will struggle against the mesh. This agitation often causes the wet paint to smear, which can obscure the mark or cover vital sensory organs.
Making the Right Choice for Your Goal
To ensure the procedure is effective, tailor your approach to your specific priority.
- If your primary focus is safety: Ensure you only apply pressure to the cage's outer ring to avoid collapsing the mesh onto the bee's abdomen or legs.
- If your primary focus is accuracy: Always blot the marking pen on a piece of wood or paper first to ensure the paint consistency is tacky rather than runny.
Mastering the pressure of the push-in cage ensures a permanent mark without compromising the bee's vitality.
Summary Table:
| Step | Action | Key Goal |
|---|---|---|
| 1. Stabilize | Place frame on a flat surface | Ensure a steady work area |
| 2. Position | Hover cage over the bee | Avoid damaging capped brood |
| 3. Align | Wait for thorax to align with mesh | Prep for accurate marking |
| 4. Press | Apply gentle pressure to outer ring | Immobilize without injury |
| 5. Mark | Apply single paint dot to thorax | Avoid head and wings |
| 6. Release | Lift cage immediately | Prevent paint smears |
Elevate Your Apiary's Professionalism with HONESTBEE
Precision in queen marking is just the beginning of successful colony management. At HONESTBEE, we specialize in supporting commercial apiaries and distributors with high-quality, professional-grade beekeeping supplies.
Whether you need specialized push-in cages and marking tools, advanced hive-making machinery, or high-volume honey-filling equipment, our comprehensive wholesale portfolio is designed to scale your operations. From essential consumables to unique honey-themed cultural merchandise, we provide the tools you need to thrive in the competitive beekeeping industry.
Ready to upgrade your equipment? Contact us today to explore our wholesale offerings!
Related Products
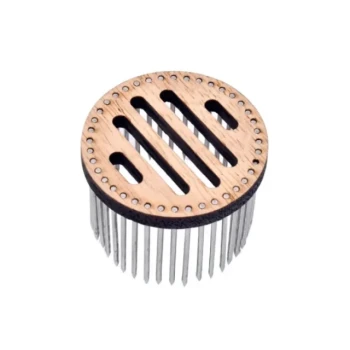
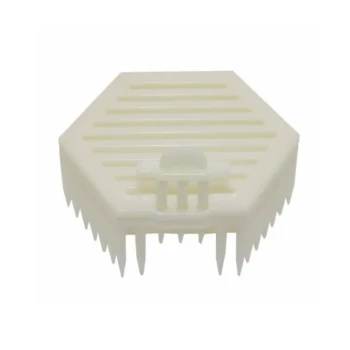
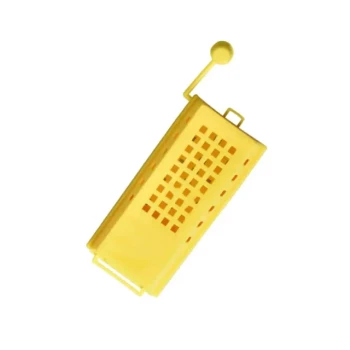
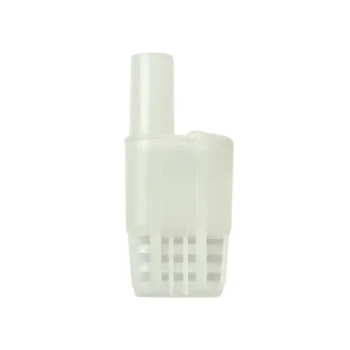
- Premium Wood and Steel Push In Queen Cage
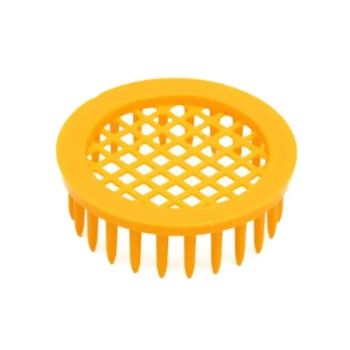
- Durable Plastic Push In Queen Bee Cage
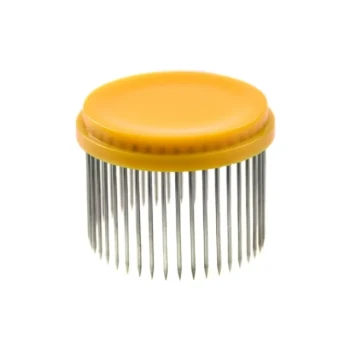
- Professional Round Push-In Queen Cage with Metal Tines
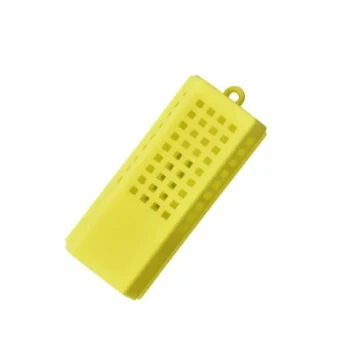
- Wood and Mesh Push-In Queen Cage
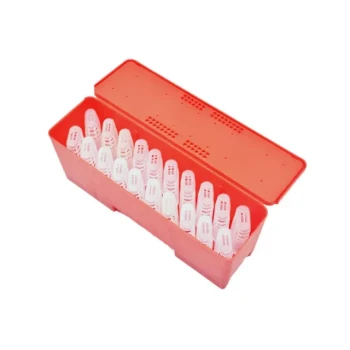
- JZBZ Style Push-In Cell Protector for Professional Queen Rearing Kits
People Also Ask
- How is a push-in cage used to introduce a queen bee? Master the Gold Standard for Queen Acceptance
- What is the technical purpose of using an introduction cage? Ensure Safe Queen Bee Integration and Colony Acceptance
- What are the steps to introduce a queen using a push-in cage? Ensure High Success for Your Valuable Queens
- How can a beekeeper obtain a push-in queen cage? DIY vs. Professional Sourcing Guide
- When is a queen introduced with a push-in cage ready for full release? Key Signs for Maximum Colony Acceptance