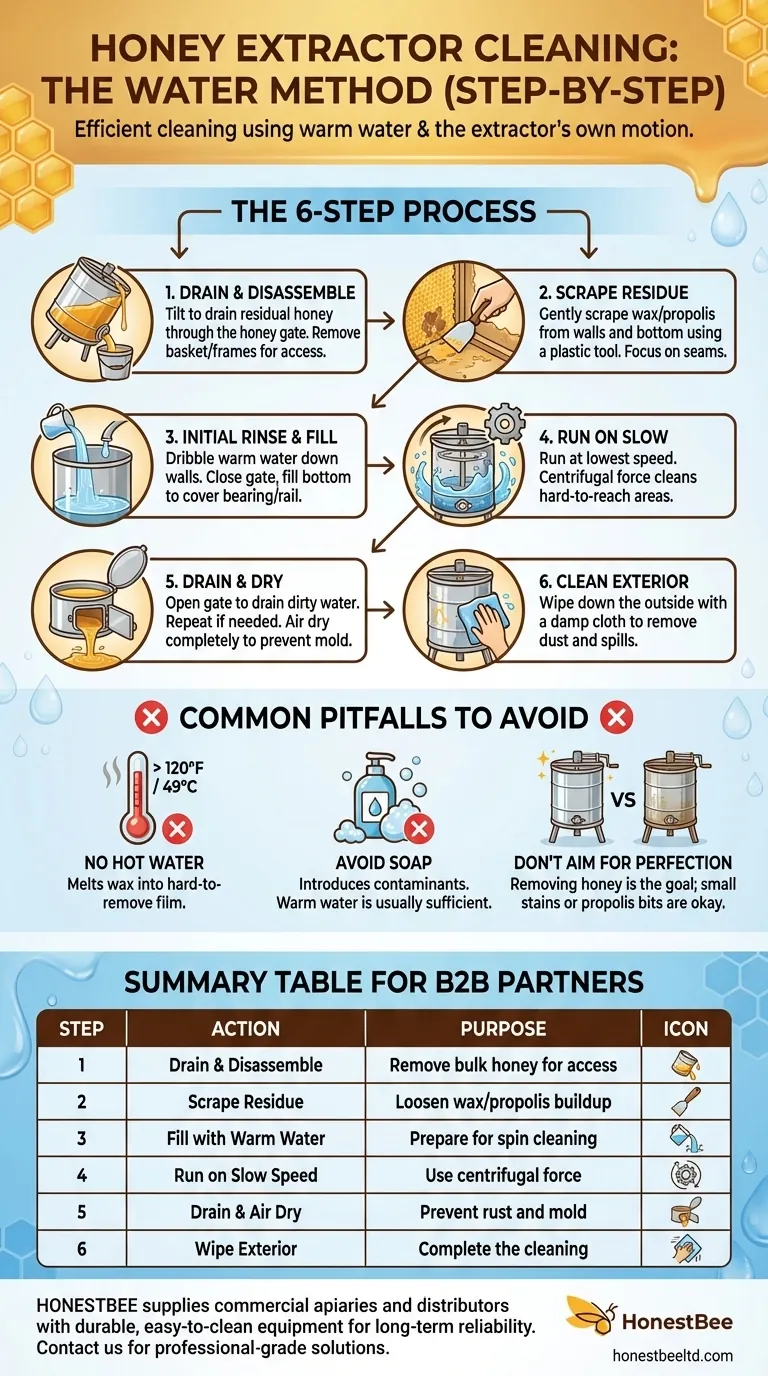
To clean your honey extractor with water, the most effective method involves a multi-stage process. You begin by draining all remaining honey, scraping any significant wax buildup, and then using the extractor's own spinning motion with warm water to dissolve the sticky residue from the interior surfaces before draining and allowing it to air dry completely.
The core principle is to use the extractor as its own low-speed washing machine. By adding warm water and running the machine, you leverage its rotational force to clean hard-to-reach areas efficiently without resorting to harsh chemicals or damaging heat.
The Step-by-Step Water Method
This process ensures your equipment is clean and ready for its next use or for long-term storage, preventing mold and protecting your investment.
Step 1: Drain and Disassemble
First, tilt your extractor to drain as much residual honey as possible through the honey gate.
Once drained, remove the basket or frames if your model allows for it. This provides better access to the interior of the drum for cleaning.
Step 2: Scrape and Loosen Residue
Using a plastic spatula or a hive tool, gently scrape any significant bits of wax or propolis from the interior walls and bottom of the extractor.
Pay special attention to the seam along the bottom, as this is where honey can become particularly thick and stubborn.
Step 3: Initial Rinse and Fill
Dribble or spray warm water down the inside walls of the extractor to wash away the first layer of honey.
Next, close the honey gate and fill the bottom of the extractor with just enough warm water to cover the lower bearing or plastic rail.
Step 4: Run the Extractor
Place the lid back on the extractor and run it on its slowest speed.
The spinning motion will force the water up and against the walls, dissolving the remaining honey residue. Let it run for a few minutes.
Step 5: Drain and Dry
Open the honey gate and drain the dirty, honey-laden water. If the extractor is still very sticky, you can repeat the rinse-and-spin cycle.
Once clean, leave the extractor, lid, and honey gate open to air dry completely. Proper drying is critical to prevent rust or mold during storage.
Step 6: Clean the Exterior
Use a damp cloth with cool water to wipe down the outside of the machine. This removes any dust, fingerprints, or honey that may have spilled during the extraction process.
Common Pitfalls to Avoid
Proper cleaning is as much about what you don't do as what you do. Avoiding these common mistakes will protect your equipment and your future honey harvests.
Use Warm, Not Hot, Water
It may seem counterintuitive, but do not use very hot water (above 120°F / 49°C). Hot water will melt any remaining bits of beeswax, smearing them into a thin, waxy film that is extremely difficult to remove once it cools.
Avoid Using Soap
Most honey residue will dissolve in water alone. Adding soap or detergent introduces a potential contaminant that can be difficult to rinse completely.
If you must use soap for a particularly tough job, use only a mild detergent and rinse the extractor meticulously several times to ensure no residue remains.
Don't Aim for Perfection
A well-used extractor will not look brand-new. Your goal is to remove the honey, not to polish the steel. Small stains or bits of propolis that remain after a thorough water wash will likely not cause any issues for your next harvest.
Making the Right Choice for Your Goal
Your cleaning approach can be adjusted based on how you plan to store the equipment.
- If your primary focus is a quick clean for reuse soon: The basic water-spinning method followed by a thorough air dry is perfectly sufficient.
- If your primary focus is long-term storage: Ensure the extractor is bone dry before storing. For added peace of mind against bacteria, you can perform a final rinse with a weak vinegar or bleach solution before the final air drying.
Properly cleaning and drying your extractor after each use protects your equipment and ensures the purity of every future honey harvest.
Summary Table:
| Step | Key Action | Purpose |
|---|---|---|
| 1 | Drain & Disassemble | Remove bulk honey for better access |
| 2 | Scrape Residue | Loosen wax and propolis buildup |
| 3 | Fill with Warm Water | Prepare for spin cleaning |
| 4 | Run on Slow Speed | Use centrifugal force to clean walls |
| 5 | Drain & Air Dry | Prevent rust and mold formation |
| 6 | Wipe Exterior | Complete the cleaning process |
HONESTBEE supplies commercial apiaries and beekeeping equipment distributors with durable, easy-to-clean honey extractors and beekeeping supplies. Our wholesale-focused operations ensure you get professional-grade equipment designed for efficient maintenance and long-term reliability. Contact us today to discuss your commercial beekeeping equipment needs and discover how our products can streamline your honey harvesting process.
Visual Guide
Related Products
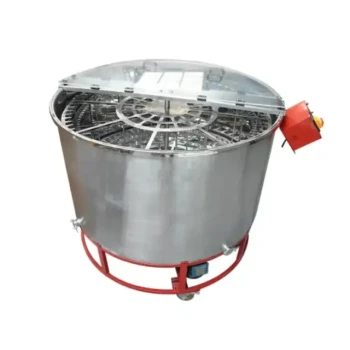
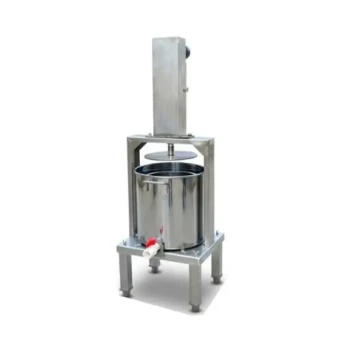
- HONESTBEE 72 Frame Industrial Electric Honey Extractor for Beekeeping
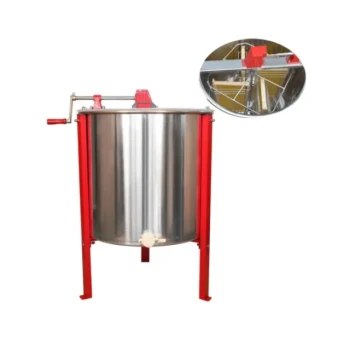
- Commercial Electric 12 Frame Honey Extractor Spinner Motorized Honey Extractor
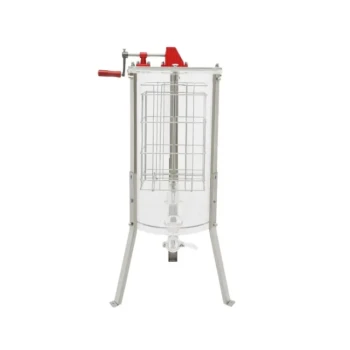
- HONESTBEE 3-Frame Manual Acrylic Honey Extractor
- electric honey extractor honey centrifuge 3 frame honey extractor stainless steel honey frame extractor
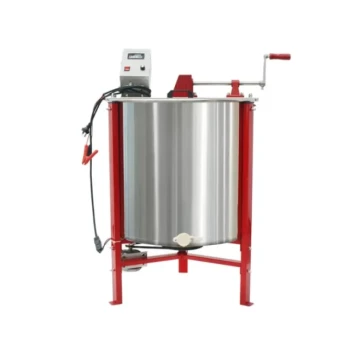
- HONESTBEE 6 Frame Self Reversing Electric Honey Extractor for Beekeeping
People Also Ask
- What is the primary benefit of using a honey extractor compared to older methods? Boost Yield & Save Your Bees' Energy
- Is the honey extractor better than the honey press? Choose the Right Tool for Your Apiary's Success
- What are the primary methods for extracting honey from a comb? Choose the Best Extraction Technique for Your Apiary
- What is the importance of balancing honeycomb frames within a honey extractor? Ensure Stability and Protect Machinery
- What are the main benefits of using a honey extractor? Maximize Yields and Protect Your Honeycomb