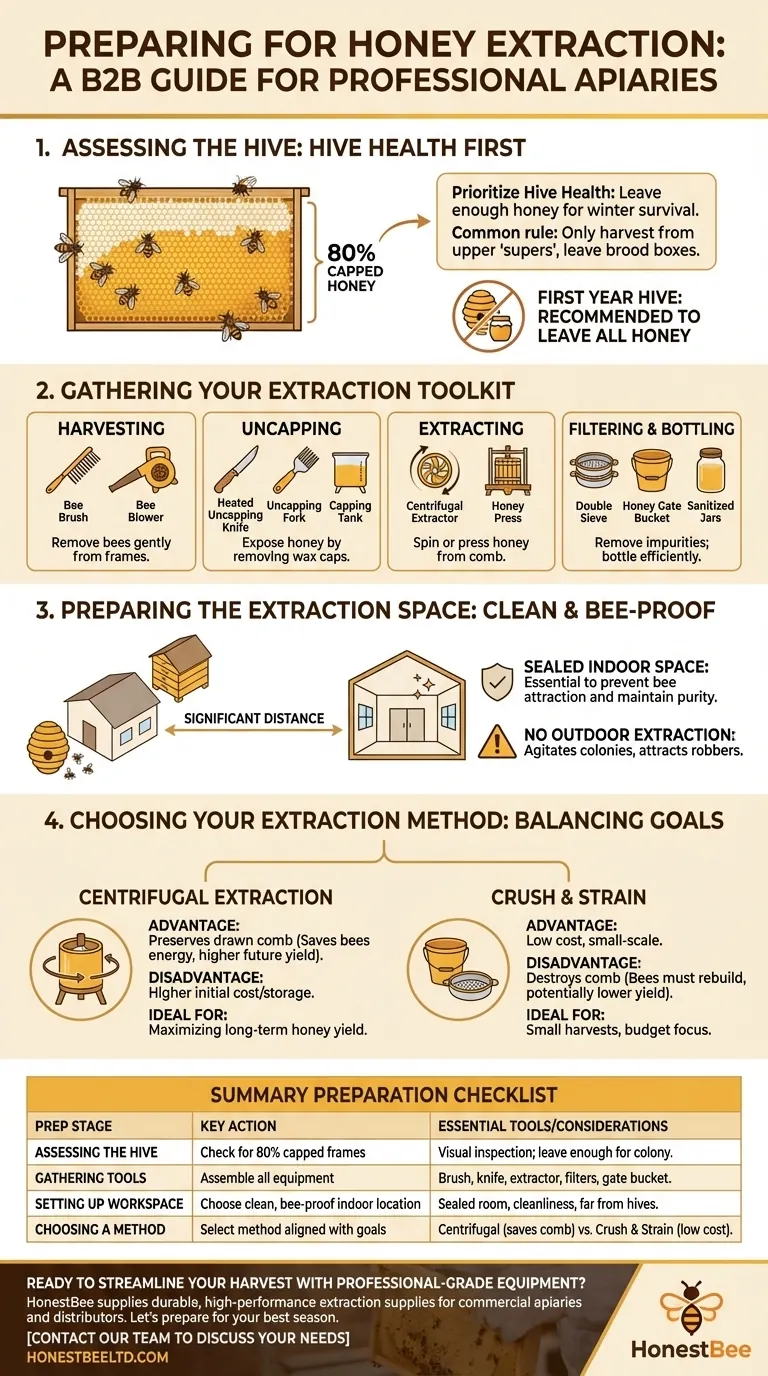
To properly prepare for honey extraction, you must first ensure the hive has enough honey to survive, then gather the specific tools for harvesting and processing, and finally, set up a clean, bee-proof workspace located away from your hives. This preparation is essential for a smooth, efficient, and safe harvest that protects both the beekeeper and the colony.
The success of a honey harvest is determined before any honey is extracted. It relies on a methodical preparation that prioritizes the health of the hive and the cleanliness of the environment over the speed of the process.

Assessing the Hive: The First Critical Checkpoint
Before you touch a single tool, your first responsibility is to the bees. A harvest is only sustainable if the colony's own needs are met first.
Is the Hive Ready for Harvest?
The primary indicator for harvest-ready honey is the wax capping. Bees cap honey cells with fresh beeswax only when the honey has been dehydrated to the correct moisture content (below 18.6%).
Harvesting uncapped or "green" honey will result in a product with a high moisture content that is likely to ferment and spoil.
How Much Honey Can You Take?
A beekeeper must never take all the honey. The colony depends on these stores to survive the winter and periods of low nectar flow.
For a hive in its first year, it is strongly recommended to leave all the honey for the bees. Their priority is building comb and establishing a strong population, and they need all the resources they can get.
In established hives, a common rule is to only harvest from the honey "supers" (the upper boxes) and leave the lower brood boxes entirely for the bees.
Selecting the Right Frames
When you open the hive, select frames that are at least 80% capped with white beeswax. These frames contain ripe, low-moisture honey.
Handle frames carefully, especially if they are heavy with honey or the comb is flimsily attached to the frame.
Assembling Your Extraction Toolkit
Your process will have several distinct stages, and each requires specific equipment. Having everything clean and ready beforehand prevents frantic searching later.
For Harvesting from the Hive
This stage involves removing bees from the frames you intend to take. Common tools include a bee brush to gently sweep bees off the comb or a bee blower to move them away from the supers more quickly.
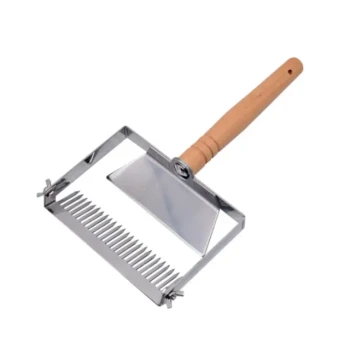
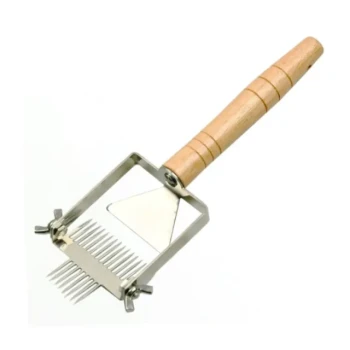
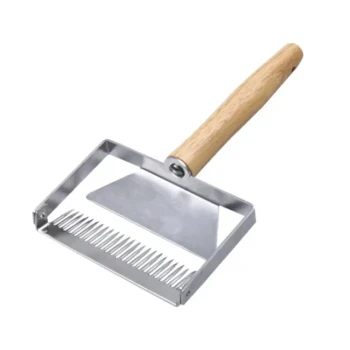
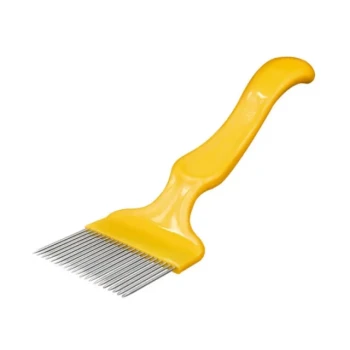
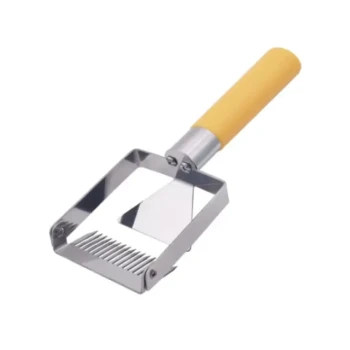
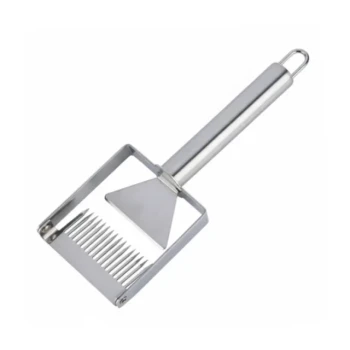
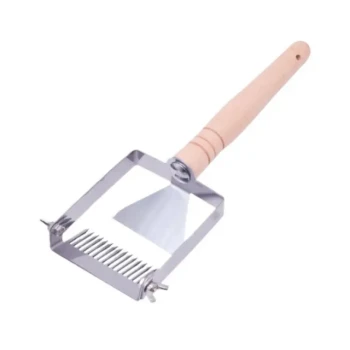
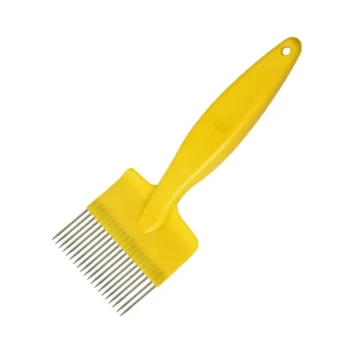
For Uncapping the Combs
This is the process of removing the wax cappings to expose the honey.
Your primary tool will be either a heated uncapping knife that slices off the cappings, or a manual uncapping fork or roller to pierce and lift them.
You will also need a container or tank to catch the wax cappings, which are rich with honey that can be drained later.
For Extracting the Honey
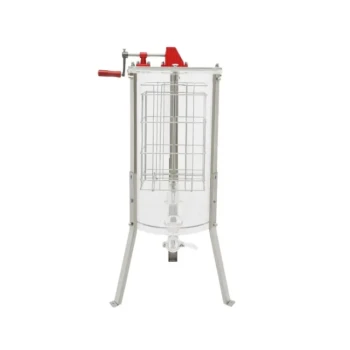
The most common method uses a centrifugal extractor, a machine that spins frames to force the honey out without destroying the comb.
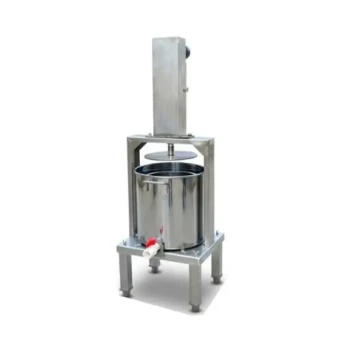
An alternative, lower-cost method is crush and strain. This involves breaking up the comb into small pieces and letting the honey drain out through filters, or using a honey press.
For Filtering and Bottling
After extraction, honey must be filtered to remove wax particles and other impurities. This is typically done using a double sieve or multiple layers of filters placed over a food-grade bucket.
A bucket with a honey gate at the bottom is essential for clean and easy bottling into sanitized jars.
Preparing the Extraction Space
Where you extract is just as important as how you extract. The smell of honey is an irresistible beacon for bees.
Why Location Matters
You must perform the extraction in a sealed, indoor space at a significant distance from your hives.
Attempting to extract honey outdoors or too close to the apiary will attract thousands of bees, making the process nearly impossible and agitating the nearby colonies.
Ensuring a Bee-Proof Area
Your chosen space—a garage, kitchen, or shed—must be fully sealed. Close all windows and doors. Any foraging bee that gets in will return to the hive and recruit others to your location.
The space should also be impeccably clean to ensure your honey remains pure and free of contaminants.
Understanding the Trade-offs: Extraction Methods
The method you prepare for determines the fate of your honeycomb and the scale of your operation.
Centrifugal Extraction
The key advantage of this method is that it preserves the drawn-out honeycomb. This saves the bees an immense amount of energy on the next nectar flow, as they don't have to rebuild the comb from scratch.
The primary disadvantage is the high initial cost and storage space required for an extractor.
Crush and Strain Method
This method is very inexpensive, requiring only buckets and filters. It is well-suited for beekeepers with only one or two hives.
Its major trade-off is the destruction of the comb. The bees will have to expend significant time and resources to rebuild it, which can reduce the following year's honey yield.
Making the Right Choice for Your Goal
Your preparation should align directly with your beekeeping philosophy and goals.
- If your primary focus is hive health and long-term sustainability: Your most critical preparation is assessing the hive's food stores and only taking what is truly surplus.
- If your primary focus is maximizing honey yield over time: You must prepare for centrifugal extraction to preserve your valuable drawn comb.
- If your primary focus is a low-cost, small-scale harvest: Preparing for the crush and strain method with simple buckets and filters is the most practical approach.
Thorough preparation transforms honey extraction from a reactive, messy chore into a rewarding and efficient culmination of your beekeeping season.
Summary Table:
| Preparation Stage | Key Action | Essential Tools/Considerations |
|---|---|---|
| Assessing the Hive | Check for 80% capped frames; leave enough honey for the colony. | Visual inspection; understanding of hive needs. |
| Gathering Tools | Assemble harvesting, uncapping, extracting, and bottling equipment. | Bee brush/blower, uncapping knife/fork, extractor, filters, honey gate bucket. |
| Setting Up Workspace | Choose a clean, bee-proof, indoor location far from hives. | Sealed room (e.g., garage, shed); impeccable cleanliness. |
| Choosing a Method | Select between centrifugal extraction (saves comb) or crush and strain (low-cost). | Aligns with goals: hive health, yield maximization, or budget. |
Ready to streamline your honey harvest with professional-grade equipment?
A successful harvest starts with the right tools and knowledge. At HONESTBEE, we supply commercial apiaries and beekeeping equipment distributors with the durable, high-performance supplies needed for every stage of extraction—from uncapping knives to centrifugal extractors and bottling systems. Our wholesale-focused operations ensure you get the reliable equipment that protects your hive's health and maximizes your yield.
Let's prepare for your best season yet. Contact our team today to discuss your equipment needs.
Visual Guide
Related Products
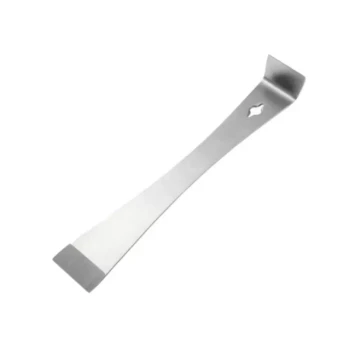
- Professional Stainless Steel Pry-Bar Hive Tool
- Stainless Steel 3 Frame Manual Honey Extractor Spinner for Bee Honey Extraction
- HONESTBEE 2 Frame Manual Acrylic Honey Extractor Beekeeping Equipment
- HONESTBEE 3-Frame Manual Acrylic Honey Extractor
- Plastic Hand Crank 2 Frame Honey Extractor Low Price
People Also Ask
- What is the function of a professional stainless steel hive tool in IFB? Optimize Your Colony Strength Assessment
- What is the role of professional hive tools in routine apiary maintenance? Expert Tips for Hive Health and Longevity
- Why are professional hive tools & observation equipment necessary for queen rearing evaluation? Master Your Quality
- What are the different types of hive tools available? Choose the Right Tool for Your Apiary
- Which intervention materials and management tools are used in commercial apiaries? Protect Your Bees from Pesticides